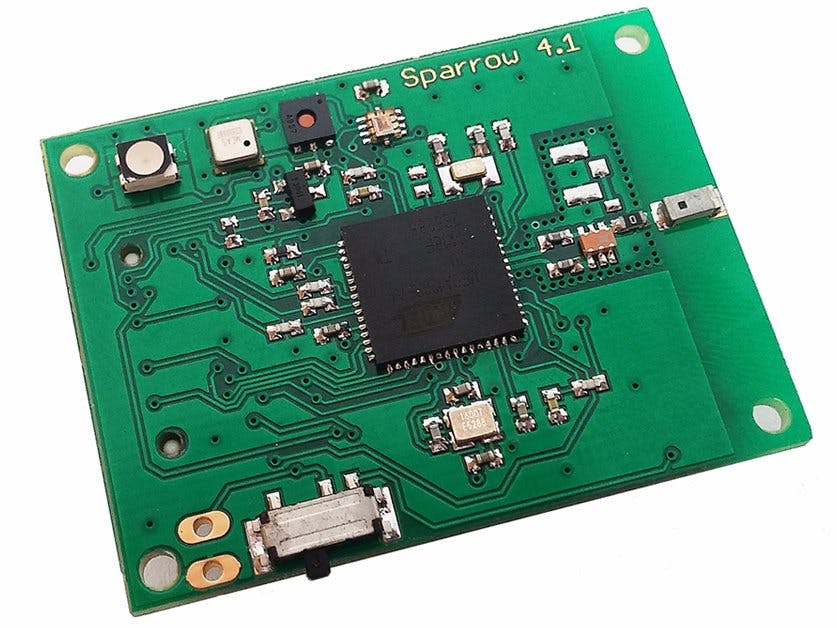
This example will run on two Sparrow Wireless Sensor nodes described in this article. Make sure to follow the steps there in order to install support for the nodes in the Arduino IDE. The nodes use the Atmega128RFA1 MCU from Atmel, but the code can easily run on all other RFA1 MCUs. Also, the code was successfully tested on the newer Atmega644RFR2 MCU.
Part 1The example in this article is based on Arduino, but the library can be easily modified to work in a stand-alone project.
The SparrowTransfer library can be downloaded here. Install it in your Arduino libraries folder, or using the IDE's library installer. The API for interfacing with the Atmega128RFA1 radio is derived from Sparkfun's implementation.
Here is a code example of two nodes communicating via the protocol. You will need two Sparrow sensor nodes: the first one acts as a sender and the second one will receive the data.
Part 2The code from the Sender runs on a stand-alone Sparrow node, while the Receiver needs to be connected to a computer in order to view the received data on the Serial Terminal.
You can send virtually any data between the two nodes, as long as the code on each node uses the same data structure. The protocol sends the structure as a whole, so it is important that all variables in the structure are defined in the same order and have the same data types both at the sender and at the receiver.
There is a very simple data error detection mechanism implemented as a checksum byte obtained by XOR-ing all of the bytes in a data frame. Received data frames that have the wrong checksum are automatically dropped. It is possible to also add a more reliable CRC check, but from what I have seen, the XOR checksum does a decent job.
The Sender code:
#include "SparrowTransfer.h"
//create object
SparrowTransfer ST;
struct SEND_DATA_STRUCTURE{
//put your variable definitions here for the data you want to send
//THIS MUST BE EXACTLY THE SAME ON THE OTHER ARDUINO
uint16_t data;
};
//give a name to the group of data
SEND_DATA_STRUCTURE mydata;
void blinkLED() //blinks the LED
{
digitalWrite(8,LOW);
delay(20);
digitalWrite(8,HIGH);
}
void setup(){
Serial.begin(9600);
//start the library, pass in the data details
ST.begin(details(mydata));
pinMode(8, OUTPUT);
digitalWrite(8, LOW);
mydata.data = 0;
}
void loop(){
mydata.data++;
//send the data
ST.sendData();
blinkLED();
delay(1000);
}
The Receiver code:
#include "SparrowTransfer.h"
//create object
SparrowTransfer ST;
struct RECEIVE_DATA_STRUCTURE{
//put your variable definitions here for the data you want to send
//THIS MUST BE EXACTLY THE SAME ON THE OTHER ARDUINO
uint16_t data;
};
//give a name to the group of data
RECEIVE_DATA_STRUCTURE mydata;
uint16_t old_index, received_index, lost;
void setup(){
Serial.begin(9600);
//start the library, pass in the data details
ST.begin(details(mydata));
pinMode(11, OUTPUT);
digitalWrite(11, HIGH);
}
void blinkLED()
{
digitalWrite(11, LOW);
delay(20);
digitalWrite(11, HIGH);
}
void loop(){
//check and see if a data packet has come in.
if(ST.receiveData()){
  blinkLED();
  received_index++;
  if(old_index != 0)
    lost += mydata.data - old_index - 1;
  Serial.print("Frame arrived: ");
  Serial.print(mydata.data);
  Serial.print(" ");
  Serial.print(", lost: ");
  Serial.print(lost);
  Serial.print(", loss: ");
  Serial.print(lost*100.0/(lost+received_index), 3);
  Serial.println("%");
  old_index = mydata.data;
}
//you should make this delay shorter than your transmit delay or else messages could be lost
delay(250);
}


Comments
Please log in or sign up to comment.