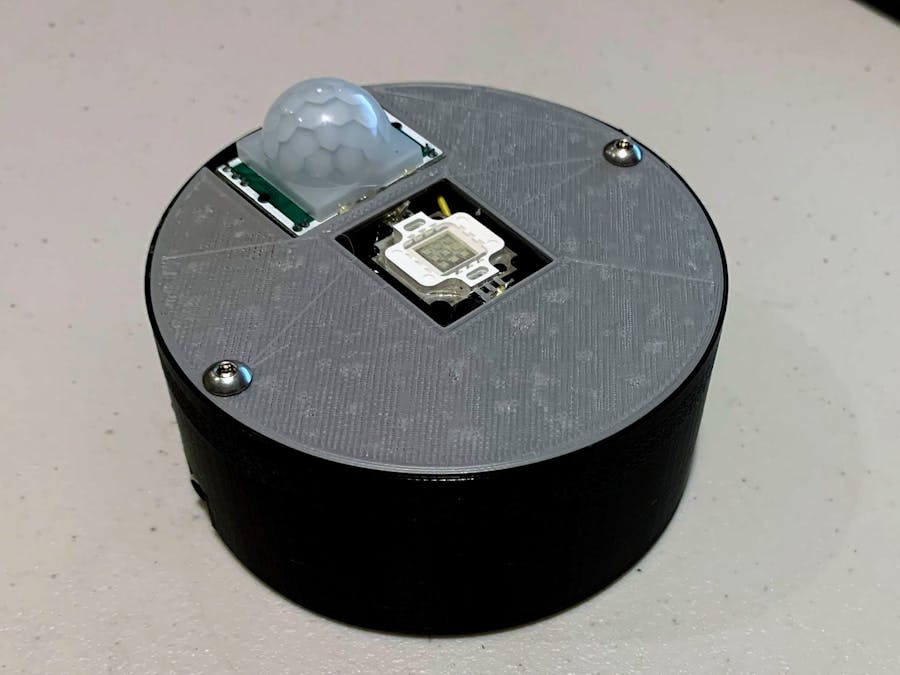
The system uses a PIR sensor to detect the presence of a person and then after it detects the person leaving turns on a UVc LED for 15 minutes to disinfect the area where the person was.
Applications:- Sterilize package deliveries
- Sterilize elevators
- Sterilize hallways
- Sterilize offices
- etc.
Take your Arduino and place it on the centerline of your breadboard.
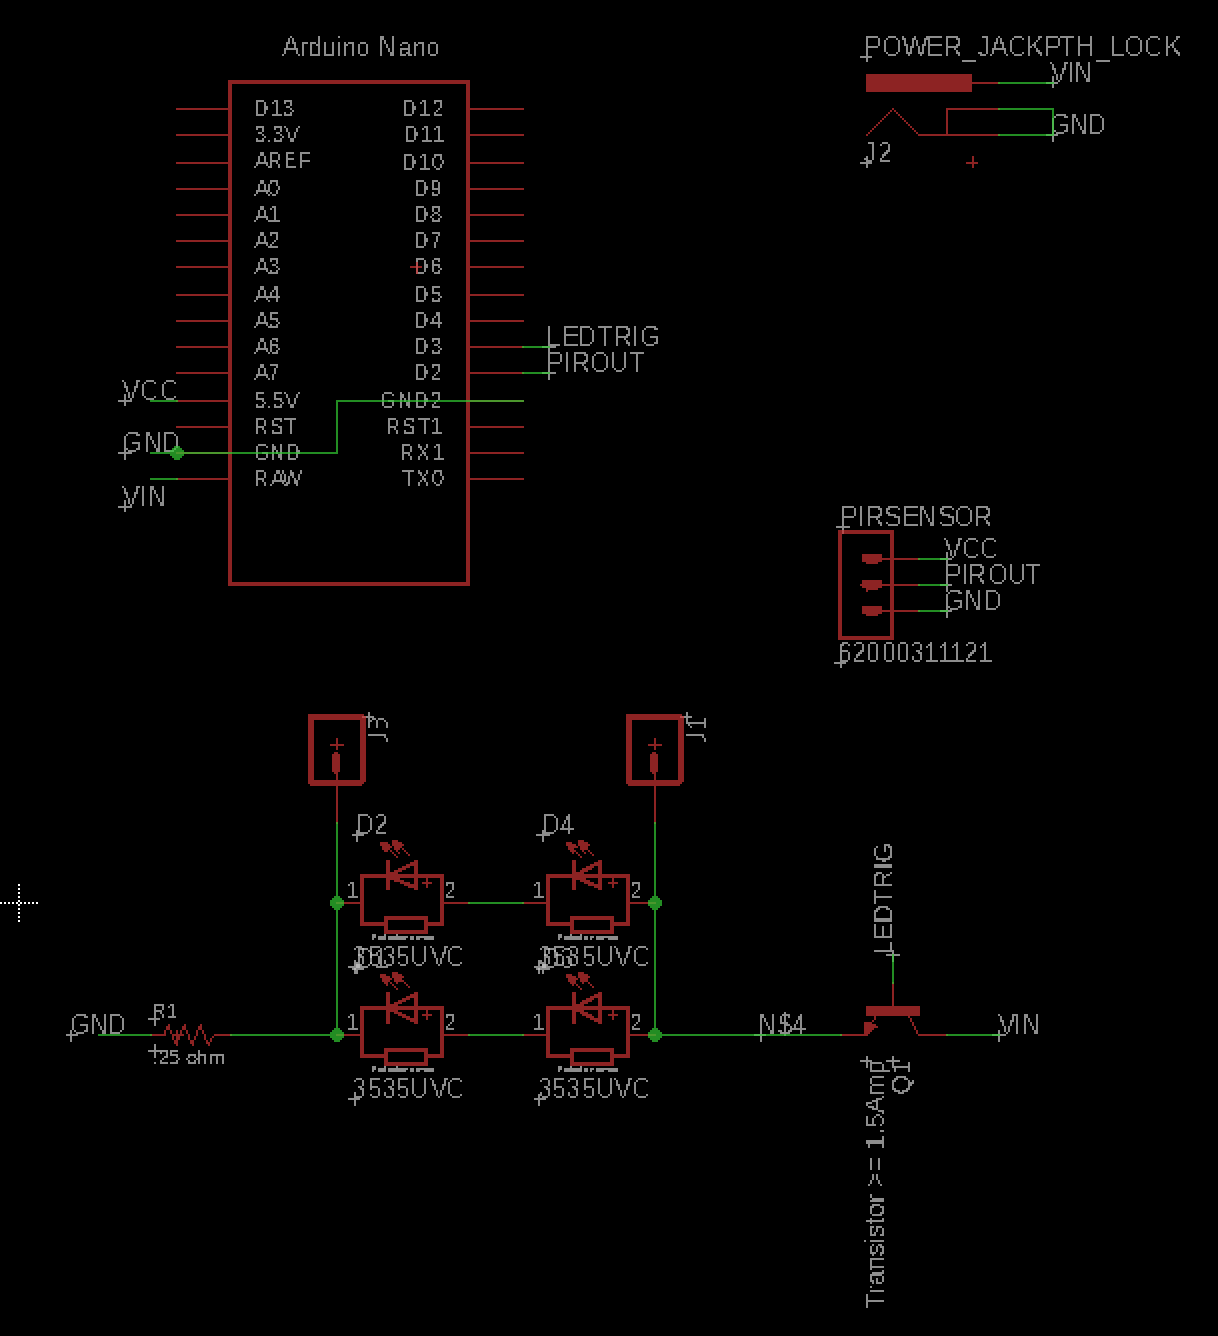
Connect your power source connector, e.g. 5.5mm jack, to the VIN and GND pins of the Arduino.
Then connect the PIR sensor with the 5V pin to the 5V pin on the Arduino and the GND to GND and the data line to a digital pin, e.g. pin 2.
After that take your transistor or motor driver or relay and connect the triggering pin to a digital pin, e.g. pin 3. If you use a relay remember to place a resistor in series with the triggering line before going to ground. If you use a Motor driver hook up the driver according to the manufactures instructions and connect the triggering pin to the digital pin.
If using the transistor or relay connect one side to VIN and the other to the positive side of your LED. Then connect the other side of the LED to GND.Don't forget a resistor if your led requires on at the supplied voltage (probably 12v).
If using a Motor driver connect the led to the motor pins with the correct polarity. Don't forget a resistor if your led requires on at the supplied voltage (probably 12v).
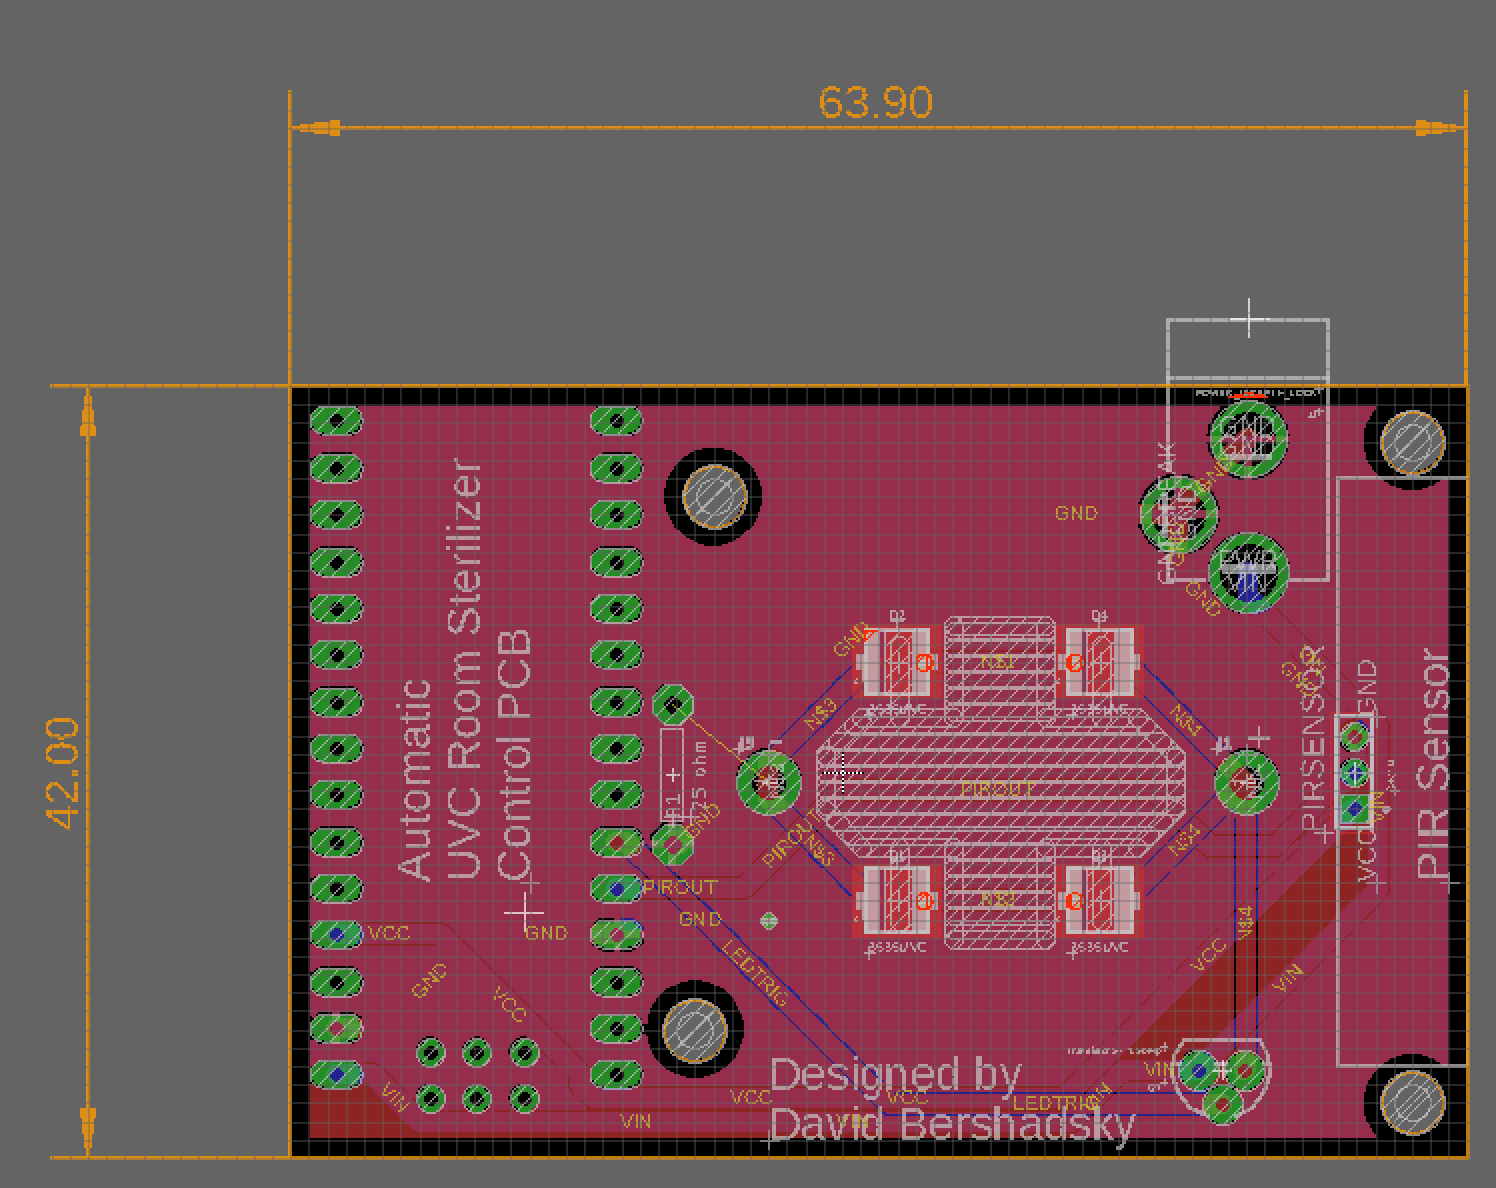
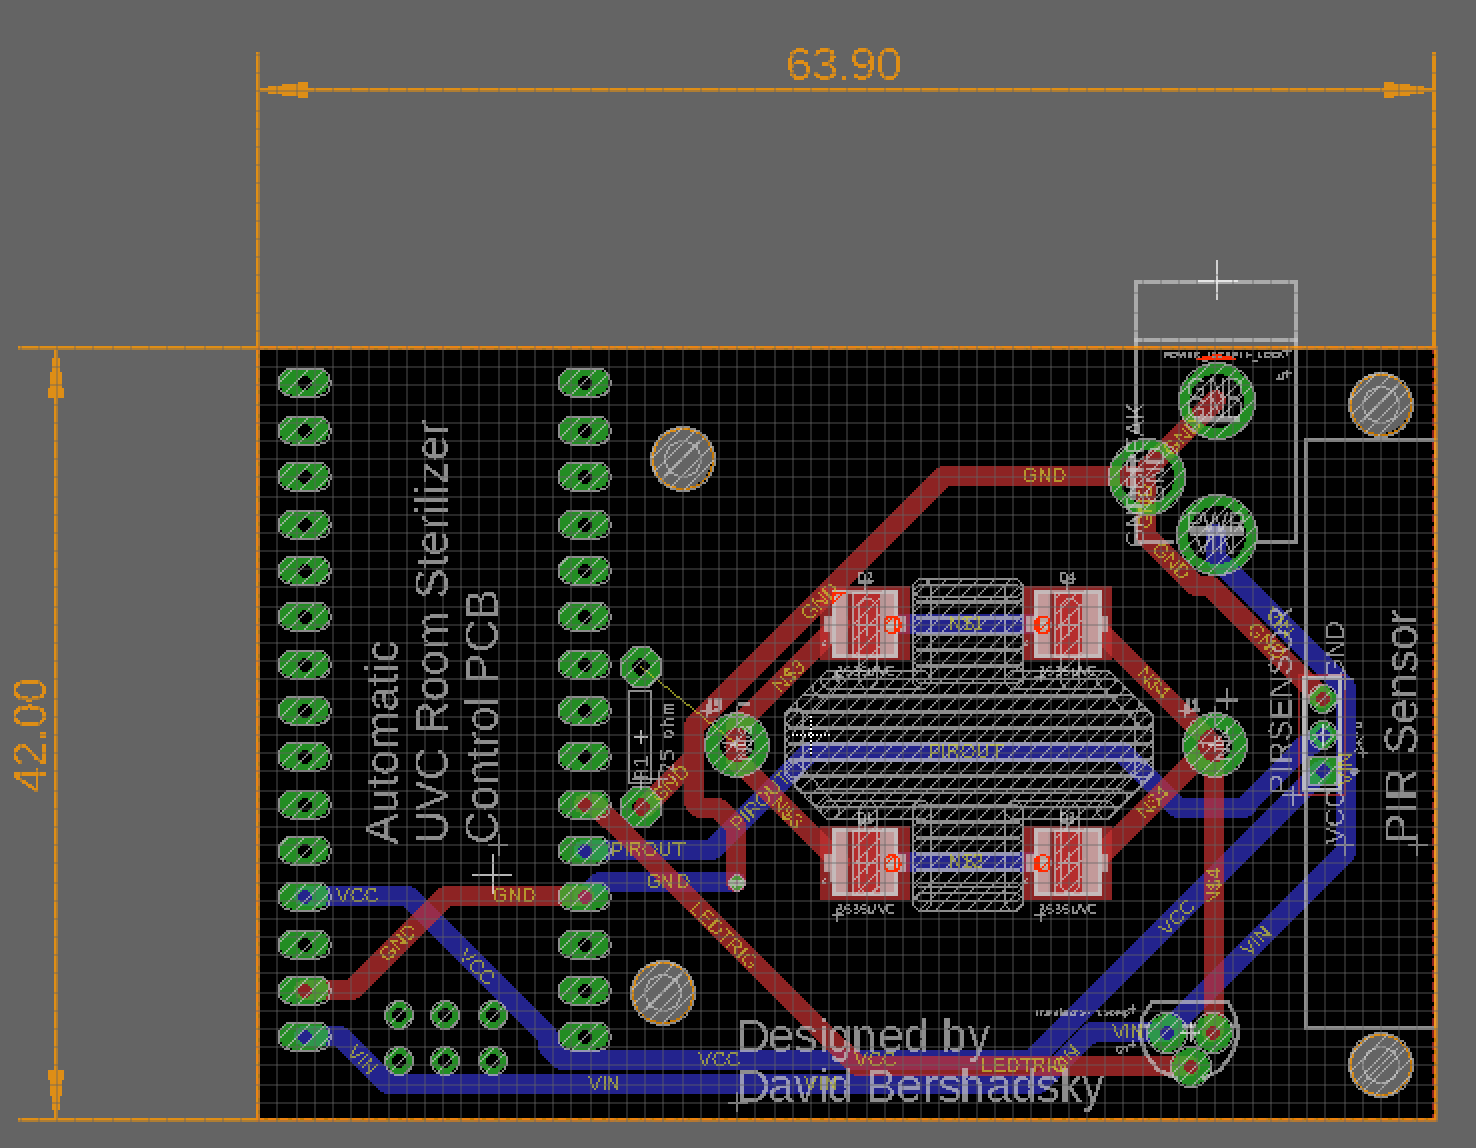
With the PCB the build will be exactly the same but simply solder all of your components on to the board in their indicated locations.
For the PCB one needs to use an Arduino NANO, 1-4x 3535 SMD LED, or connect to the 2 pins for other LEDs, an NPN transistor that can handle the current of your led, a generic PIR sensor, and a through-hole 5.5mm power jack.
The Case Build (without PCB):
If you do not have the PCB you can either print the Tall case which can fit a tiny breadboard inside or you can make your own case out of any box. Just cut a hole in the top for the LED and PIR and one in the side for power.
The Case Build (with PCB):
If building with the PCB print the slim case and place the assembled PCB inside and screw or glue it down. Then attach the top case using 2 screws.
int ledPin = 3;                // choose the pin for the LED
int inputPin = 2;               // choose the input pin (for PIR sensor)
int pirState = LOW;             // we start, assuming no motion detected
int val = 0;                    // variable for reading the pin status
bool needclean = false;
long cleanstart = 0;
long safetytimer = 0;
long safetydelay = 100000;// 100 seconds
//long safetydelay = 5000;// 5 seconds for debug
long cleanlength = 900000*3+safetydelay; // 5 minutes
void setup() {
    pinMode(ledPin, OUTPUT);      // declare LED as output
    pinMode(inputPin, INPUT);     // declare sensor as input
    Serial.begin(9600);
    //  Serial.println(cleanlength);
}
void loop() {
    val = digitalRead(inputPin);  // read input value
    if (val == HIGH) {            // check if the input is HIGH
        digitalWrite(ledPin, LOW);  // turn LED OFF
        needclean = false;
        if (pirState == LOW) {
            // we have just turned on
            Serial.println("Motion detected!");
            // We only want to print on the output change, not state
            pirState = HIGH;
        }
    }
    else {
        //digitalWrite(ledPin, HIGH); // turn LED ON
        needclean = true;
        if (pirState == HIGH) {
            // we have just turned of
            Serial.println("Motion ended!");
            safetytimer =  millis();
            cleanstart = millis();
            // We only want to print on the output change, not state
            pirState = LOW;
        }
    }
    if (millis() - safetytimer >= safetydelay) {
        if (needclean == true) {
            if (millis() - cleanstart >= cleanlength) {
                digitalWrite(ledPin, HIGH);
                needclean = false;
            }
            else {
                digitalWrite(ledPin, HIGH);
                Serial.println("cleaning : ");
                Serial.print((cleanlength - (millis() - cleanstart))/1000);
                Serial.println();
                delay(10);
            }
        }
    }
} 


Comments
Please log in or sign up to comment.