It is worth to talk about how I came to this idea, the development of a UV source board, very rich in features, small to lay on your desk, fully programmable but yet with enough power to see the effect of UV radiation.
First of all pay attention not to stay with your sight on the UV power led radiation flux it is very dangerous for eyes. This radiation is hardly visible but can harm seriously your eyes.
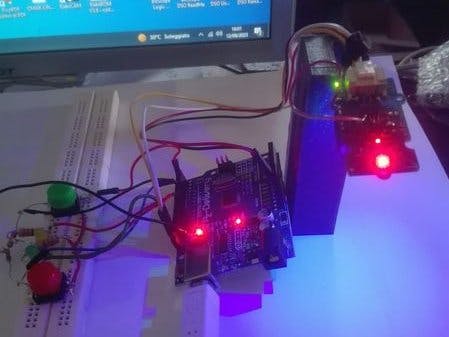
For this reason I put on the board a blue led to show the board is working, please pay attention when blue light is on, the board is powered.
I like to raise crops, flowers in home, special plants from seeds, avoid using chemical products to keep low the bacteria on plants leaf. I read about use of UV radiation for this and how it is better to use UVA for one scope and UVC for another, and how application time, intensity, and presence of sunlight can work good as a complement with UV radiation.So I defined the technical specification for the source, type of power led (UV) how to change intensity, application time and how to read out the light intensity on the final destination.
After many choices I approached to design this board and to select the best components I could find at a really reasonable cost.A lot of work on power heating of the board, onboard step up supply chip, on board microcontroller(and initial firmware to drive the board), component positioning, good electrical design.
This take me really lot of time and effort, but in the same time a look carefully over flaws or weak points of the design.Now I am finally ready to present this project developed trough the high professional services of Seeed Fusion services, I thank very much > https://www.seeedstudio.com/fusion.html


_ztBMuBhMHo.jpg?auto=compress%2Cformat&w=48&h=48&fit=fill&bg=ffffff)


_LWNORVejBN.png?auto=compress%2Cformat&w=48&h=48&fit=fill&bg=ffffff)


_3u05Tpwasz.png?auto=compress%2Cformat&w=40&h=40&fit=fillmax&bg=fff&dpr=2)


Comments
Please log in or sign up to comment.