Use-case 1: To solve the problem of remote patient monitoring in extreme scenarios such as the COVID-19 pandemic. As this is the current situation all over the world, it is absolutely necessary to prevent the spread of the disease by any means necessary. The main solution involves quarantining a positive patient and isolating him from the rest. But treatments while in quarantine and isolation involves huge manpower and medical resource allocation when compared to other types of treatments. If the issue is very serious, there may not be sufficient resources to be allocated to each and every patient. Thus there is a need for an easy, affordable, and yet effective patient monitoring system.
Use-case 2: Currently, we lack an affordable and fast drug delivery system, be it between the patient and the medical personnel or between medical personnel. One such example is emergency medicine deliveries and blood deliveries.
Use-case 3: There is no affordable all-in-one solution for a person in case they need an emergency health checkup at his home. The individual apparatus can be bulky and may not be very easy to carry all of them.
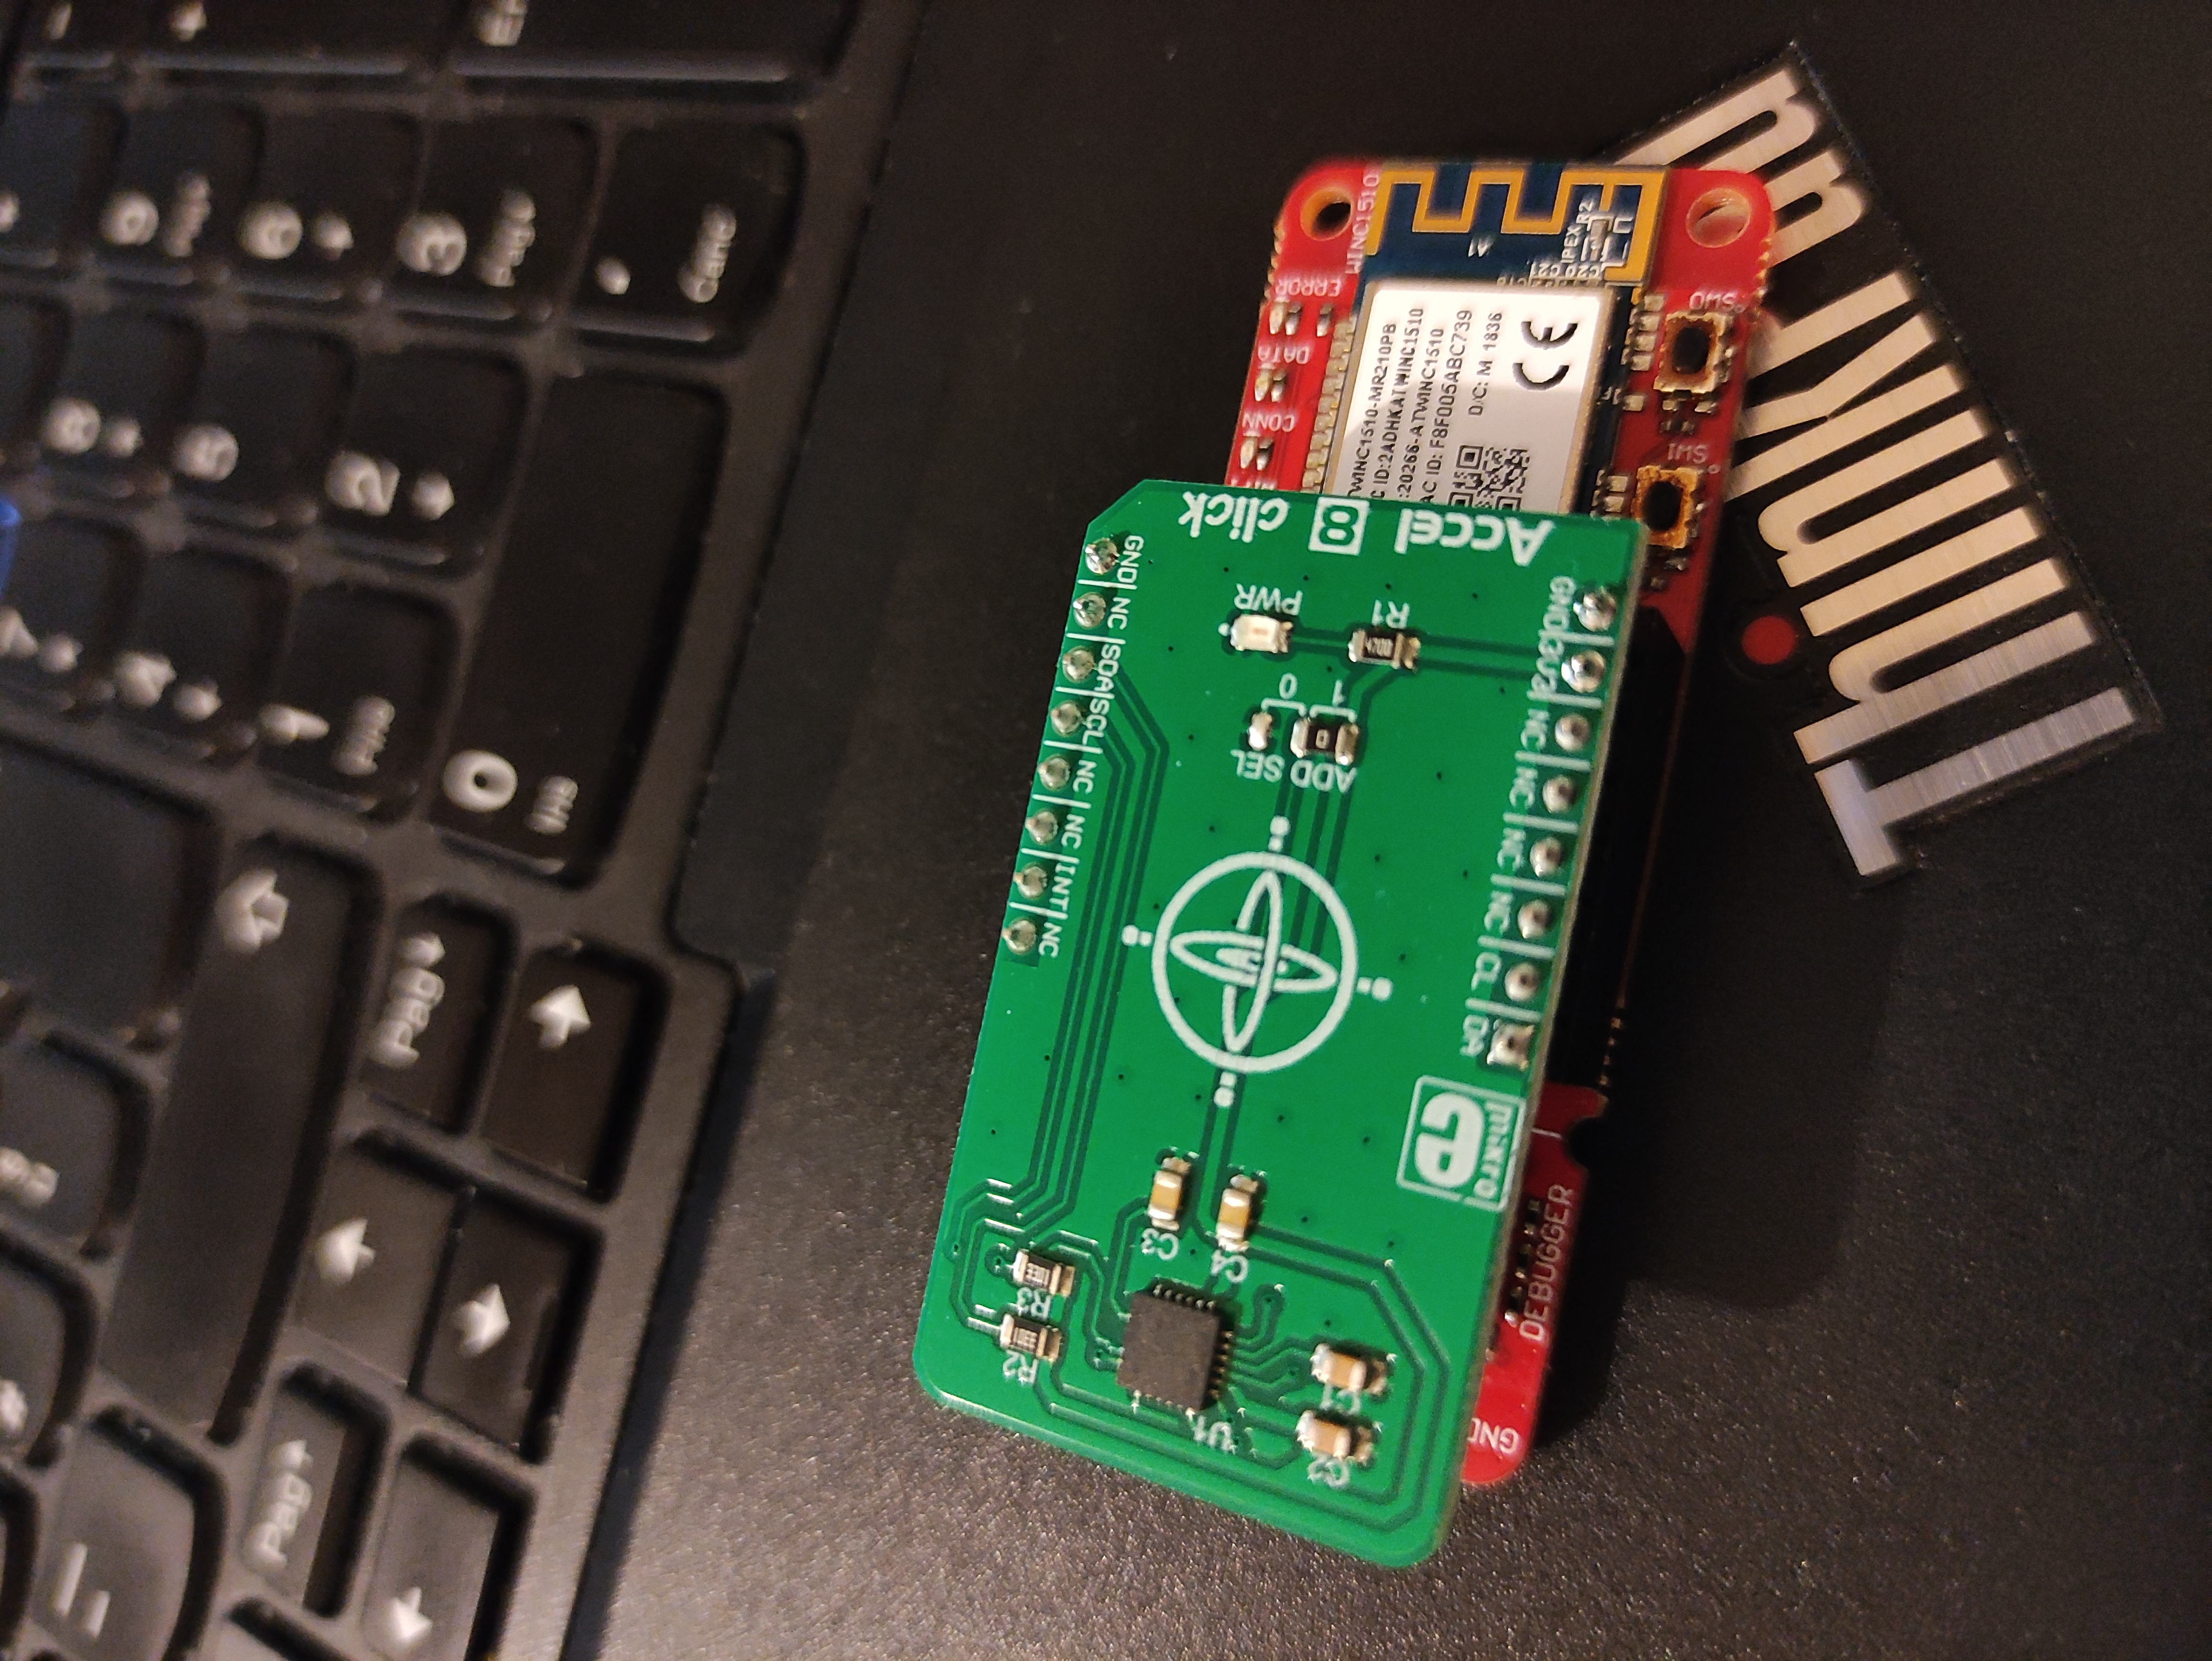
Here only a single use-case is presented due to the limit of hardware availability. The AVR- IOT WG device will be paired with a MikroE accel 8 click shield to detect the patient movements and register them in google cloud so that the medical team can monitor them.
The AVR-IoT WG development board can be connected to a computer using a standard Micro-USB cable. Once plugged in, the LED array at the top right-hand corner of the board should flash twice in the following order: Blue, Green, Yellow, and Red. When the board is not connected to Wi-Fi, the blue LED will blink continuously. The board will appear as a Removable Storage Device on the host PC, as shown in Curiosity Board as Removable Storage. Double click the CURIOSITY drive to open it and get started.
The CURIOSITY drive should contain the following five files:
• CLICK-ME.HTM – redirects the user to the AVR-IoT web demo application
• KIT-INFO.HTM – redirects the user to a site containing information and resources about the board
• KIT-INFO.TXT – a text file with details about the PKOB nano firmware and the board’s serial number
• PUBKEY.TXT – a text file with the public key used for data encryption
• STATUS.TXT – a text file with the status of the board
Double click on the CLICK-ME.HTM file to enter the dedicated webpage to access the web application.
Connecting the Board to Google cloudAVR-IoT Webpage displays the sensor data and allows the user to regenerate the Wi-Fi credentials as a file labeled WIFI.CFG. This can be loaded onto the board, acting as a storage device to reconfigure access point parameters. The status markers in the middle of the page, indicate the progress of the system setup. These markers will light up once each stage has completed successfully.
The leftmost marker indicates if the board is connected to the host PC. Next to this, the Wi-Fi marker lights up once the board is connected to a Wi-Fi network and the blue LED will stop blinking and stay on to indicate the board connection state. To the right of the Wi-Fi marker, the Google Cloud Message Queuing Telemetry Transport (MQTT) marker is found, indicating the status of the TCP socket connection and MQTT connection to Google Cloud. The corresponding green LED will stop blinking and stay on to indicate the board connection state. Finally, the rightmost marker lights up, signifying that data is streaming from the board to the cloud. For each successful MQTT publication of data, the yellow LED on the board blinks.
There are several ways to connect the AVR-IoT WG Development Board to the Internet. The easiest way is through the AVR-IoT webpage (www.avr-iot.com/avr-iot/gcp). The lower left-hand corner of the site will show a wireless network connection window where the user can choose to connect to an open (no password required) network or enter the credentials for a password protected (WPA/WPA2/WEP) Wi-Fi network. Entering Wi-Fi Credentials in AVRIoT Webpage shows how to enter the Wi-Fi credentials on the website.
Once the required details are entered, click the Download Configuration button. This will download the WIFI.CFG (text) file to the host PC. From the WIFI.CFG’s download location, drag and drop the file to the CURIOSITY drive to update the Wi-Fi credentials of the board. The blue LED will stop blinking and will stay continuously ON to show a successful connection to the Wi-Fi Access Point.
Out of the box, all AVR-IoT WG Development Boards are pre-registered to Microchip’s Google Cloud sandbox account. All data gathered by the sensors of the AVR-IoT WG Development Boards are published on the Microchip sandbox account and can be identified using the Project ID and Region. The device should be associated with a private account using the Device ID/Public Key.
An MQTT publishes packet is always sent to the MQTT broker using a specific topic. The AVR-IoT WG Development Board publishes messages using a topic to communicate with the AVR-IoT WG. The messages published on this topic contain the real-time data obtained from the on-board light and temperature sensors. The frequency of sending a PUBLISH packet can be decided by the user application. The application is written such that the sensor data is published to the Cloud every one second.
In addition to publishing its data, when subscribing to a topic, it will receive data from the Google Cloud whenever data is published to the cloud on the subscription topic. After sending a SUBSCRIBE packet, all the messages published on the specific topic of subscription are received by the board. The board subscribes to this topic. We can also route messages via different topics.
To add the device to the cloud, set up Google IoT core and create a new project. The generated Project ID should be used to program the hardware to connect to the project.
Using the same Google services, we can set up the publish-subscribe functions for the device.
Setting up the BoardSetting up Arduino IDE (reference: zst123)
Open up Arduino IDE.
Go to File > Preferences
Enter the following URL in Additional Boards Manager URLs:
https://mcudude.github.io/MegaCoreX/package_MCUdude_MegaCoreX_index.jsonOpen up Tools > Board > Boards Manager and install MegaCoreX.
Choose the options as follows:
Upload the following code and the board is set to go.
Monitoring DashboardCheck the Google cloud dashboard to monitor the topics that are published from the device.


Comments
Please log in or sign up to comment.