


This tutorial will get you up and started with the innovative nRF52-DK Development board from Nordic Semiconductor. Nordic has long been a leader in embedded radio, with their popular and hacker friendly, Arduino compatible, ubiquitous, nRF24 transceiver module. Now with the nRF52-DK they add new and improved radio communication with Bluetooth Low-Energy(BLE) AKA Smart Bluetooth. BLE is increasingly popular for IoT and other applications that require a low power application but don't need a heavy data payload or long transmission distance. This makes BLE a very good protocol for “Smart Home” and sensor applications where data size and transmission distance isn't a limiting factor.
The Nordic Board comes with a ARM-M4 chip on development board. Having an ARM chip on-board allows us to utilize ARM's mbed online compiler. This online compiler and design environment uses a simple modified “Arduino" like coding system that makes getting up and running much easier than with the more powerful but complicated development tool-chains produced by Keil, IAR, and Crossworks. Highlights of the mbed environment that you will come to appreciate for fast prototyping are automatic library management and access to community examples for your development board. At the time of this writing the examples are limited to those by Nordic Semiconductor themselves, but it is enough to get started. We will create our own example which can be altered and published if desired.
Get StartedTo begin go to https://developer.mbed.org and sign up for a new account, don’t worry it's free. Sign up for your account and navigate to the top of the screen. From here we need to select our board, this option is in the upper right hand of the screen, navigate to our board- the nRF52-DK.
once we select our board we can now load a pre-built example but lets rename it. Note: it's important to use a pre-built project, preferably the Hello World Blinky example as it comes with the pre-configured libraries we need for our project. If you load an empty project it wont have the needed libraries and you will have to manually add them.
From this point its best to rename the default title to something of your own so you can play with it without being confused which version you are modifying. Here we call it "my_Blinky". Now double click the "main.cpp" file on the left so we need only alter the main program and not edit any of the preconfigured libraries. As a coding example lets implement HM Yoong's excellent LED chaser example and alter it for the Nordic Board. This program has some nice conditional logic to cycle through the four LEDS by incrementing an array of Digital Outputs. Note while mbed shares some Arduino commonalities such as digitalOut it is missing others like digitalWrite. Finally once our project editing screen is open we just need to paste the included code into the compiler and then run our own blinky program.
The last step is to hit the "compile" button at the top-middle of the screen. Once your code is compiled you can save the .hex file wherever you like. Once the file is saved, drag the .hex file over to the Nordic Board. To accomplish this your Nordic board will be recognized as a separate drive (likely drive F:). Drag the newly created hex file over to the Nordic board and the file will automatically upload to the Nordic board and automatically begin.
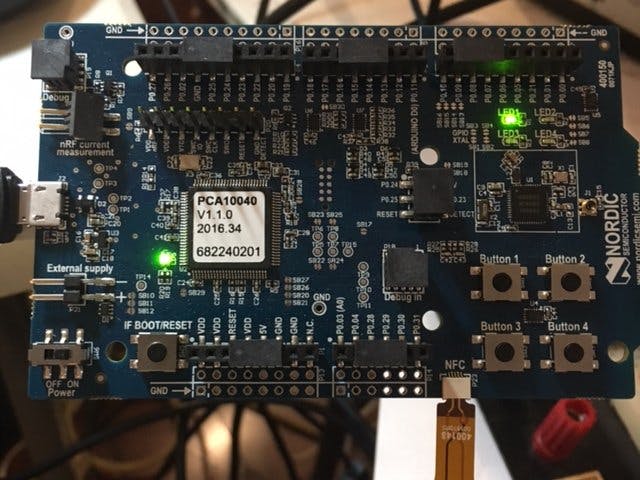
The easiest way to play with the code is to alter the wait time expressed as "Wait" (similar to Arduinos "Delay" macro). This will alter how fast the four led's cycle through their pattern.
Feel free to play with the other included examples provided from Nordic but this example is a good start. Please see my other tutorial on using the Arm tool-chain through the free version of the Keil IDE for more advanced development options using a simple example.


Comments
Please log in or sign up to comment.