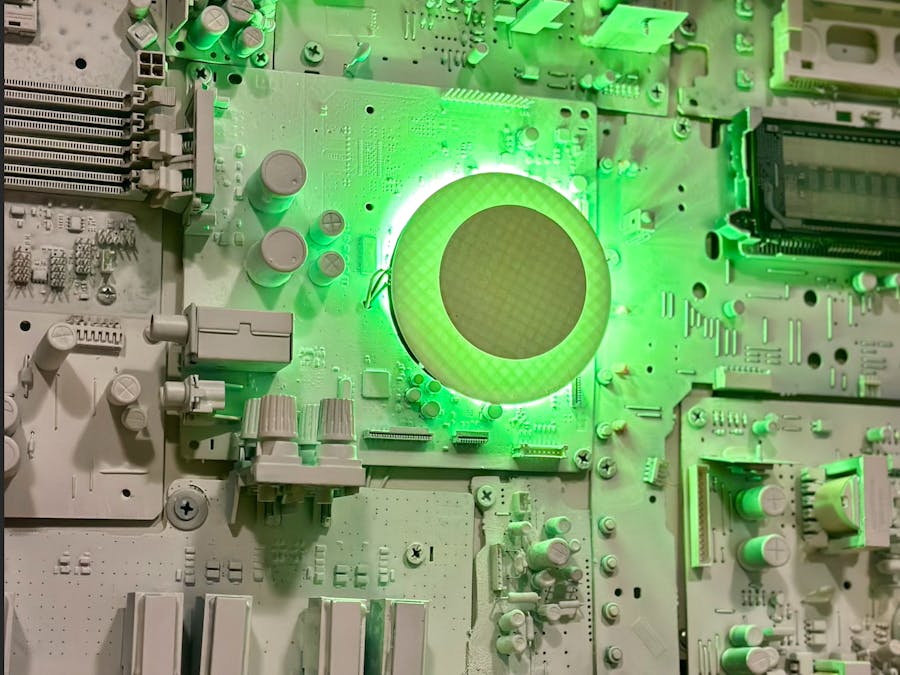
Imagine this: You're working from home 🏠, deeply immersed in your tasks, when suddenly, you miss an important meeting - again 📅. Enter Never Miss a Meeting, the game-changer in personal time management. This isn't just another app or notification system. It's an innovative, wearable reminder that ensures you're always on top of your schedule. With a sleek ring that changes colors and pulses with different frequencies, Never Miss visually alerts you to upcoming meetings.
Green means you're good to go 😃, yellow signals a meeting soon, and red warns that your meeting is wrapping up 🛑. It's intuitive, unobtrusive, and designed for the modern remote worker. Never Miss a Meeting transforms your work-from-home experience by seamlessly integrating into your day, ensuring you're always connected, never late, and perpetually prepared. Say goodbye to missed opportunities and hello to maximized productivity. With Never Miss, you're not just keeping time; you're staying ahead of it.
Step 1: Set Up Google Calendar API- Create a Google Cloud Project: Go to the Google Cloud Console, create a new project, and enable the Google Calendar API for it.
- Create Credentials: In the API & Services > Credentials section, create OAuth 2.0 client IDs to authenticate your requests.
- Google Apps Script: Create a new Google Apps Script project from Google Drive or the Google Apps Script dashboard. This script will access your Google Calendar and provide a web-accessible endpoint to get event details.
- Write a Script: In your Google Apps Script project, write a function that accesses the Google Calendar API, fetches upcoming and current events, and formats them in a JSON structure.
- Deploy as Web App: Deploy your script as a web app. Set the access permissions to "Anyone, even anonymous" for simplicity (consider security implications).
- Test Endpoint: Ensure you can access the endpoint URL from a browser and see the calendar event data in JSON format.
- Hardware Connections: Connect the Neopixel Ring data input to a digital pin on the ESP32. Ensure the ring is powered correctly (usually 5V).
- Arduino IDE Setup: Install the ESP32 board definitions in the Arduino IDE. Also, install the Adafruit Neopixel library to control the ring.
- Network Configuration: Write an Arduino sketch for the ESP32 that connects to your WiFi network.
- HTTP Requests: Modify the ESP32 sketch to make HTTP GET requests to the Google Apps Script web app endpoint. Use the WiFiClient or HTTPClient library.
- Parse JSON: Parse the JSON response to determine if there are any current or upcoming meetings. You might need a JSON parsing library for this.
- Control Neopixel Ring: Based on the parsed event data, control the Neopixel Ring to display different colors. For example, green for no meetings, yellow for an upcoming meeting, and red for a current meeting.
- Loop: Set up a loop that checks the calendar events every minute. Use the
delay()function or a non-blocking timer for this. - Update Colors: Update the Neopixel Ring's color based on the most recent event status check.
- Calendar Sharing: Share your other calendars with the Google Calendar you're monitoring. In each external calendar, find the option to share or export to another calendar and choose your monitored Google Calendar.
- GitHub Repository: Once your project is working, organize your code and create a README file explaining the project setup. Push this to a GitHub repository and share the link for others to use and contribute.


Comments
Please log in or sign up to comment.