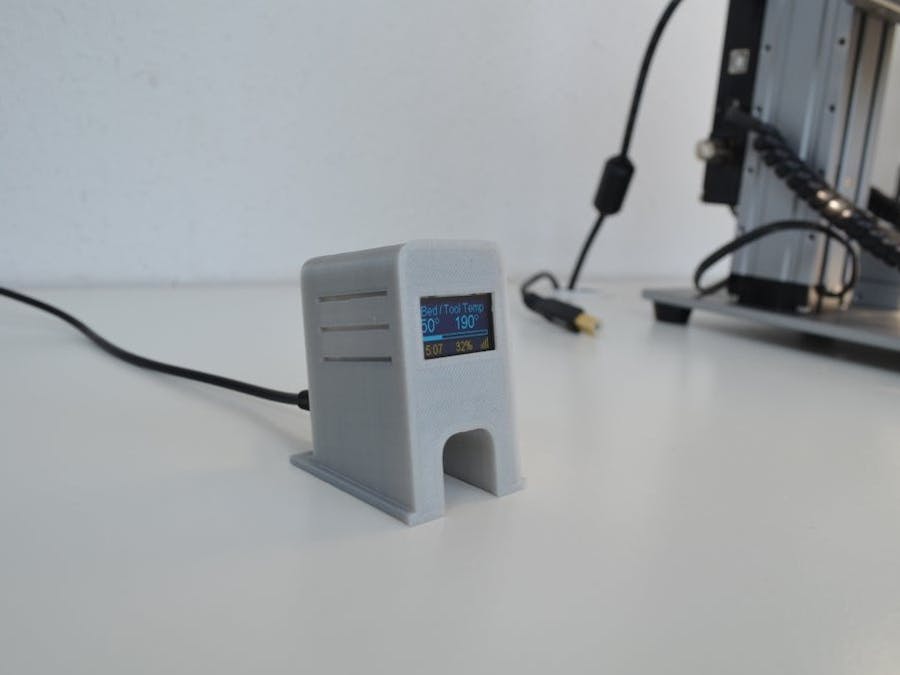
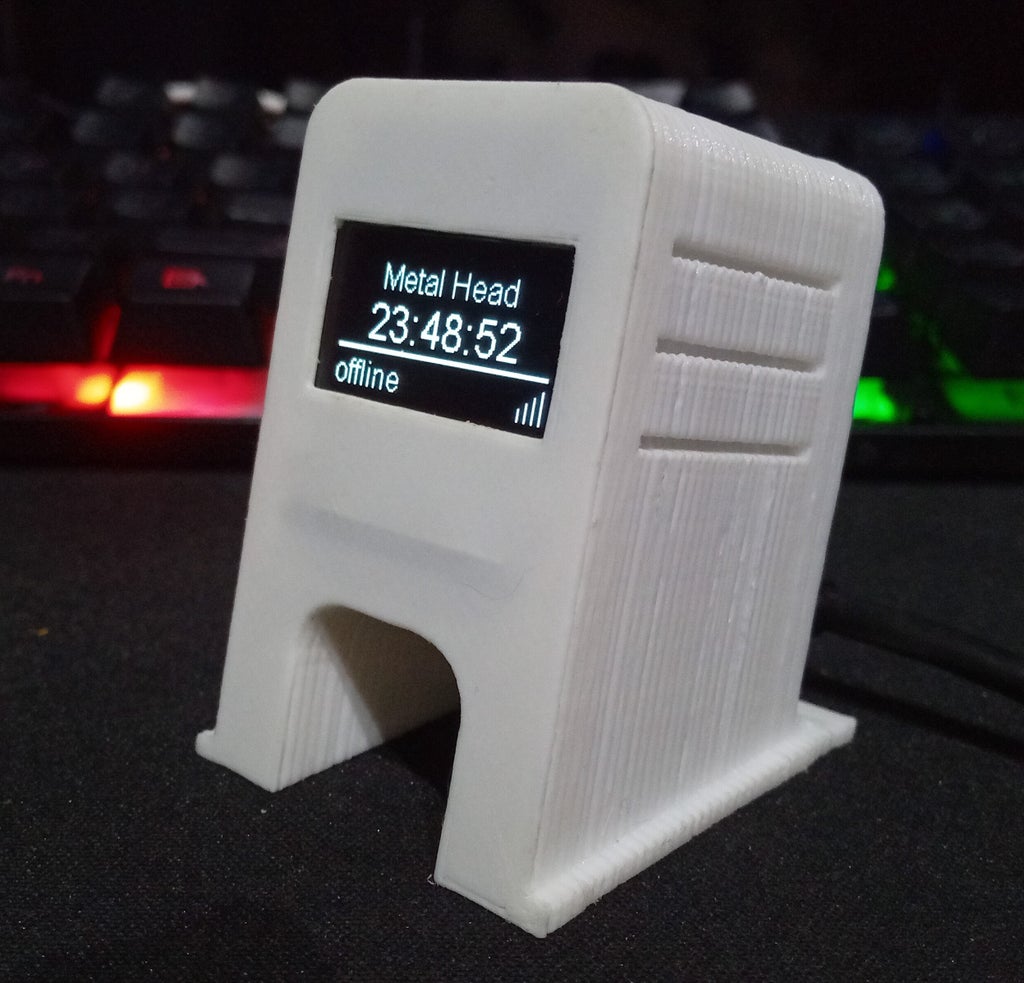
This app was developed and published by David Payne (also know as Qrome) in his GitHub repositoryfor all Makers who want to use it. In addition, he not only published the code, but added the printing files in Thingiversewhere you can easily download them.
If you’re a 3D printing freak like us and you love messing around with electronics, you’re in luck. Keep reading this article to the end and you will find out how to do it very easily. And of course, do not forget to leave us your comments at the end of it. Go for it!
Features:
- Displays the print status from OctoPrint Server
- Estimated time remaining
- Time Printing
- Percentage complete
- Progress bar
- Bed and Tool Temperature
- Screen turns off when printer is turned off or disconnected
- Screen turns on when printer is Operational or connected
- Option to display clock instead of sleep mode
- Sample rate is every 60 seconds when not printing
- Sample rate is every 10 seconds when printing
- Fully configurable from the web interface (not required to update Settings.h)
- Supports OTA (loading firmware over WiFi connection on same LAN)
- Basic Athentication to protect your settings
Before starting this project I must inform you that you need to have an Octoprint server already installed in your printer . In this way, our OLED display (with its Wemos D1 Mini board) will connect to the Octoprint server, extract the data in real time and show it to us on the screen.
We need the following components to develop our OLED monitor:
- OctoPrint Server and the User API Key from your user account
- Wemos D1 Mini (ESP8266):
- 0.96" OLED I2C 128x64 Display:
- 3D Printed Case: https://www.thingiverse.com/thing:2884823
- Arduino Source Code: https://github.com/Qrome/printer-monitor
- Soldering Iron
Thank You NextPCB:
This project is successfully completed because of the help and support from NextPCB. Guys if you have a PCB project, please visit their website and get exciting discounts and coupons.
Only 0$ for 5-10pcs PCB Prototypes:https://www.nextpcb.com/coupan
Register and get $100 from NextPCB: https://www.nextpcb.com/register.
See more info about PCB Assembly Capabilities: https://www.nextpcb.com/PCB Assembly
Here are mid-summer sales at NextPCB :
1. Up to 30% off for the PCB orders
2. Up to 20% off for the PCBA orders
OLED Display connection to the Wemos D1This step only requires connecting 4 wires between the Wemos D1 Mini and the OLED display.
- SDA -> D2
- SCL -> D5
- VCC -> 5V+
- GND -> GND-
The Wemos D1 Mini board do not have any type of integrated display as standard, so we must connect (or rather solder) one of our own for our purpose. Wemos D1 Mini supports two types of I2C display (SSD1306 and SSH1106).
The way to connect them is very easy, so don’t worry. You only have to solder the cables as you can see in the image above.
In our example we have used an SSD1306 display, which comes by default in the already configured software. If you want to use a SH1106 display, you just have to uncomment the following line in the firmware code:
//#define DISPLAY_SH1106 // Uncomment this line to use the SH1106 displayIMPORTANT!! According to the manufacturer, you may find OLED screens where the position of SDA, SCL, GND and VCC is different. Always check how they are arranged on your LCD and be guided by the names. Then check it completely to avoid unpleasant unforeseen events.
3D printing parts (Thingiverse)The links of the parts in STL format for printing are available as always on the platform Thingiverse.
- 0, 96″ SSD1306 Display OLED (Thingiverse)
- 0, 96″ SSD1306 Display OLED (Thingiverse)
- 1, 3″ SSD1306 Display OLED (Thingiverse)
Required software (Arduino IDE + drivers)
To install the OLED Monitor firmware on the Wemos D1 Mini board, we naturally need a compiler. We will use the Arduino IDE that is already known to many of us if you have previously compiled Marlin. It is completely free.
It can be downloaded from official website of arduino. Access the Software -> Downloads, select Windows Installer and press Just Download to get hold of it.
Finally, we will need to install some necessary USB drivers to connect with our computer. Download it from the following link: http://sparks.gogo.co.nz/ch340.html
Download and Compile Source Code and upload codeIt is recommended to use Arduino IDE. You will need to configure Arduino IDE to work with the Wemos board and USB port and installed the required USB drivers etc.
- USB CH340G drivers: https://wiki.wemos.cc/downloads
- Open the Arduino IDE and enter the following URL http://arduino.esp8266.com/stable/package_esp8266com_index.json into Additional Board Manager URLs field. You can add multiple URLs, separating them with commas. This will add support for the Wemos D1 Mini to Arduino IDE.
- In the Arduino IDE, open Boards Manager from Tools > Board menu and install esp8266 platform version 2.5.2 (and don't forget to select your ESP8266 board from Tools > Board menu after installation).
- Select Board: "WeMos D1 R2 & mini"
Download the Source Code for 3D Printer Monitor:
from here https://github.com/Qrome/printer-monitor


Comments
Please log in or sign up to comment.