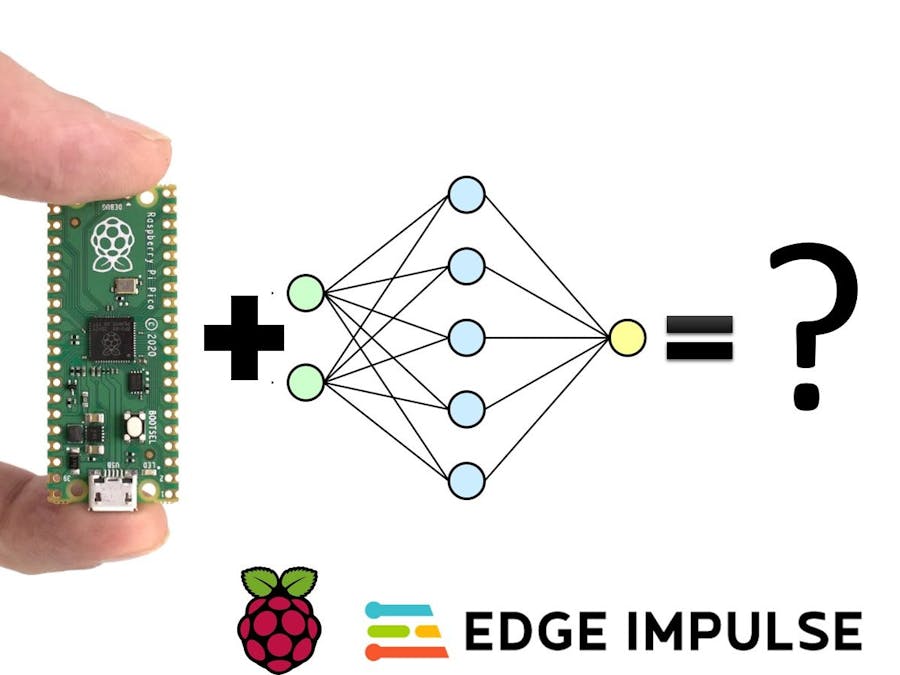
This is another article in know-how series, which focuses solely on a specific feature or technique and today I’ll tell you how to use neural network trained with Edge Impulse with new Raspberry Pico 2040. Also make sure to watch the tutorial video with step-by-step instructions.
UPDATED 03/29/2022. I try my best to keep my articles updated on a regular basis and based on your feedback from YouTube/Hackster comments section. If you'd like to show your support and appreciation for these efforts, consider buying me a coffee (or a pizza) :) .
Edge Impulse is a platform that enables developers to easily train and deploy deep learning models on embedded devices. You can read the full introduction in my first article of the series about TinyML. Now, let’s jump straight to action.
I have prepared a Raspberry Pico and Grove Shield for Pi Pico, which makes it convenient to connect various modules to the board during prototyping phase.
We’re going to use the model I trained for the first video of the course, the rock-paper-scissors classifier with light sensor, I shared it publicly, so you can access it if you follow this link. Go to deployment tab and you’ll see there are a few options available, such as Arduino library, Cube-AI CMSIS-PACK and C++ library. There is no Arduino IDE support for Pico yet, so the only viable option for now is a C++ libaray. Let’s choose this option and download it.
On your Linux computer (or Linux VM), git clone pico-sdk repository, export pico sdk path variable.
git clone -b master https://github.com/raspberrypi/pico-sdk.gi
cd pico-sdk
git submodule update --init
export PICO_SDK_PATH=[path-to-your-pico-sdk]
Alternatively for convenience you can add export command to.bashrc
echo 'export PICO_SDK_PATH=[path-to-your-pico-sdk]' >> ~/.bashrcInstall the toolchain for ARM and other tools with
sudo apt-get install gcc-arm-none-eabi libnewlib-arm-none-eabi build-essentialOn Ubuntu 18.04 Cmake version installed from apt-get is outdated, so you will need to install the latest one from snap
sudo snap install cmake --classicThen clone the example inference template that I made at https://github.com/AIWintermuteAI/example-standalone-inferencing-pico.git
Paste the content of downloaded C++ library archive to example inferencing folder. Then execute the following commands
mkdir build && cd build
cmake ..
make
After compilation process finishes, you can find firmware.uf2 file in build folder. While pressing BOOT button, connect your Pico to computer and copy the.uf2 file to newly appeared storage device. You can now connect to Pico with Arduino IDE Serial monitor or use other serial tools, for example picocom. Then you will see the following output - it means that inference is working properly.
The code performs inference on a sample data, you can find by going to project’s raw data tab. Now you can and probably will say - but I don’t want to perform inference on static data, I need to perform inference on my own data!
I got you.
I wrote another example, you can find it in the same repository under light-sensor branch, which gets reads the analog values from light sensor connected on pin0 and performs inference on it.
To compile it, from example-standalone-inferencing-pico folder
git checkout light_sensor
cd build
rm -rf *
cmake ..
make
Then copy newly built.uf2 file to Raspberry Pico.
You can see the actual demonstration with Pico connected to Grove Light sensor in the video at 12:11. This should be a good starting point for you to add your own sensors.
Since for your own project you will also want to get the data from sensors I have a data forwarder example in example-data-forwarder-pico repository. You can build it exactly the same way you did with inference example - create build directory, cmake and make. You can read more about data forwarder protocol in Edge Impulse documentation. Essentially data forwarder allows you to send data to Edge Impulse platform from any device, as long as the data comes in specified format, which is
- , or TAB character between data points in the data packet
- data packets are separated by a \n new line character
- Connection baud rate is 115200 bps
Finally, for the most curious of you, a short explanation on how I created the inference example for Pico, which might be useful in case you want to use Edge Impulse with other boards, that are not officially supported yet. First of all I modified CMakeLists.txt from another board already supported by Edge Impulse (Zephyr) to add Pico related things to it,
include(pico_sdk_import.cmake)
pico_sdk_init()
target_link_libraries(hello_ml pico_stdlib hardware_adc)
# enable usb output, disable uart output
pico_enable_stdio_usb(hello_ml 1)
pico_enable_stdio_uart(hello_ml 0)
pico_add_extra_outputs(hello_ml)
Then I added ei_classifier_porting.cpp to sources and changed the function placeholders to match function in Pico SDK, see more details about that one in the video. Finally I took main inference script from Arduino example and changed all Arduino functions to their equivalents in Pico SDK, for example delay() changed to sleep_ms() and so on. This is it really, it wasn’t that complicated even, took me a couple of hours to make it work!
If I can do it, so can you! You don’t need any external hardware to run the example, so if you already got your Pico, try it out! If you haven’t you can buy it on Seeed studio’s website together with an expansion board. Good luck and stay tuned for more articles!


Comments
Please log in or sign up to comment.