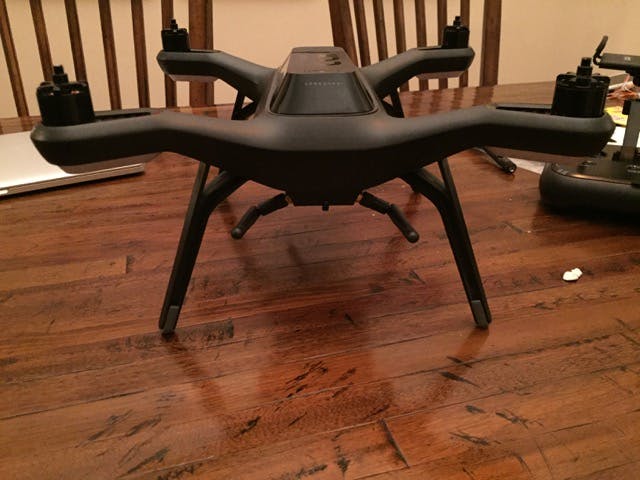
Warning: This hack will void your warranty and is for experts only. Proceed at your own risk.
Introduction
In this hack the WiFi antennae and magnetometer boards will be removed from the legs and placed into the link port. The original WiFi antennae will be replaced with SMA plugs and omnidirectional antennae.
Note: Removing the antennae from Solo's legs is a strategic step that will allow you to put completely different legs, retracts, or fly with no legs.
1. Teardown Solo
The first step of this hack is to teardown Solo completely. You will need to drill holes in the body so you want to make sure all the electronics are out so you don't damage anything and can clean the plastic bits out. Follow this hack to teardown Solo.
2. Drill holes to zip tie the mag board in the in link port
The goal is to mount the mag board in the link port in the orientation below. (After discussing with System Engineers at 3DR, this was determined to be the best location. There are probably a million ways to mount the link board in this position, but this method uses parts I had at my house.)
[image of mag held in orientation]
3. Drill holes for zip ties
Drill (4) 1/8" holes in the locations below, to run zip ties through. Try to get the hole on the back wall more centered than I did.
4. Drill holes for the SMA connectors
Drill two 1/4" holes on the sides of the link port extrusion (see image).
Tip: Start with 1/8" holes before using the 1/4" to get a cleaner hole and minimize walking of the bit.
Deburr the holes and thoroughly clean out the plastic bits from the body.
5. Prepare the zip tie for the hole in the mag board
The hole on the mag board is smaller than the width of the zip tie. To tie it to the body, cut one of the zip ties short and then slice it in half.
6. Prepare mag board to be placed
The mag board should be placed with the components facing down, these components should have some cushioning or support between the board and the body to keep it level and reduce vibrations. Here I used UHU tac squares, but you can also use thick 3M double sided tape or many other materials
7. Zip tie the board to the body.
First thread the modified zip tie through the rear hole in the link port, then into the hole in the mag board, and out the bottom hole. Then thread the zip tie around the two holes on the front of the link port. Align the mag board so it is pointed straight back with the components on the bottom before pulling both zip ties very tight and securing the mag board in place.
8. Install the SMA connectors.
Install the SMA connectors in the two holes on the side of the link port. Put the tooth washer on the inside and the spring washer on the outside. Tighten them as best as possible! (You do not want these coming loose!!)
9. Remove and replace existing WiFi antennae
On the companion computer wireless module, remove the existing antennas and the glue that holds them in place. Connect the new antennae to the wifi module. Start to make note of the orientation the companion computer will be with the main board.
10. Reassemble Solo
Reconnect the companion computer and the magnetometer to the main board and reassembly Solo. The next step requires it to be on.
11. Update the orientation of the mag board (compass)
To do this, you must connect to Solo using APM Planner. To do this:
- Turn on Solo and connect to the wi-fi with your computer.
- Once connected, open APM planner and click "connect" in the upper right corner.
- Navigate to the "Initial Setup" tab
- In the panel on the left, choose Compass
- In the main panel there is a dropdown menu for "3DR autopilot with compass", in the dropdown menu select "None 0". The text "updated" should appear to the left of the menu to confirm that the autopilot has been updated.
11. Calibrate Compass
Connect to Solo with the 3DR Solo app and go to Settings > Solo Settings > Compass calibration and perform a compass calibration. If it gives you hell, keep trying or move away from all metal objects (beware of watches) and reboot if needed. When finished you are ready to fly (or install retracts, or fly with no legs for filming VR ;)


Comments
Please log in or sign up to comment.