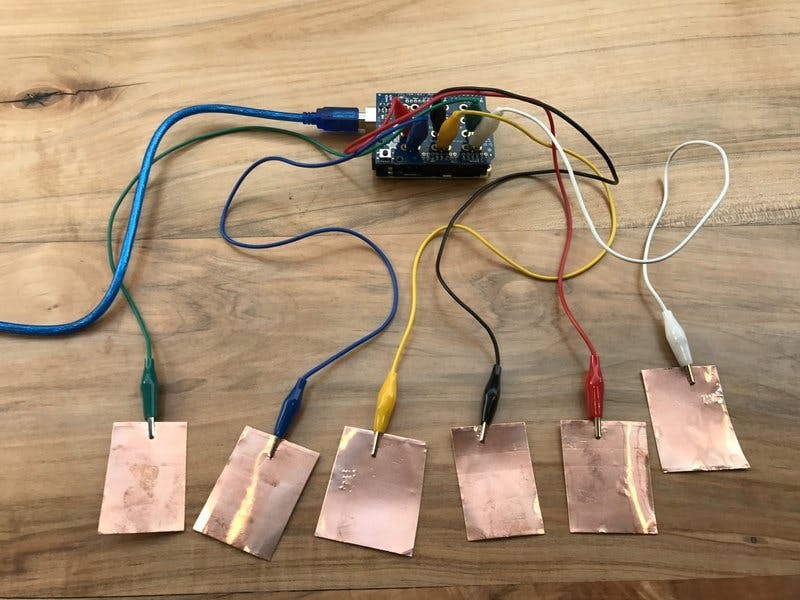
Create a Bluetooth MIDI controller using an Arduino 101 and the Adafruit Capacitive Touch Shield.
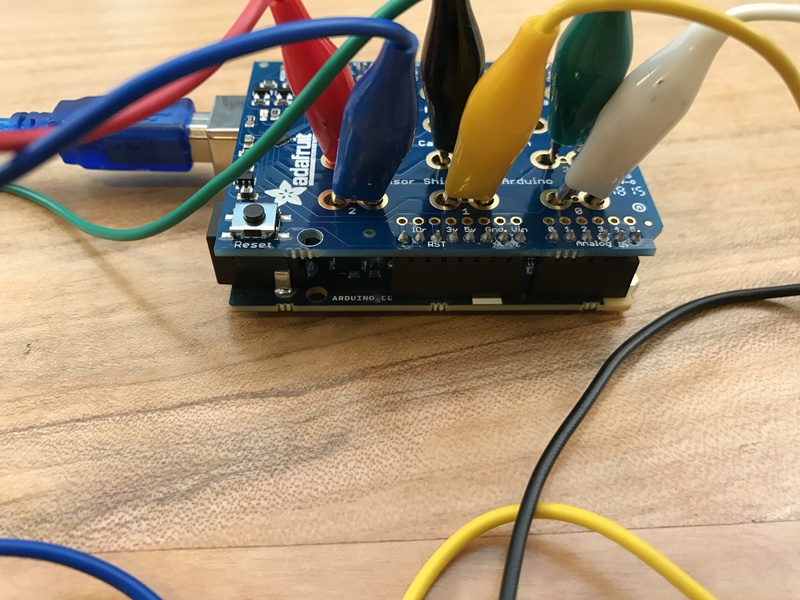
What to DoStep 1 - Plug the shield into the Arduino 101. Connect the alligator clip wires from the shield to copper tape, something electrically conductive, a vegetables, or fruit.
Step 2 - Open the Arduino101BluetoothMIDI Sketch in the Arduino IDE.
If this is the first time you've used the Arduino 101, you'll need to use the Boards Manager (Tools -> Board -> Boards Manager) to install the files for "Intel Curie Boards". Use the library manger (Sketch -> Include Library -> Manage Libraries...) to install the Adafruit MPR121 library.
Step 3 - Upload the sketch to your Arduino.
Open Garage Band on an iPad or iPhone. Open the settings using the wrench in the top right corner. Choose Advanced, Bluetooth MIDI Devices. You should see MIDI_101 listed under Bluetooth MIDI devices. Tap on MIDI_101 to connect. Play the drums by tapping on the copper tape.
Experiment a BitTry some other Garage Band instruments like the Alchemy Synth. You can change the notes that are played by editing the array of instruments. Use the data from the MIDI association to pick different notes.
If you don't have an iPad or iPhone you should be able to connect the Arduino 101 to other MIDI software that supports Bluetooth low energy.


_baVEVgguW1.jpg?auto=compress%2Cformat&w=48&h=48&fit=fill&bg=ffffff)


Comments