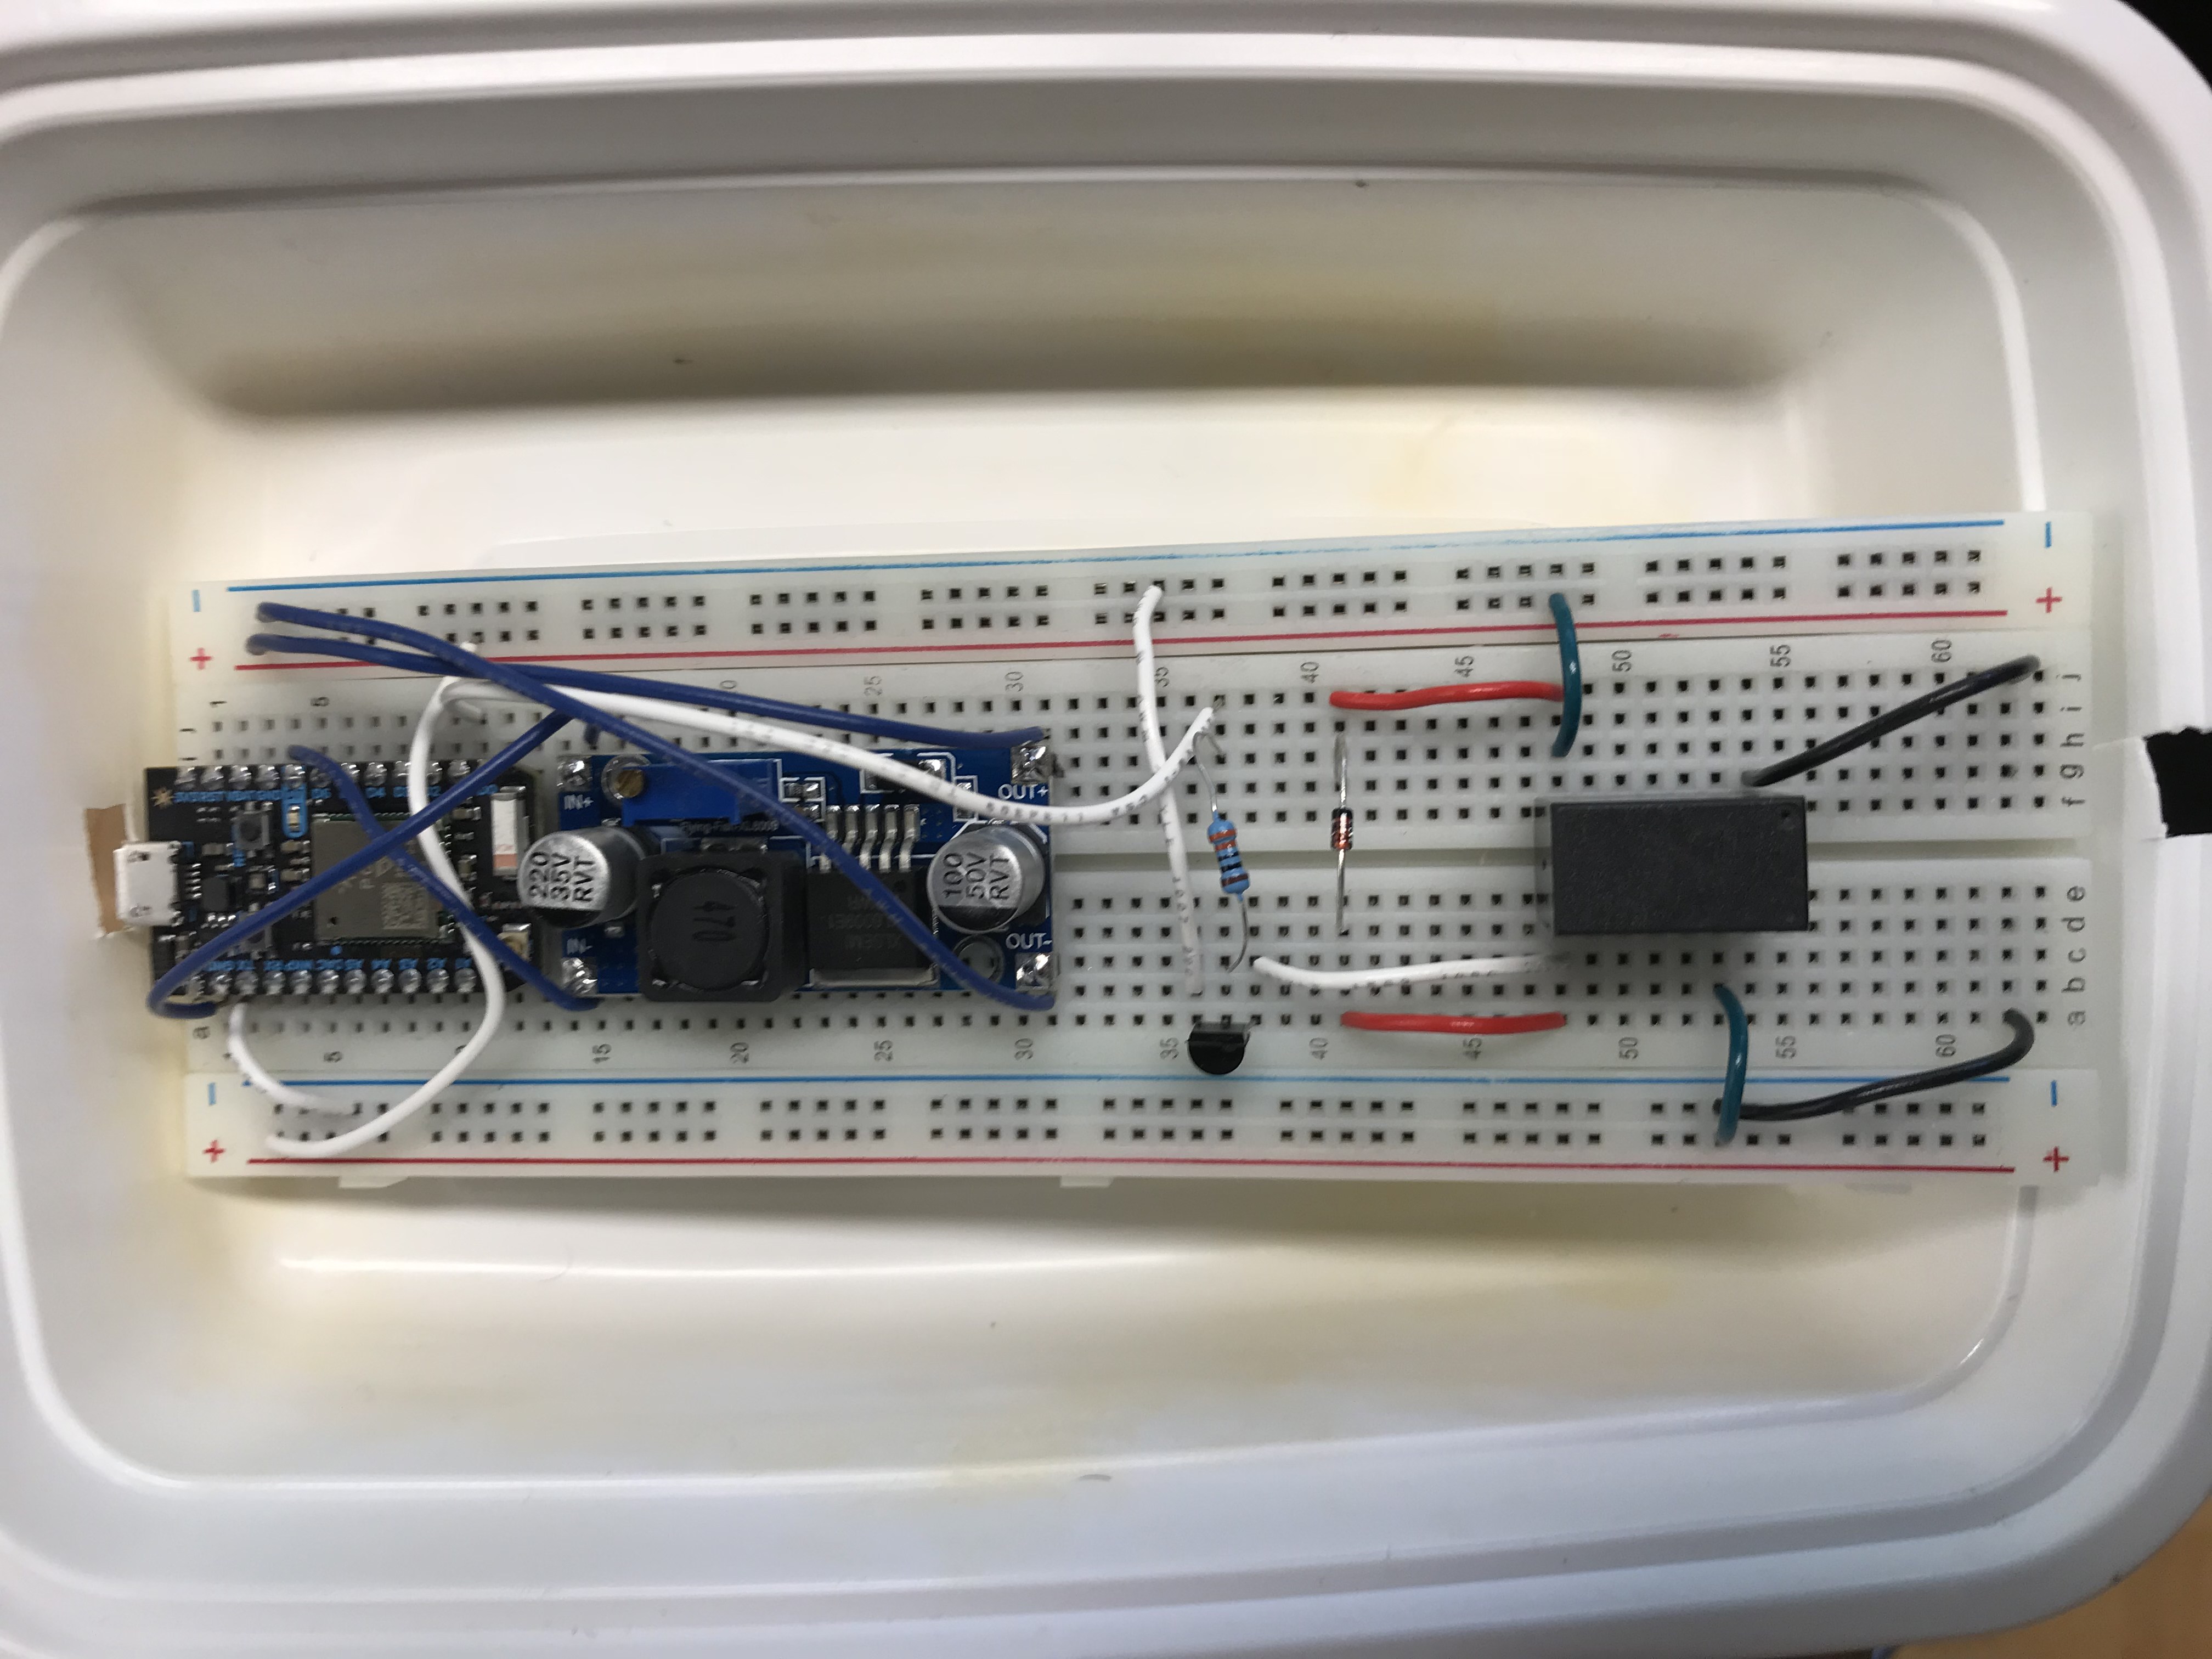
For my 2nd project in Physical computing, the theme was home automation. I figured out that I wanted to create a water pump to control via my phone using a photon so when I get home I can pour myself a cup of water.
I had found a video on how to create a water pump using a dc motor.
Here's the link:
Step 1: Making the ImpellerTo start of the build we must obtain the housing for the pump. For this we have a plastic candle holder. Next we need to make the impeller, the bottom of the impeller will be made out of a plastic sheet. The piece of plastic I used was a food tray, I recommend using a thick tray because mine was a little too thin so it would melt from the heat of the hot glue. I use a compass to trace a circle slightly smaller than the plastic candle holder onto a piece of plastic. Then cut out the piece of plastic and color it any color so it can be seen better. Once I cut it out, I also drill a hole in the center about the same size as the tip of the dc motor so it can be mounted onto it at a later time.
Step 2: Making the Impeller BladesNext we need to make the blades of the impeller. To do this I cut out a long thin piece of plastic about the size of the side of the plastic candle holder and cut it into 4 smaller pieces. I glue these four smaller pieces onto the impeller I just made. You want to glue them onto to the impeller to make an even spacing between each blade.
Next I drilled a hole into the bottom of the plastic candle holder. The shaft of the motor will need to fit through that hole, so it should be drilled slightly larger than the diameter of the motor shaft. Next I will put glue around the face of the motor and attach it to the bottom of the candle holder. Make sure to seal the holes on the face of the motor so water doesn’t get through.
Step 4: Attaching the ImpellerAfter this we will now need to put glue in between all 4 blades and attach it onto the motor’s shaft. Once the glue dries you should rotate the finished impeller to make sure it does not grind against the sides or bottom of the candle holder
Step 5: Closing Off the PumpNext we will need to seal off the pump’s housing. For this I trace out the candle holder on the sheet of plastic and cut out the plastic circle. Before attaching the plastic circle you should first drill a hole the size of the tubing you chose in the plastic circle. This will serve as an entrance for the water. Next I glue the tubing onto the entrance. It is important that glue is put all the way around so it will stay water tight. To finish it off, I glue the circular piece of plastic onto the front of the pump’s housing. The blades of the impeller should be at a height where they will not touch the circle that is attached to the front. If the impellers have too much height, they should be trimmer until they fit. The front of the housing should be glued on so that if the straws are sealed, the pump housing will be airtight. Once this is done you can test the pump.
.
Instead of forcing the water to leave perpendicular to the housing, I decided to try make it leave tangential to the housing which would allow the water to flow more naturally. To do this I simply cut out a rectangular like hole in the side of the pump about the same size of the diameter of the tubing and cut out part of the bottom of a tube to make a snug fit. Once that was done I glued it on with lots of glue and it was ready to test.
One major challenge was to make the pump watertight, if you didn't get it right the first time, it gets harder to fully seal the pump since there would be many places the liquid can get through. Hence the reason why I had so much hot glue covering the water pump to ensure it was watertight and airtight. This is a crucial step to take slowly to ensure that the whole pump is fully sealed.


Comments
Please log in or sign up to comment.