


You can read this and other amazing tutorials onElectroPeak's official website
OverviewIn this tutorial, you will learn how to set up DHT11 and DHT22 sensors, and measure the environment temperature and humidity.
What You Will Learn- DHT11 and DHT22 features and differences
- DHT11 and DHT22 structure
- how to set up DHT11 and DHT22 sensors with Arduino
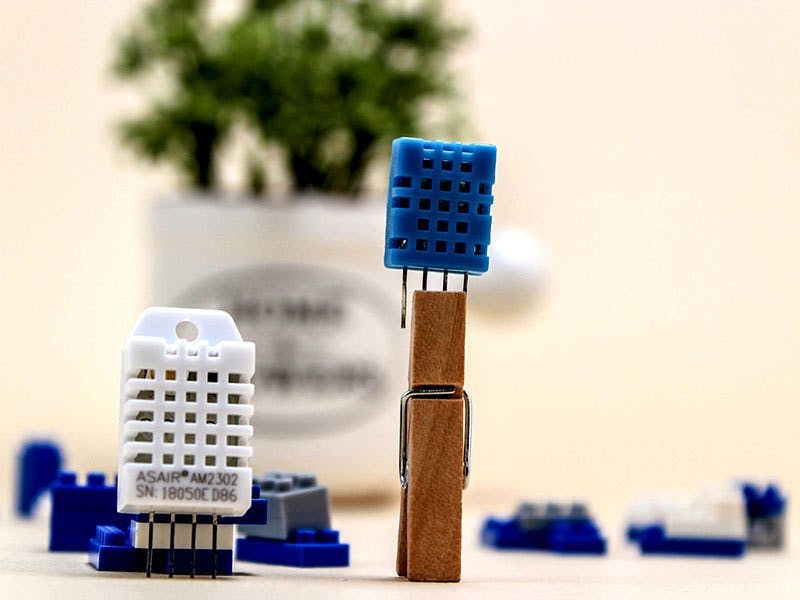
Due to the importance of parameters such as temperature and humidity in many projects, the correct selection of sensors that are capable of measuring temperature and humidity is very important. The DHT family named as DHT11 and DHT22 are the most popular and common sensors among the temperature and humidity sensors.
You can see their features in the table below:
Low price is the most important feature of DHT11, but it does not have a highaccuracy and a Wide measurement range. On the other hand DHT22, with a wide range and high accuracy for measurement is more than 2.5 times more expensive than the other one in the family.
Interfacing DHT11 Sensor w/ ArduinoCircuit
DHT11 contains 4 pins. 2pins for supply, 1 for sending data, and the other one is useless. To make this sensor work properly and give you the correct data, you must pull up the data pin with a 4.7 k resistance. Leave the -third pin of the sensor without any connection.
Warning:Be careful about the sensor and the pin direction, your sensor will be damaged in case of a mistake.
Code
To begin transferring data, upload this code to your Arduino and open the serial monitor.
/*
DHT11
Tempertature and Hummidity
modified on 7 Feb 2019
by Saeed Hosseini @ Electropeak
https://electropeak.com/learn/guides/
*/
#include "dht.h"
conat int dht_pin = 8;
dht DHT;
void setup(){
 Serial.begin(9600);
 delay(500);
 Serial.print("***Electropeak***\n\n");
}
void loop(){
   DHT.read11(dht_pin);
   Serial.print("humidity = ");
   Serial.print(DHT.humidity);
   Serial.print("%  ");
   Serial.print("temperature = ");
   Serial.print(DHT.temperature);
   Serial.println("C  ");
   delay(3000);//We have to wait at least 2 seconds before accessing the sensor again.
}
}
DHT.humidity returns humidity in percent and DHT.temperature returns the temperature in Celsius.
Note:We have to wait for 2 seconds between each measurement. Otherwise, the sensor will return wrong data.
Instead of displaying information on the computer, you can display the temperature and humidity on the LCD.
For more information see this tutorial: Using 1602 LCD Keypad Shield w/ Arduino
Interfacing DHT22 Sensor w/ and Arduinosetting up and using the DHT22 sensor is almost the same as DHT11.
Circuit
Code
The only difference is in DHT.trad function, where you should write 22 instead of 11. Also, you can define temperature and humidity parameters as floats for DHT22 to see them more accurate.
Upload this code on your Arduino board and watch the results in Serial monitor.
/*
DHT22
Tempertature and Hummidity
modified on 7 Feb 2019
by Saeed Hosseini @ Electropeak
https://electropeak.com/learn/guides/
*/
#include
const int dataPin = 8;
dht DHT;
void setup() {
 Serial.begin(9600);
}
void loop() {
 int readData = DHT.read22(dataPin);
 float t = DHT.temperature;
 float h = DHT.humidity;
 Serial.print("Temperature = ");
 Serial.print(t);
 Serial.print(" *C ");
 Serial.print("    Humidity = ");
 Serial.print(h);
 Serial.println(" % ");
 delay(2000);
}
- Try to make a smart fan


Comments
Please log in or sign up to comment.