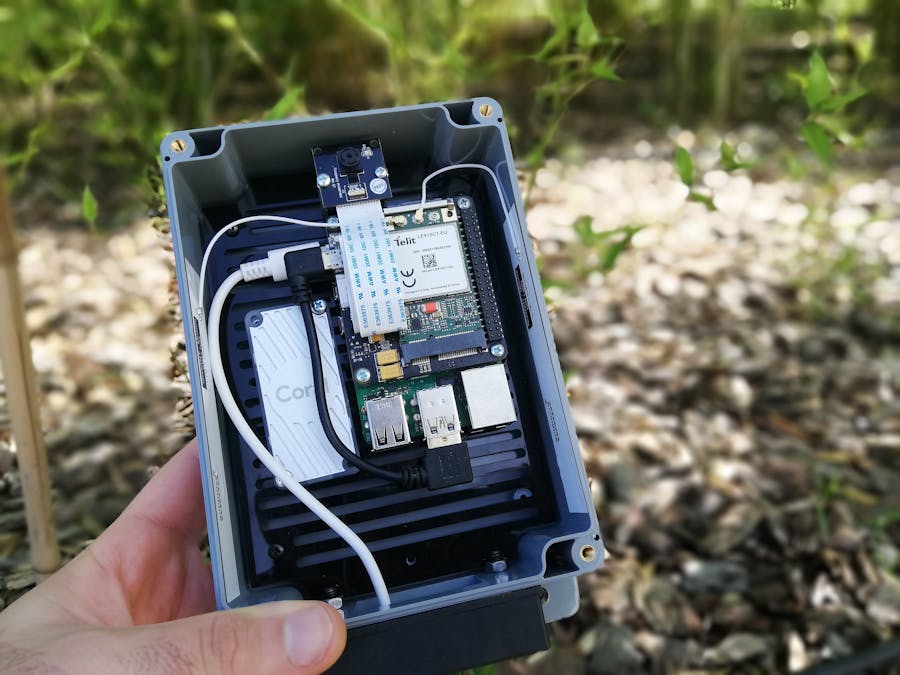
Today, we will build a project on simple object detection via the remote terminal developed by Sixfab, using Google Coral, which I included in my project. Here is a project for a real-world solution that connects artificial intelligence, remotely assisted IoT deployment and cloud connectivity.
Google Coral is an edge AI hardware and software platform for intelligent edge devices with fast neural network inferencing. Coral is Google’s initiative for pushing into Edge AI, with machine learning devices that run without a connection to the cloud. With Coral, you can quickly perform machine learning operations on end devices. In this project, Coral will perform object detection on a captured image. After completing the installation steps, we will do it remotely with Sixfab CORE.
ProcedureIn this project, we will perform object detection with Coral on the picture we took on the Raspberry Pi, which we provide cellular connection, and we will do all of these operations remotely and quickly.
Ready? Let's get started! 🚀
Hardware SetupHere's a quick look at what we are going to build:
1. Attach the Telit LE910C1 mini PCIe(or compatible modules) module to the HAT.
2. Attach the antenna to the mini PCIe module. I recommend sticking the antennas as in the picture.
3. Attach 40 pin header to the Base HAT that comes with the HAT and insert the Sixfab SIM to Base HAT.
4. Connect the camera module.
4. Now attach the HAT to the Raspberry Pi.
5. Connect the micro-USB cable to the HAT and Raspberry Pi.
6. Put it inside the enclosure.
Note: The top cover is not used. You can use it if you want.
7. Now connect the USB Accelerator to your Raspberry Pi using the USB cable.
8. Finally, power up the Raspberry Pi.
Software Setup Instructions1. Complete the Sixfab CORE installation.
In my previous project, I explained how to install Sixfab CORE. Click on the link below and follow the installation steps there.Raspberry Pi Cellular Connection using Sixfab CORE
2. Setting up the camera software
Now you need to enable camera support using the raspi-config program you will have used when you first set up your Raspberry Pi.
sudo raspi-configUse the cursor keys to select and open Interfacing Options, and then select Camera and follow the prompt to enable the camera.
3. Setting up the Coral USB Accelerator
Follow Google's installation Guide to setting up the Coral USB Accelerator.
Login to Sixfab CORE and open 'remote terminal' after making sure your device's cellular connection.
Change to the /home/pi directory.
Download the code from GitHub:
mkdir coral && cd coral

git clone https://github.com/google-coral/pycoral.git

cd pycoral
Download the model and labels:
bash examples/install_requirements.sh detect_image.pyTake the photo.
sudo raspistill -o image.jpgTroubleshooting
If you don't run the command with 'sudo' you may get the following error. One solution is to run it with sudo.* failed to open vchiq instance
Run the image detector with the photo (shown in figure 1)
python3 examples/detect_image.py \
--model test_data/ssd_mobilenet_v2_coco_quant_postprocess_edgetpu.tflite \
--labels test_data/coco_labels.txt \
--input image.jpg
You should see results like this:
Congrats!


Comments
Please log in or sign up to comment.