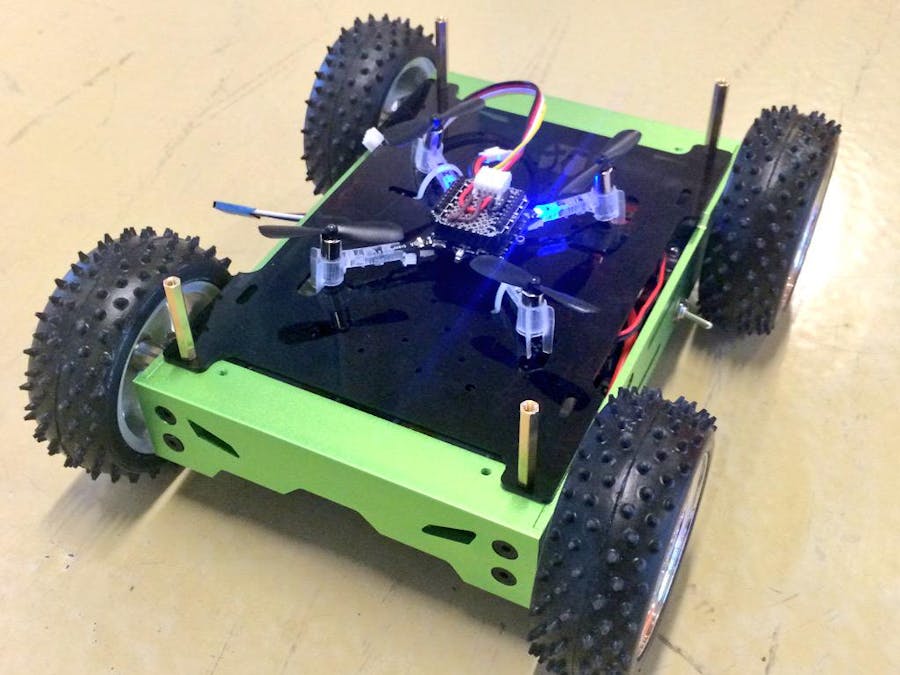
At Bitcraze we love robotics! Even though we design the Crazyflie 2.0 quadcoper that can be seen swishing around in our office, sometimes we want to go back to something more basic. So we decided to see if we could hook in our Crazyflie 2.0 to some RC-car. The platform we selected was the Skeleton bot from Seeedstudio. It has a motor controller based on Arduino and connectors for external communication.
The plan was to build an interface-deck, where you can easily plug the Crazyflie 2.0 to the platform to control the car, and then easily disconnect it and fly normally.
Step 1 - Getting readyFirst of all make sure you have all the needed hardware and have assembled both the Skeleton bot and the Crazyflie 2.0.
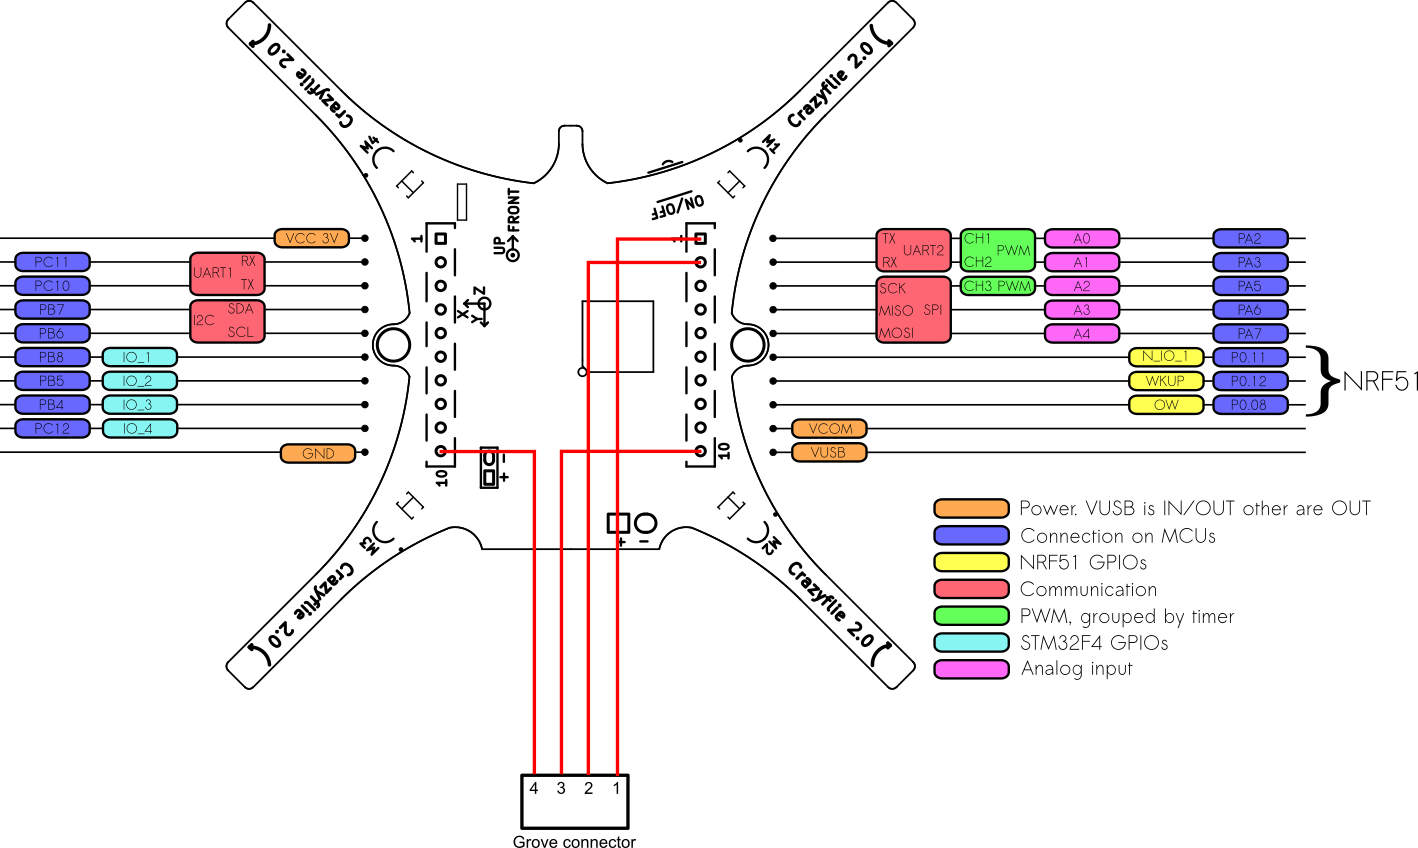
Step 2 - Making the expansion deckIn order to be able to control the Skeleton bot from the Crazyflie 2.0 we need to interface it somehow. We selected the UART on the motor controller. By soldering one of the Grove connectors to a Crazyflie 2.0 prototype deck and connecting the pins to an UART on the deck it's possible to send commands to the motor controller. Please see the detailed schematic in the resources below.
The Skeleton bot contains an Arduino compatible micro-controller and can be programmed like a normal Arduino. The connector for programming it is shown below.
In order to be able to control the Skeleton bot you'll have to modify the Crazyflie 2.0 firmware. The easiest way to do this is to either use the attached binary, or to download our pre-made Virtual Machine that contains the full development environment.
Attach the prototype deck to the Crazyflie 2.0 and connect it to the Skeleton bot using a Grove cable. Make sure to attach your Crazyflie 2.0 to the Skeleton bot, the ride might get a bit bumpy!
Now you can connect to the Crazyflie 2.0, just like you would do normally. Either using the client on a computer or using your mobile device. But instead of controlling the flying you will be controlling a car instead.


Comments
Please log in or sign up to comment.