Often, driverless cars or rovers will use a camera sensor for many of it's tasks such as navigating lanes or avoid obstacles. One clear problem to that is the fact that this approach often fails at night due to low lighting. With the Walabot, we can help mitigate that problem but adding a richer layer on top of existing imaging sensors. In this project, we will add distance which is independent of lighting conditions which can provide good obstacle detection/avoidance in our machine learning model.
Overall ConceptTo achieve this, we will be using the Donkey Car project since that provides a super accessible platform into driverless systems. Most of the machine learning is already taken care of for us. This project will mostly consist of adding in the Walabot as another sensor layer.
Below (GIF) is an example of the approach we can take to indicate near objects and the AI can learn from the images as a result:
Now here's a GIF of the same situation but without any source of light:
This provides us a much richer interface rather than simply relying on the Pi Camera. One thing to note is that if you have the Walabot Developer edition, you have access to the imaging API which will allow you to generate even richer images. This project uses the Creator edition so it will be limited to the capabilities of that.
ToolingHardware1. Donkey Car
It's going to take a couple of hours to really assemble and test the Donkey Car depending on what version you got. If you are building your own, then obviously that time frame is a lot higher. If you want something hassle free to get quickly started, the kits are a good place to start!
Always follow best practice when it comes to RC cars! Remember, we're dealing with a Li-Po battery so make sure to disconnect after use.
To get started with assembly, follow every step provided here: http://docs.donkeycar.com/guide/build_hardware/
2. Walabot (Creator)
Plug in your Walabot to the Raspberry Pi. If you have a Walabot that uses secondary power, then plug that into an external battery pack. Make sure to set the USB current limit in the software section so the Walabot gets enough power to actually work. You'll get various errors due to power related issues if you don't provide sufficient power. One thing to note is that generally you will need a good power source for the Raspberry Pi also, especially for the Creator edition.
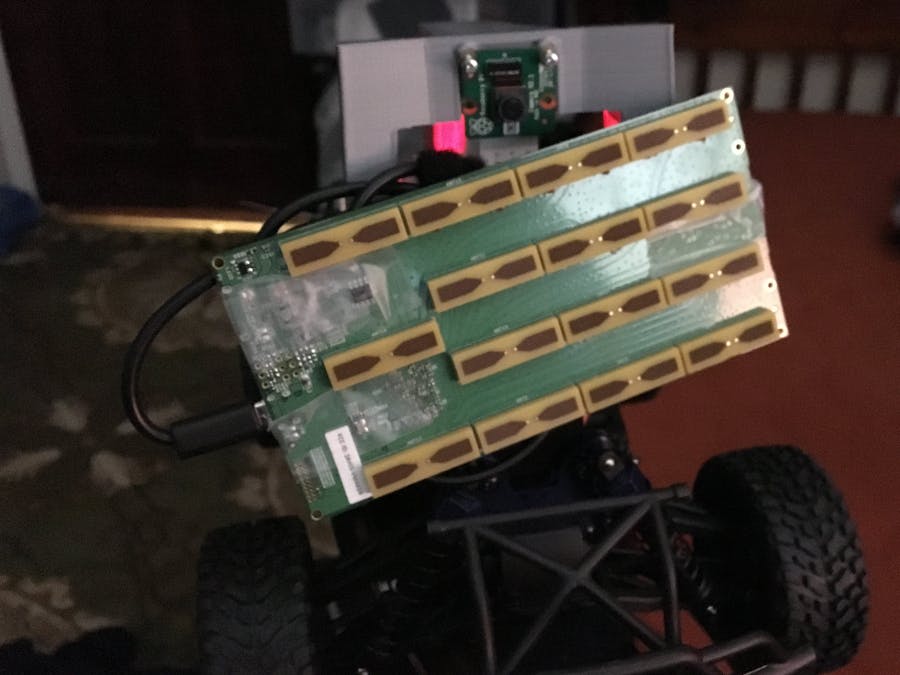
The Walabot should be mounted in front of the Donkey Car such that it can detect oncoming obstacles like so:
1. Raspberry Pi Pre-requisites
Due to the power consumption of the Walabot, you will need to drive the USB ports to their max current. You can do this by setting this at the end of the /boot/config.txt file:
max_usb_current=1
Restart the Raspberry Pi after doing so. Make sure to also repartition the SD card to make most of the filesystem.
2. Donkey Car
We'll be using a fork of the Donkey Car repo to take advantage of the Walabot:
$ git clone https://github.com/exp0nge/donkey.git
The Donkey Car needs to be calibrated so that the controls are at the same standard as every other Donkey Car. Calibrate the steering and throttle by following the guide here: http://docs.donkeycar.com/guide/calibrate/
The procedure to train the autopilot model is to first provide collect a whole bunch of images. Go to the web page and Start Recording. More directions provided here: http://docs.donkeycar.com/guide/train_autopilot/
3. Android App
We can control our app by using a WebView and the Donkey Car vehicle control page:


_copy_P5AWOdT4dX.png?auto=compress%2Cformat&w=48&h=48&fit=fill&bg=ffffff)


Comments
Please log in or sign up to comment.