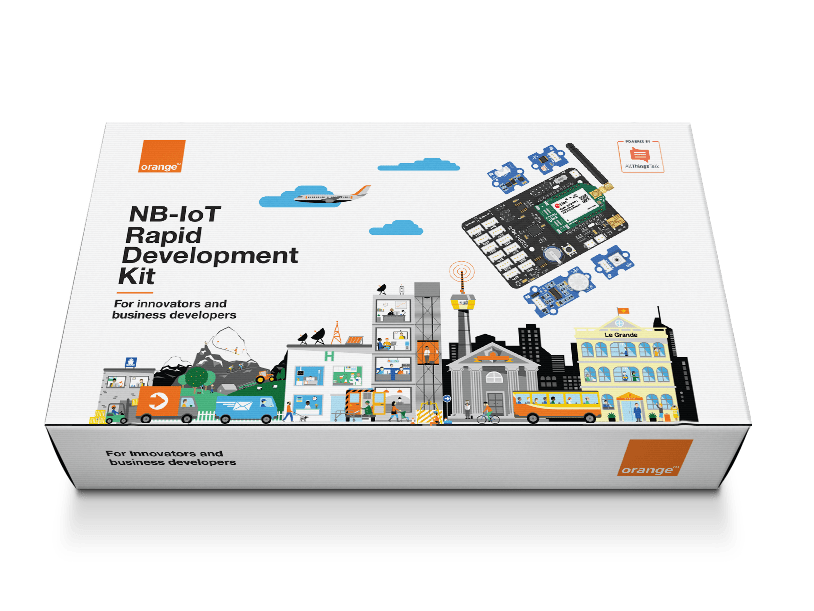
Getting started with IoT can be a real hassle. You need a "thing"or device, an IoT network to connect too, a backend to land the data and a web application to create a dashboard. All these components in the IoT chain need to be able to work together smoothly...and where to start? How many time do I need to spend to have a result?
With Orange NB-IoT Rapid Development Kit and Orange Maker IoT platform, the free IoT platform for prototyping, you are able to connect, collect and visualise your data within 30 minutes! Here is how to get started in 5 easy steps.
Step 1: Sign up to Orange Maker and create your device- Sign up at https://orange.allthingstalk.comwith your email address and a chosen username and password.
- Orange Maker organises members and devices into Grounds, a better way to manage things and data access. Orange Maker automatically creates a first Ground, called “Playground” after signing up
- To connect your Kit in a Ground, click Connect a device
- In the Orange Maker catalogue choose Orange NB-IoT Rapid Development Kit
- Then select Orange as your NB-IoT Service Provider
- Give your device a name and click connect
- All assets, the sensors included in the kit are automatically created
- If not already installed, first downaload and install the Arduino IDE
- Download the AllThingsTalk Arduino NB-IoT SDK and place them in the folder Arduino >> Library folder
- Download the AllThingsTalk Arduino NB-IoT RDK and place them in the folder Arduino >> Library folder
- Mbili board support in your Arduino IDE; please follow this get started guide
- Insert the MicroSIM card in the NB-IoT radio module as indicated on the image below
- Attach NB-IoT radio module & antenna (without the range is very limited). If attached properly you will notice that one UBee pin
VBAT 2G/3Gis not inserted in the MBili Bee Socket - Connect the Sodaq Mbili to your computer over USB
- Make sure the Mbili board is powered up by flipping the power switch
SW2toON
- Open your Arduino IDE
- Go to Tools > Board and select the SODAQ Mbili board as indicated on the image below
- Under Tools > Port select the USB port automatically assigned by your computer to which your device is connected
- In your Arduino IDE, go to and open File > Examples > arduino-nbiot-sdk-master > counter.
- Browse and open the
keys.hfile located in thearduino-nbiot-sdk-masterLibrary folder, by default you can find it in: - Mydocuments/Arduino/Libraries/Arduino-nbiot-sdk-master folder for Windows
- Documents/Arduino/Libraries/Arduino-nbiot-sdk-master folder for MacOS
- Change the
DeviceIDandDeviceTokenvalues with the values that can be found under Device Settings > Authentication section of your device in the Maker Application. In thekeys.hfile you will notice that the APN is already pre configured and should not be changed.
/**** * Enter your AllThingsTalk device credentials below */
#ifndef KEYS_h
#define KEYS_hconst
char* DEVICE_ID = "LA1Sn4yuYx16YBAABqQQnSan";
const char* DEVICE_TOKEN = "maker:4VyRL0fr22kOm01qFyHqw3gE91MahfK1Q3zEfRg0";
const char* APN = "starter.att.iot";
#endif
Simply hit the upload icon in the Arduino IDE. This will save the sketch, compile it and upload it to your Arduino.
NOTE: After uploading, you might need to flip the power switch SW2 on the Sodaq Mbili OFF and back ON to make sure the Mbili reboots and starts up our sketch.Now your device should increase the value of a counter and send each 10 seconds its state to AllThingsTalk. This will be represented by an incrementing Asset “Counter” in the Maker application.
On first use it can take some time (up to 1, 5min) to set up the NB-IoT connection.
Alternatively, you can also open the Tools > Serial monitor of the Arduino IDE. This can be very useful when debugging your own sketches. Make sure you select the correct COM port to listen (under Tools > Port ). When the monitor is open, make sure the Baud rate is set to 57600*Step 5: More examples
As a next step, please try these basic experiments connecting the Grove sensors from the kit
- Count visits | count visits for just-in-time facility maintenance
- Environmental sensing | measure your surroundings
- Guard your stuff | lock your bike and get notified when it moves
To forward the data of the assets to your own web application, you can subscribe to the MQTT broker of the Orange Maker IoT Platform with your own MQTT Client.
Here is a tutorial how to forward your data to an MQTT Client.


Comments
Please log in or sign up to comment.