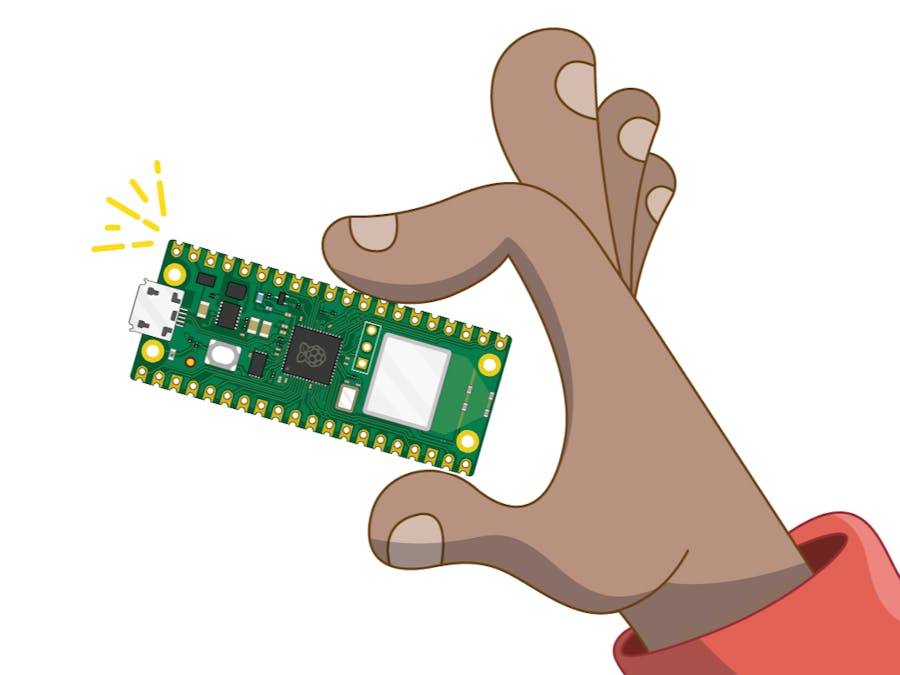
MicroPython has gained significant traction in the world of embedded systems programming due to its simplicity and efficiency. Raspberry Pi Pico, a microcontroller board developed by the Raspberry Pi Foundation, offers a versatile platform for running MicroPython. In industrial automation, Modbus is a widely used communication protocol for connecting electronic devices. Integrating Modbus capabilities with Raspberry Pi Pico can extend its applicability in various industrial settings. In this tutorial, we'll walk through the process of installing the MicroPython Modbus library on Raspberry Pi Pico W using Thonny IDE.
PrerequisitesBefore proceeding with the installation, ensure you have the following:
- Raspberry Pi Pico W board
- Micro USB cable for connecting Raspberry Pi Pico to your computer
- Thonny IDE installed on your computer
- Basic understanding of MicroPython and Thonny IDE
- Open Thonny IDE on your computer.
- Connect your Raspberry Pi Pico to your computer using a micro USB cable.
- Click on the "Tools" on Menu bar on Thonny and then click on “Manage Packages” button.
- In the Manage Packages search for “micropython_modbus”
- Then click Install Button to install “micropython_modbus” library into Raspbeery Pi Pico W.
- After Installation you will able to see “micropython_modbus” library in installed library section.
Write a below MicroPython script in the shell to test the Modbus library installation. For example:
from umodbus.tcp import ModbusTCP- Run the script, and if everything is set up correctly, then shell will not throw any error. You should see the response as shown below.
In this tutorial, we've demonstrated how to install the MicroPython Modbus library on Raspberry Pi Pico W using Thonny IDE. By following these steps, you can easily integrate Modbus communication capabilities into your Raspberry Pi Pico projects, opening up possibilities for industrial automation and control applications. Experiment with different Modbus functions and configurations to suit your specific project requirements. Happy coding!


Comments
Please log in or sign up to comment.