Hardware components | ||||||
 |
| × | 1 | |||
 |
| × | 1 | |||
| × | 3 | ||||
| × | 3 | ||||
| × | 1 | ||||
 |
| × | 20 | |||
| × | 1 | ||||
| × | 12 | ||||
| × | 1 | ||||
| × | 1 | ||||
 |
| × | 3 | |||
| × | 3 | ||||
| × | 3 | ||||
 |
| × | 1 | |||
Software apps and online services | ||||||
| ||||||
Hand tools and fabrication machines | ||||||
 |
| |||||
| ||||||
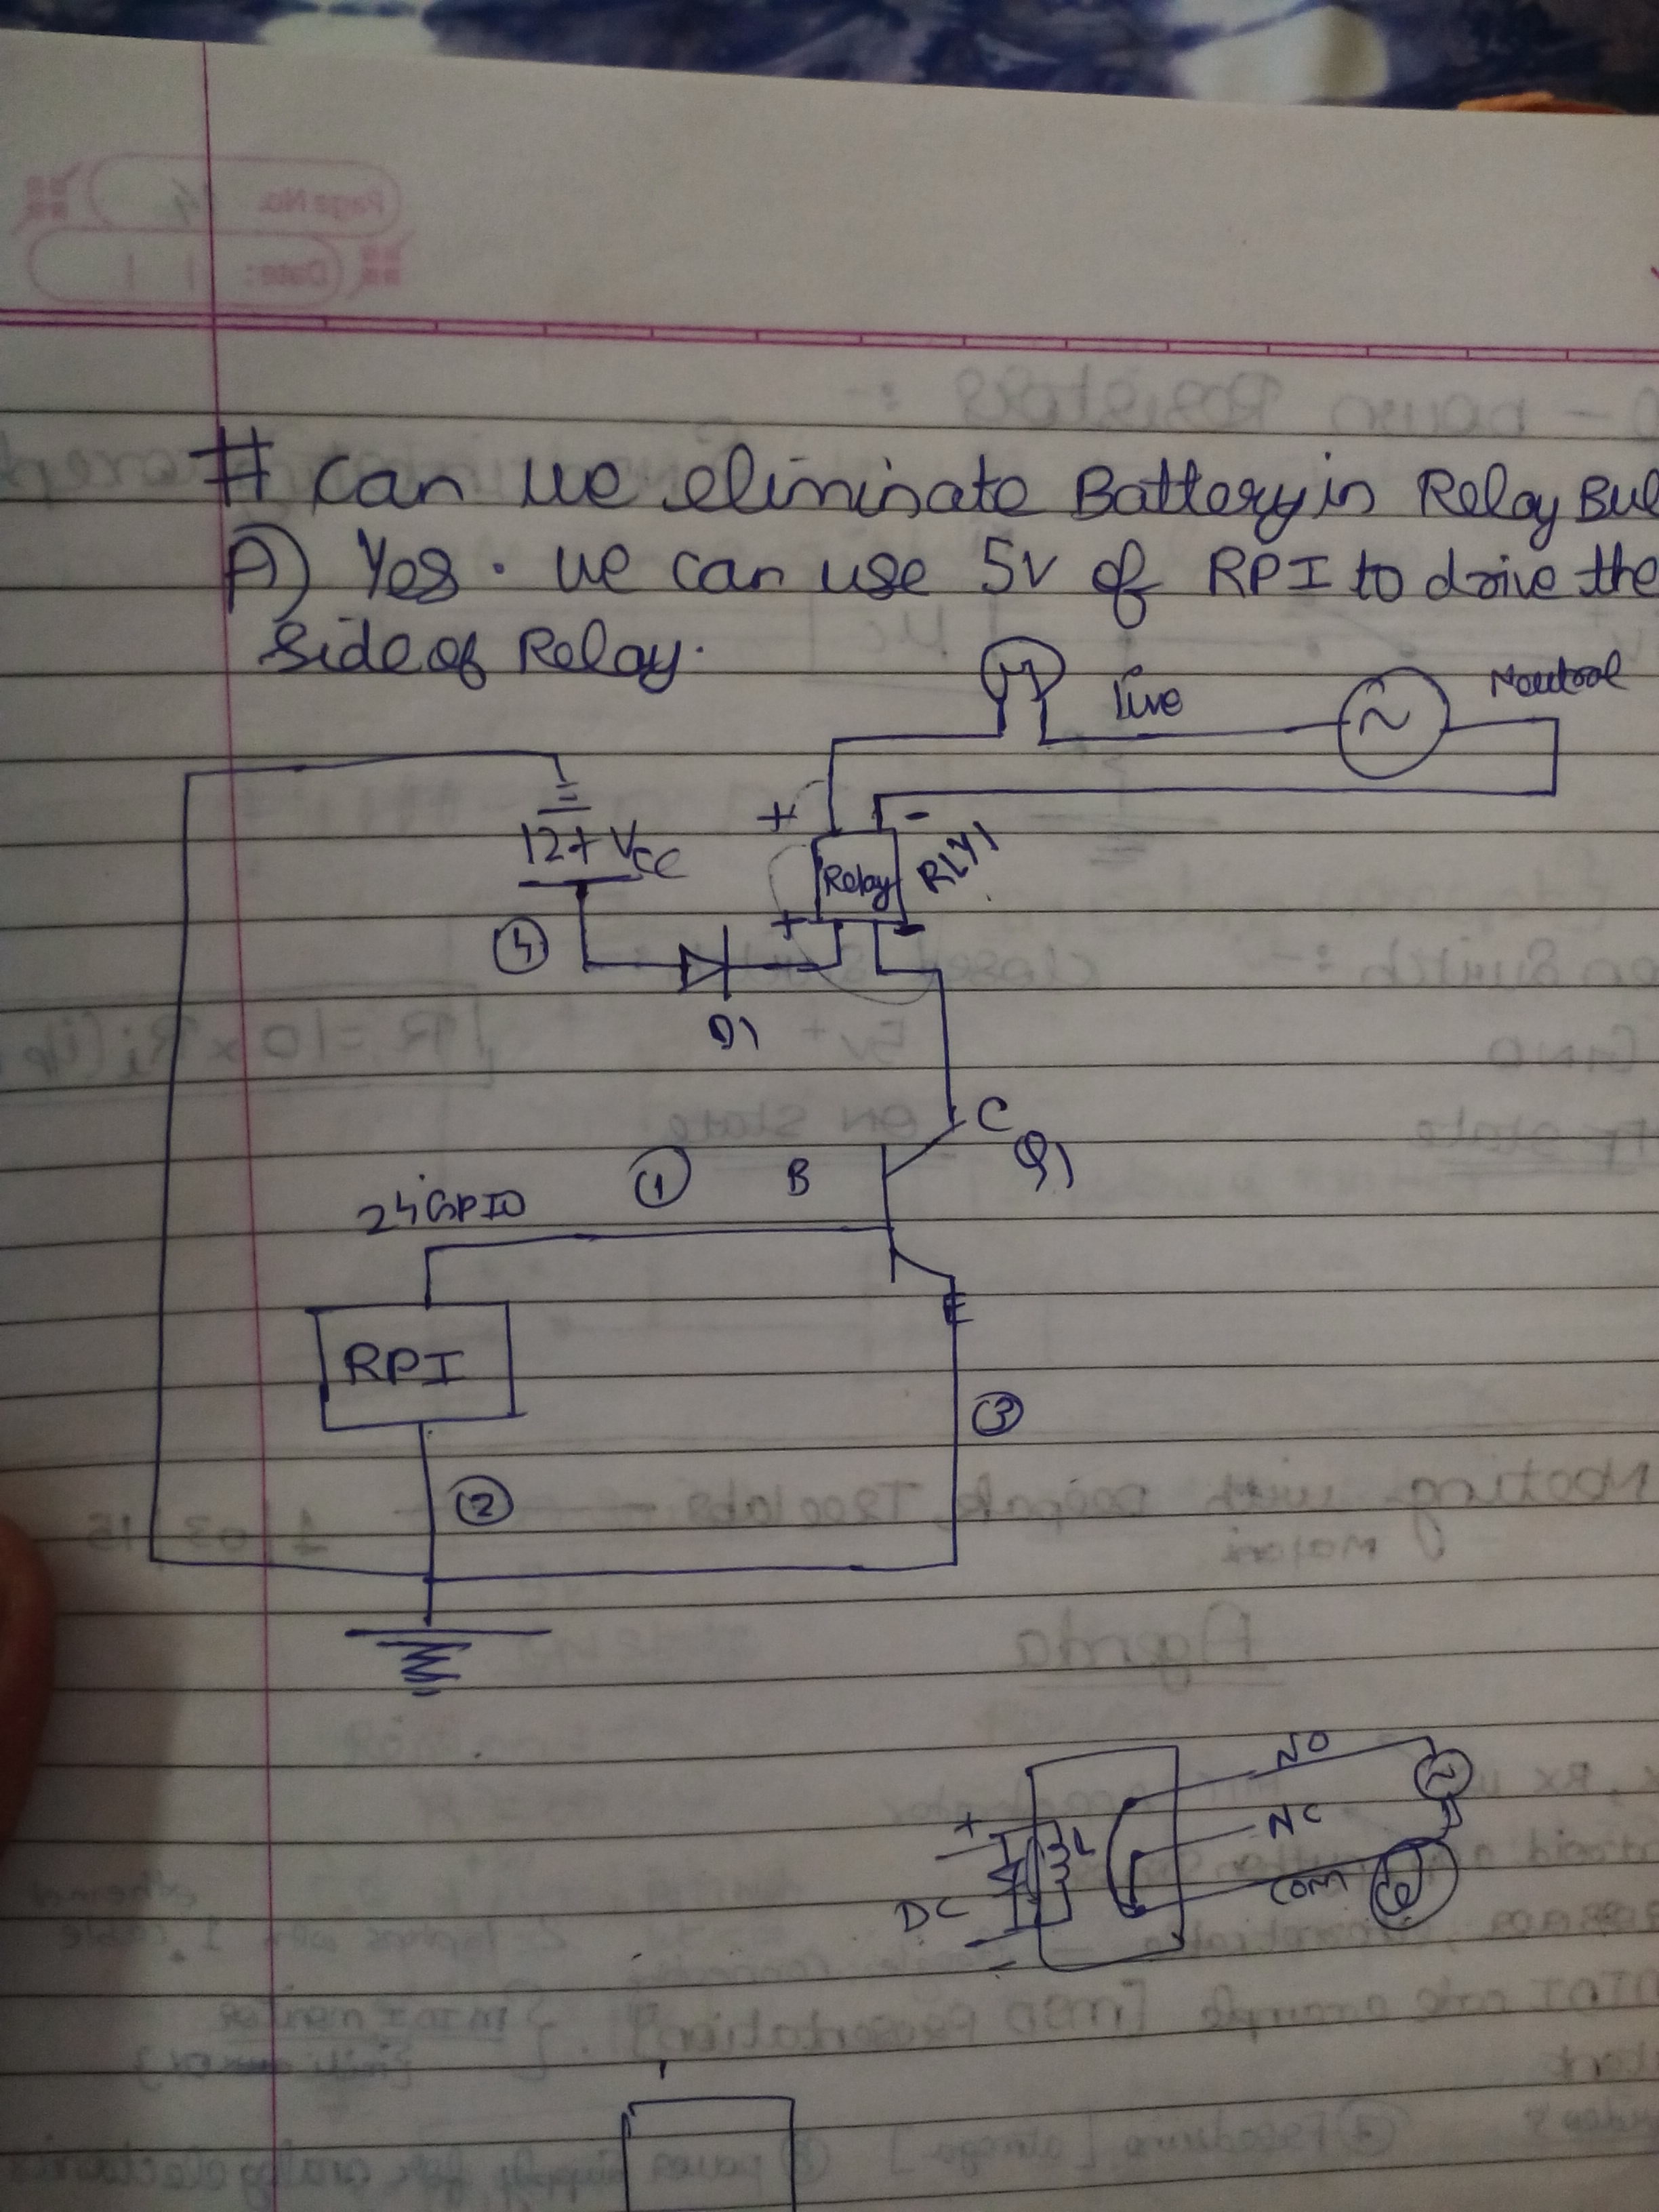
In this project we will make 3 smart sockets, to which, when an electrical appliance is connected it can be controlled from anywhere in the world through the Internet. This is a basic example of home automation which can be extended to a much bigger level.
On the software side we will use:
- Html/CSS for the UI
- JavaScript to turn the GPIO's On/OFF
To Make things easier we have used a library called WebIOPi by the developer Eric Ptak. For further information check out the webiopi library here: https://code.google.com/p/webiopi/.
To build this project you must first install the webIOPi library on Raspberry Pi. Check out the video to know what will the end result be like:
<!Doctype html>
<html lang="en">

	<head>
			<meta charset = "UTF-8">
			<title>Smart Home</title>
			<link rel="stylesheet" type="text/css" href="main.css">
			<link href="http://fonts.googleapis.com/css?family=Amatic+SC" rel="stylesheet" >
			<meta name="viewport" content="width = device-width, inital-scale=1">

	</head>

	<body>
			<script type="text/javascript" src="/webiopi.js"></script>
			<script type="text/javascript">

				webiopi().ready(function(){

					webiopi().setFunction(21,"OUT");
					webiopi().setFunction(20,"OUT");
					webiopi().setFunction(16,"OUT");
					webiopi().refreshGPIO(true);

				});

				function onFan(){
					webiopi().digitalWrite(21,1);
				}

				function offFan(){
					webiopi().digitalWrite(21,0);
				}

				function onLights(){
					webiopi().digitalWrite(20,1);
				}

				function offLights(){
					webiopi().digitalWrite(20,0);
				}

				function onCharger(){
					webiopi().digitalWrite(16,1);
				}

				function offCharger(){
					webiopi().digitalWrite(16,0);
				}

			</script>


			<h1 class="top-header">Welcome to your Smart home Menu</h1>

			<div id="fanButtons">
				<input id="round" type="submit" value="Fan On"  onclick="onFan()"/>
				<input id="round" type="submit" value="Fan Off" onclick="offFan()"/>
			</div>

			<div id="lightButtons">
				<input id="round" type="submit" value="Lights On" onclick="onLights()"/>
				<input id="round" type="submit" value="Lights Off" onclick="offLights()"/>
			</div>

			<div id="chargingButtons">
				<input id="round" type="submit" value="Charging On" onclick="onCharger()"/>
				<input id="round" type="submit" value="Charging Off" onclick="offCharger()"/>
			</div>

	</body>

</html>
body,html {
	min-height:100%;
}

body  {
	background-image: url("smartHome.jpg");
	background-repeat: no-repeat;
	background-size: cover;
	background-position: center center;
	background-attachment: fixed;
	text-align: center;
}

/*This is for the heading font of webpage.Font is used from googleFonts*/
.top-header {
	width: 100%;
	max-width: 900px;
	font: 4em "Amatic SC" , cursive;
	color: #fff;
	text-shadow:1px 1px 0 rgba(0,0,0,.2);
	margin: 20px auto;
	text-align: center;
}

#fanButtons, #lightButtons, #chargingButtons {
	margin-bottom: 3%;
}

input#round{

	width:6.2em; /*same as the height*/
	height:6.2em; /*same as the width*/
	background-color:rgba(0,0,0,0.4);
	border:1px solid #fff; /*same colour as the background*/
	color:#fff;
	font-size:0.9em;
	margin-right: 3%;
	max-width: auto;
	max-height: auto;


	/*set the border-radius at half the size of the width and height*/
	-webkit-border-radius: 50%;
	-moz-border-radius: 50%;
	border-radius: 50%;

	/*give the button a small drop shadow*/
	-webkit-box-shadow: 0 0 10px rgba(0,0,0, .75);
	-moz-box-shadow: 0 0 10px rgba(0,0,0, .75);
	box-shadow: 2px 2px 15px rgba(0,0,0, .75);
}

/***NOW STYLE THE BUTTON'S HOVER STATE***/
input#round:hover{

	background:transparent;
	border:1px solid #fff;
	/*reduce the size of the shadow to give a pushed effect*/
	-webkit-box-shadow: 0px 0px 5px rgba(0,0,0, .75);
	-moz-box-shadow: 0px 0px 5px rgba(0,0,0, .75);
	box-shadow: 0px 0px 5px rgba(0,0,0, .75);
}

input#round:active{
	color: #000;
	border:5px solid #000;

}
2 projects • 5 followers
Well the world has witnessed Superman, Batman, He-Man and many other man's but they haven't seen one man who is changing the world.I am that Man.I am Maker MAn


Comments
Please log in or sign up to comment.