⚠ DANGER! This project uses high voltage and amperage. Any misuse or mistakes could end in serious injury or death. I am not responsible for any of your actions or choices. Enjoy and be safe!
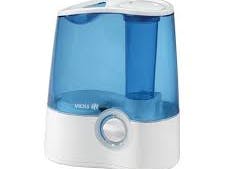
Has your house ever been too dry, but you don't want to go through the trouble of maintaining a perfect humidity? Now you can! You will need to attach the dht11 temp/humidity sensor to the Arduino. Next, get your humidifier's plug and cut the "hot" end, the one with power. You can find it by locating the narrow end of the plug, and follow the wire up about a foot. Here is a picture you can use for finding the correct wire:
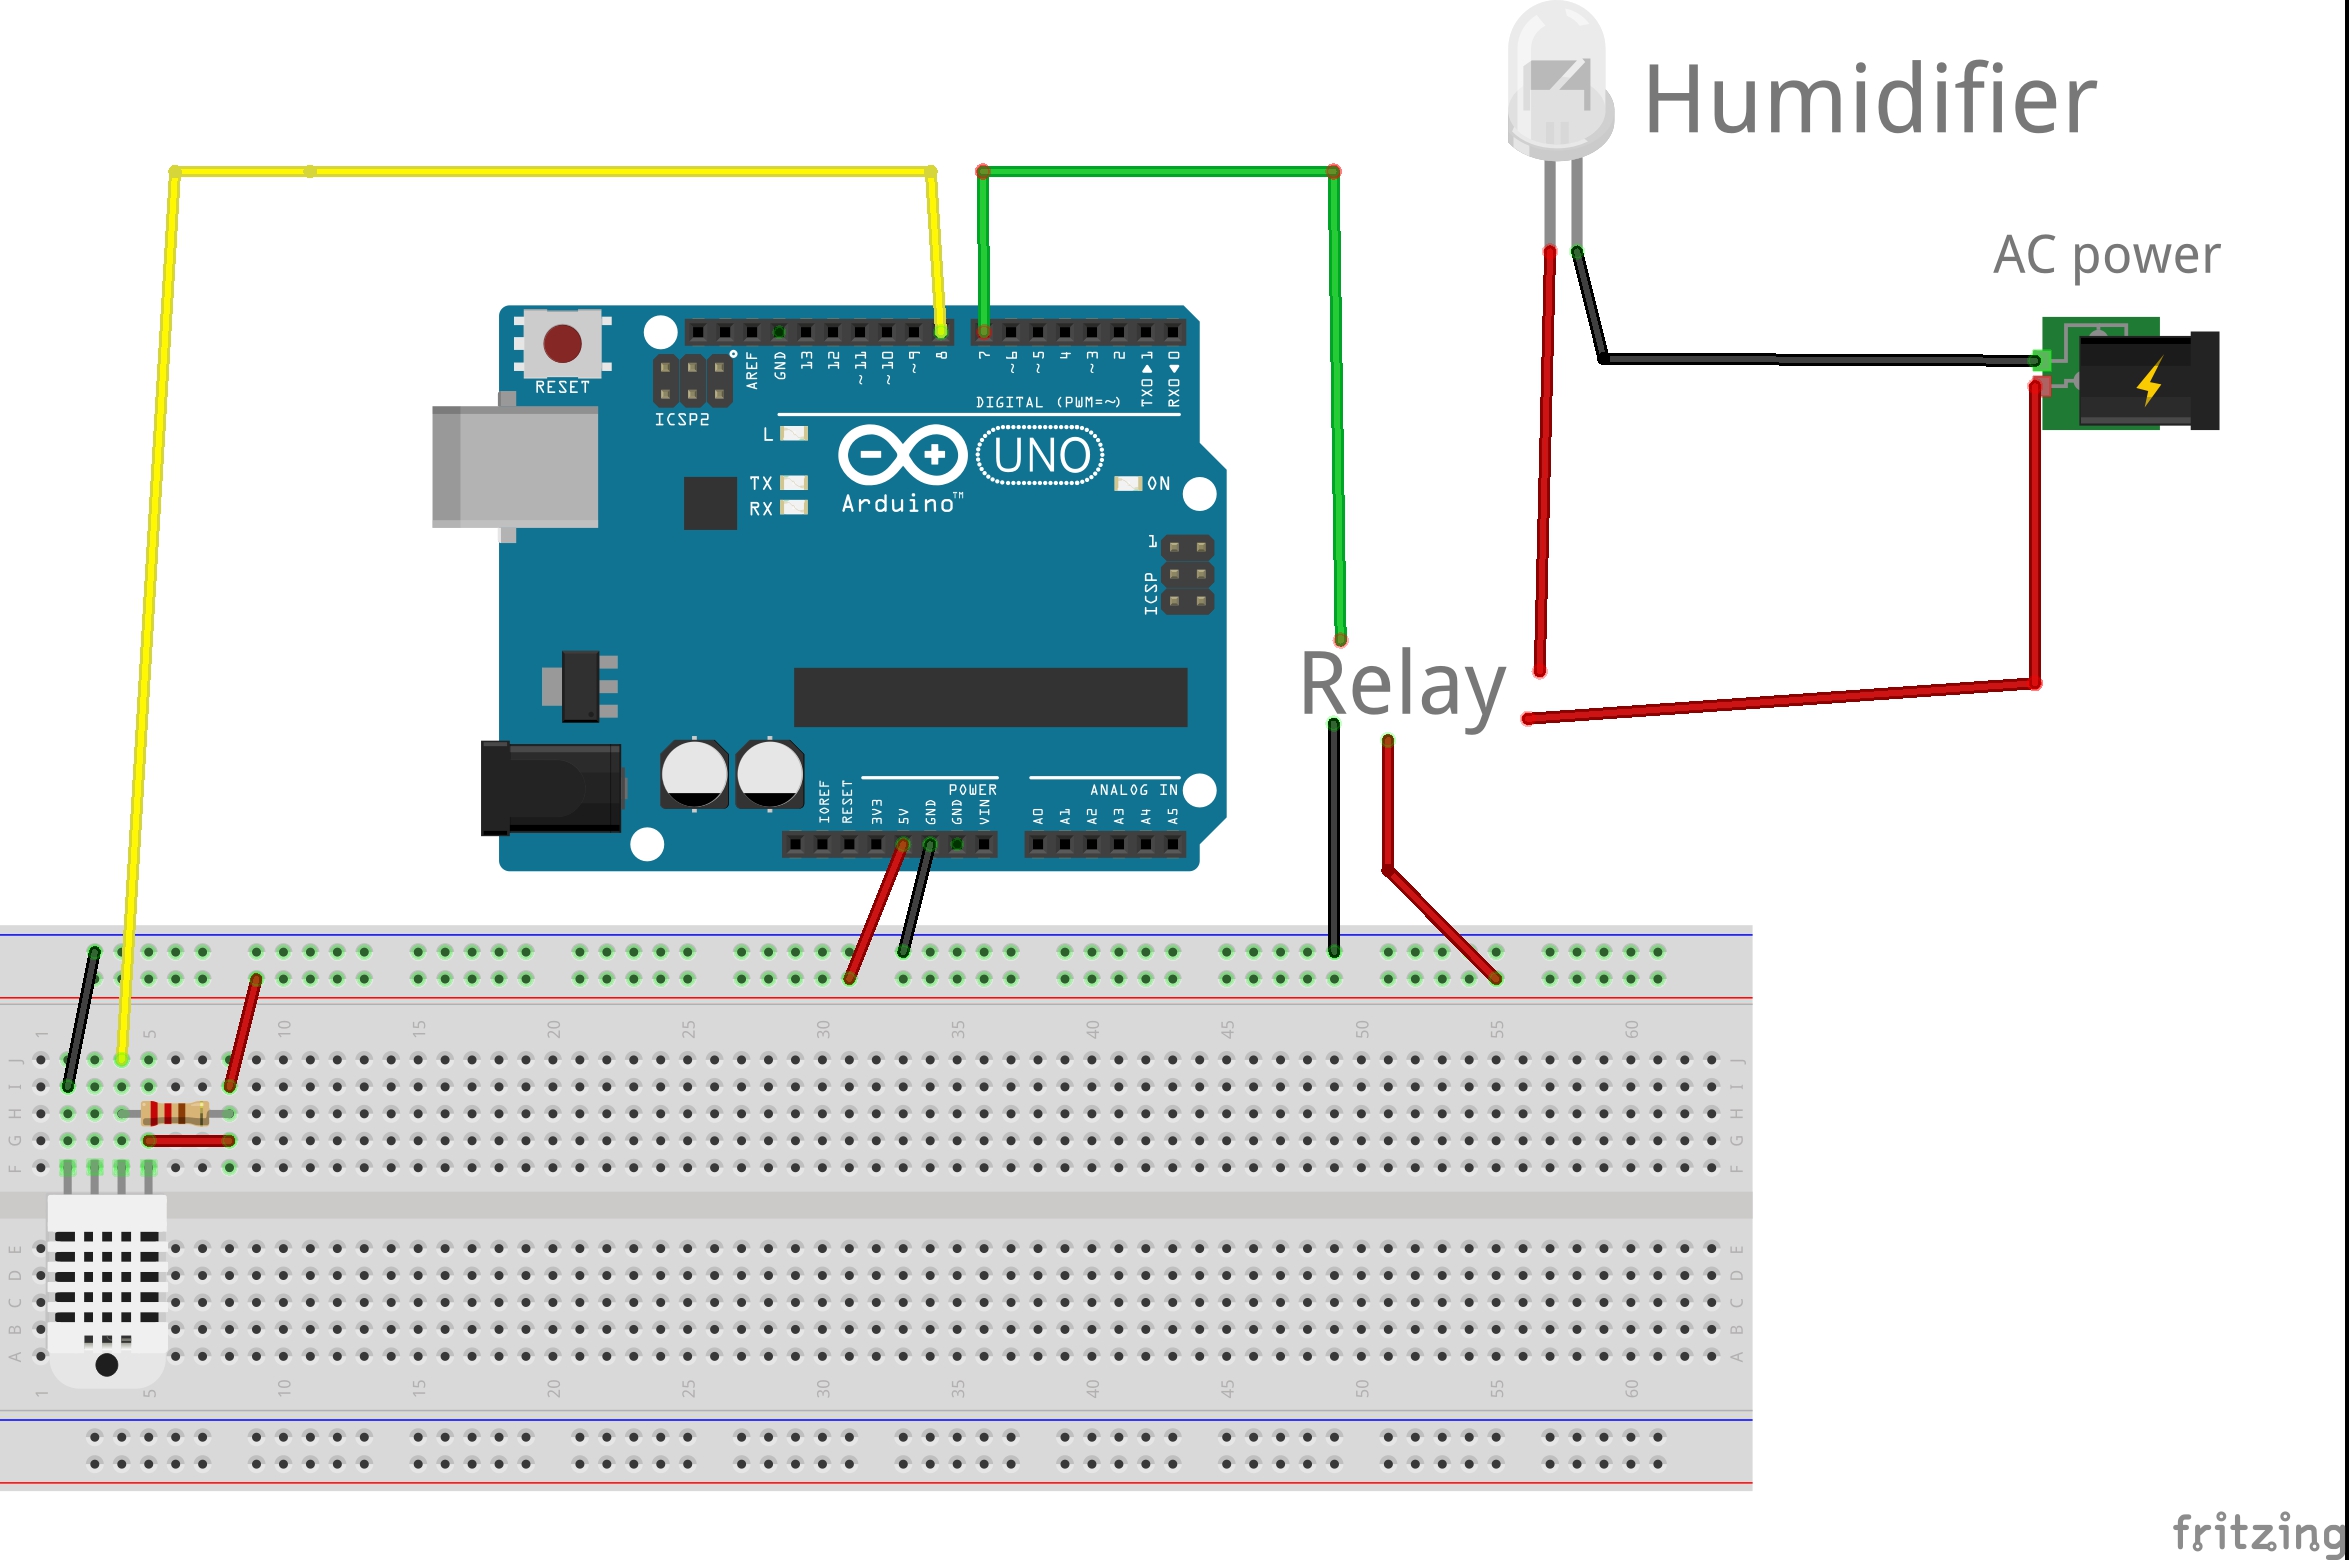
Now, strip off the wire from the cut WIRE, about 1 to 1.5 cm, and then unscrew the COM terminal on the relay module. Put the plug-attached wire into the COM terminal, and put the other end into the NO, or Normally Open, terminal. Be careful now, whenever you plug in the wire, and contact with the exposed wires or relay board soldering will result in electrocution.
Leave it unplugged for now. Next for the Arduino! Open your IDE and install the dht11 library. If you need further instructions on using the dht11 use my tutorial: tweeting thermostat. Now, copy and paste the Arduino code and upload it. Make sure the dht11 data pin is connected to pin 2, and the relay control pin is attached to pin 7. Go ahead and power the Arduino, and then plug in the power cord into a wall outlet. Now your humidifier should turn on whenever the humidity gets below 30%! It also has a "cool down" period to avoid turning the humidifier on and off too much. Have fun and feel free to adapt this project!


_ztBMuBhMHo.jpg?auto=compress%2Cformat&w=48&h=48&fit=fill&bg=ffffff)


Comments
Please log in or sign up to comment.