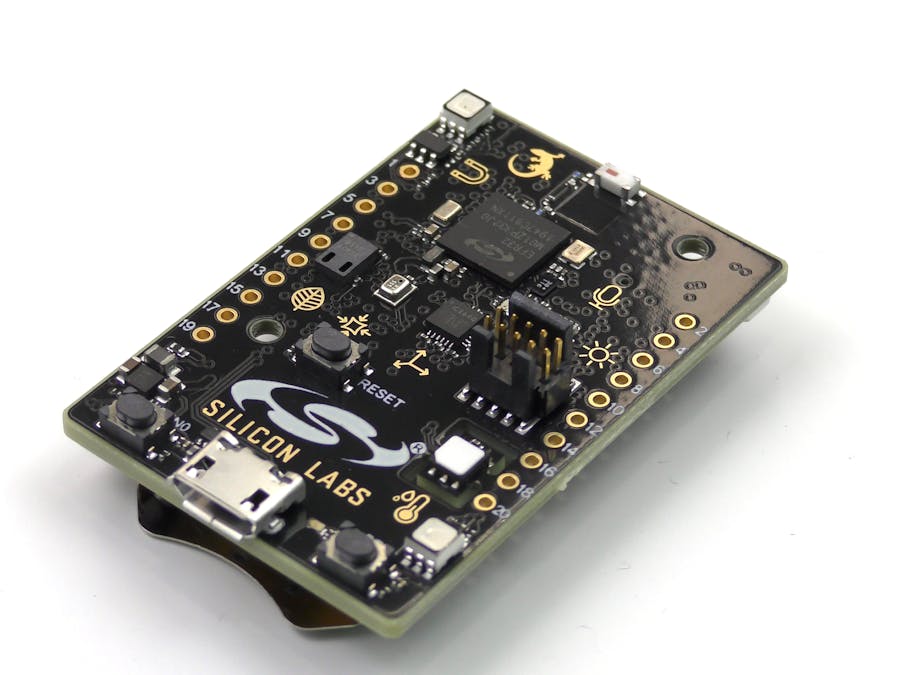
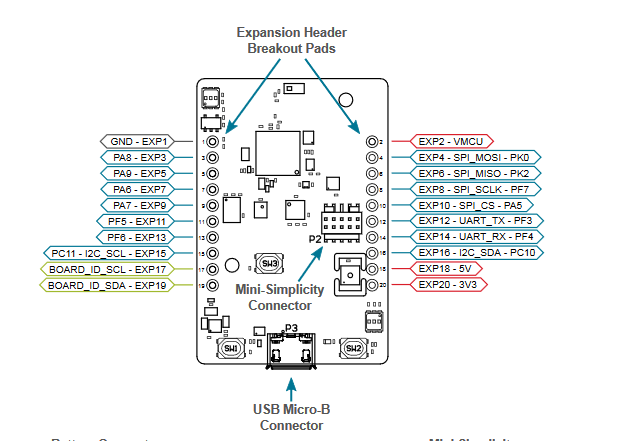
Bluetooth IoT devices are almost everywhere these days, and there is still plenty of room for improvement in this arena. One of these areas is power consumption, which would let smaller, battery-powered products stay charged a lot longer while also providing lots of peripherals and Bluetooth connectivity. The Thunderboard Sense 2 is a development kit from Silicon Labs that has these key features, and it lets developers and hobbyists alike experiment with various sensors and applications. The board includes an EFR32MG12P SoC at its core, which has
- Arm Cortex-M4 processor
- 256KB RAM
- 1MB flash
This SoC is special because it has a built-in multi-protocol radio, low energy consumption, and flexible MCU peripheral interfaces with DMA. The development kit also has the following sensors:
- Si7021 - temperature + humidity
- Si1133 - UV and ambient light
- BMP280 - pressure
- CCS811 - indoor air quality and gas
- ICM-20648 - 6-axis IMU
- ICS-43434 - digital microphone
- Si7210 - Hall effect
With all of this connectivity and sensing capabilities, the Thunderboard Sense 2 is perfect for projects that need plenty of environmental or positional data, as well as ample Bluetooth connectivity. Finally, the board also has an integrated J-Link debugger, which makes loading programs and viewing output very simple.
I started by creating a new project on Edge Impulse called Gesture Recognizer and making sure the Edge Impulse CLI tool was installed. For more instructions on how to do that, visit the installation instruction page. I also downloaded the Thunderboard Sense 2 firmware from this link and flashed it by dragging the file into the TB004 drive that appears when the board is plugged in.
Run edge-impulse-daemon to allow the Edge Impulse service to connect your device to the correct project. If done successfully, you should be able to see it within the Devices tab.
That per-compiled binary from the previous step allows it to use its onboard accelerometer and microphone to caputure and send data. Back in the dashboard within the Data Collection tab, select your device, its accelerometer, and put in a label. I went with five: circle, zigzag, updown, leftright, and none. That last one is important because it allows the model to recognize non-events (such as the board sitting on a table) correctly instead of trying to classify it as one of the other four. I collected eight, 10-second samples for each of the first four gestures, and then four 10-second samples for the none label. This gave a total of 6 minutes of training data.
I also made sure to collect a single sample of each gesture for testing as well.
The impulse design is quite straightforward.
It begins with a Time series data block that splits the samples into 2-second windows and then passes them along to the Spectral Analysis block. Within here, the data goes through a low-pass filter with a cutoff frequency of 3 and order of 6, as well as a spectral power processor.
These features then get passed along to the Keras neural network that has an input layer that takes in 33 features, a 20-neuron dense layer, another 10-neuron dense layer, and a 5-feature output layer that gives the label. After training with 40 training cycles and a learning rate of 0.0005, the model was able to become 100% accurate.
The Model testing tab reflects this figure since it was able to classify the training data correctly 98.8% of the time.
With the model now trained, it was time to deploy back to the board. I selected the SiLabs Thunderboard Sense 2 as my target device and made sure to enable the EON Compiler for a bit of space-savings.
After it was built, I downloaded the binary file and dropped it into the TB004 drive, just like last time.
In order to run the classifier, I went back to the command line and ran edge-impulse-run-impulse. This utility basically tells the device to begin classifying incoming sensor samples and send the results to the terminal.
To use more sensors or create a custom deployment, you can view this page for more instructions on how to do that.


Comments
Please log in or sign up to comment.