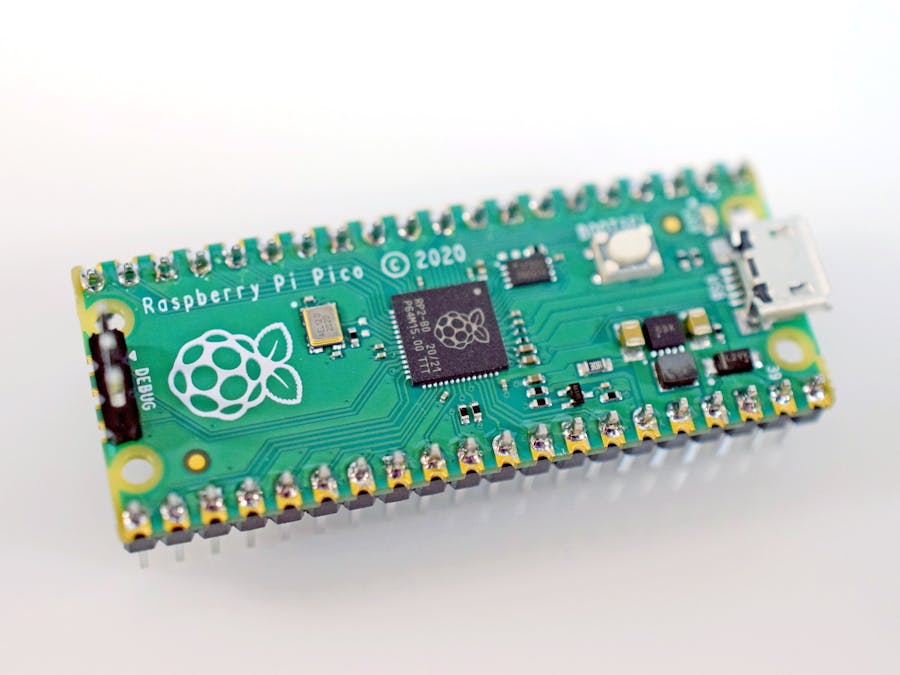
When thinking of microcontrollers for projects that require access to lots of fast peripherals and powerful processing capabilities, many reach for the Teensy lineup of boards. But there's a downside: it's not that customizable. To further explain, imagine wanting to control a string of RGB LEDs that have a brand new protocol. Most libraries that could write to them would have to function in one of two ways. First, there could be a function programmed in assembly that carefully times when the pin gets toggled by using a combination of register writes and nop instructions, but this can be nearly impossible for chips that change their clock speeds or for beginners. The second way is to use a timer that generates interrupts at precise intervals in order to signal a pin state change. But this can interrupt other important tasks and takes away processing power from other tasks.
What Makes It SpecialThe Raspberry Pi Pico is very different in this regard. The chip (called the RP2040) is a custom-designed chip from Raspberry Pi that supports the creation of various state machines for custom peripheral support. This means dedicated hardware units can be set up to handle much of the IO required for a certain peripheral on its own, thus freeing the CPU for other tasks.
The Pico can be programmed with either the C/C++ SDK or MicroPython, and supports many IDEs.
The SpecsThe custom RP2040 MCU contains
- Dual-core ARM Cortex M0+ processor with a flexible clock running at up to 133MHz
- 264kB of SRAM and 2MB of on-board flash
- 26 multi-function GPIO pins
- 2xSPI, 2xI2C, 2xUART, 3x12-bit ADC, 16xPWM channels
- 8xProgrammable IO (PIO) state machines split across two instances for custom peripherals
- Drag & drop programming over USB mass storage
- Temperature sensor
- Accurate clock and timer on-chip
- ARM SWD debugging
So now that you know what the Pico can do, here are some suggestions for some beginning projects to get used to the board and its features
- Hello world/blink
- Implement the WS2812 protocol to control a string of RGB LEDs
- Talk to several sensors over I2C and SPI
- Use DMA to transfer data to/from an SD card
To see information about the Raspberry Pi Pico, such as its pinouts, datasheets, and SDK, you can visit pico.raspberrypi.org to learn more. Hackster will also be releasing a Getting Started guide for the Pico as well, so stay tuned for the project.


Comments
Please log in or sign up to comment.