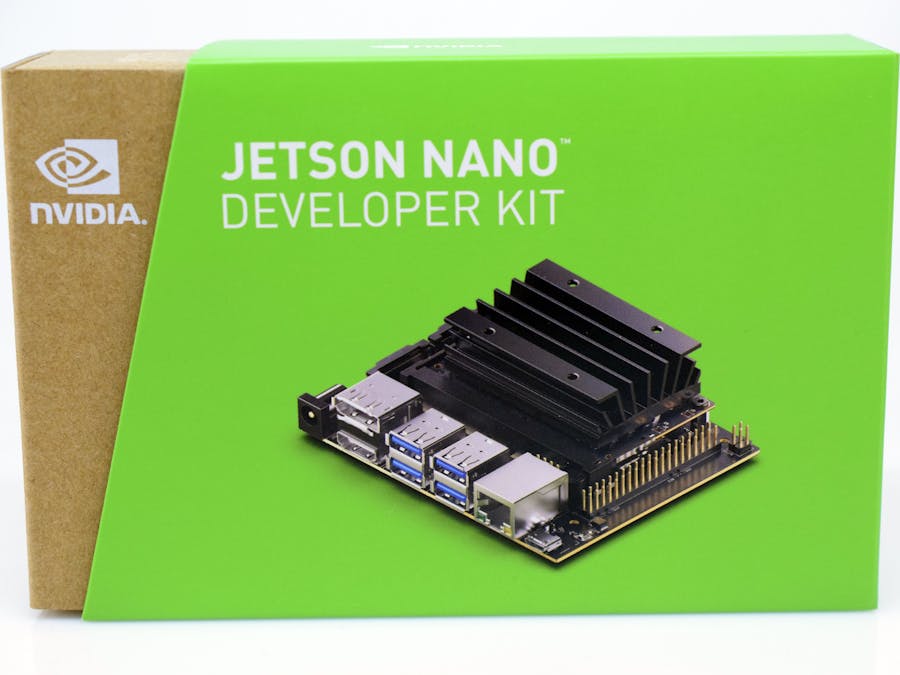
Sized at a mere 70 by 45mm, a little smaller than a credit card, the Jetson Nano is a System on a Module (SoM) that is suited for machine learning applications. Because it only draws around 5 to 10 watts, it is a great tool for AI at the edge applications.
The Jetson Nano has a Maxwell-based GPU that contains 128 CUDA cores that are capable at computing.5 teraflops per second (.5 TFLOPs). And with its powerful ARM Cortex A57 processor and 4GB of LPDDR4 RAM, the Nano is a powerful computer in a small package. It also has support for numerous peripherals, including gigabit ethernet, HDMI 2.0, DisplayPort 1.4, 2 DSI connectors, an M.2 PCIe connector, 4 USB 3.0 ports, and two CSI camera connectors (for use with cameras like the Pi Camera).
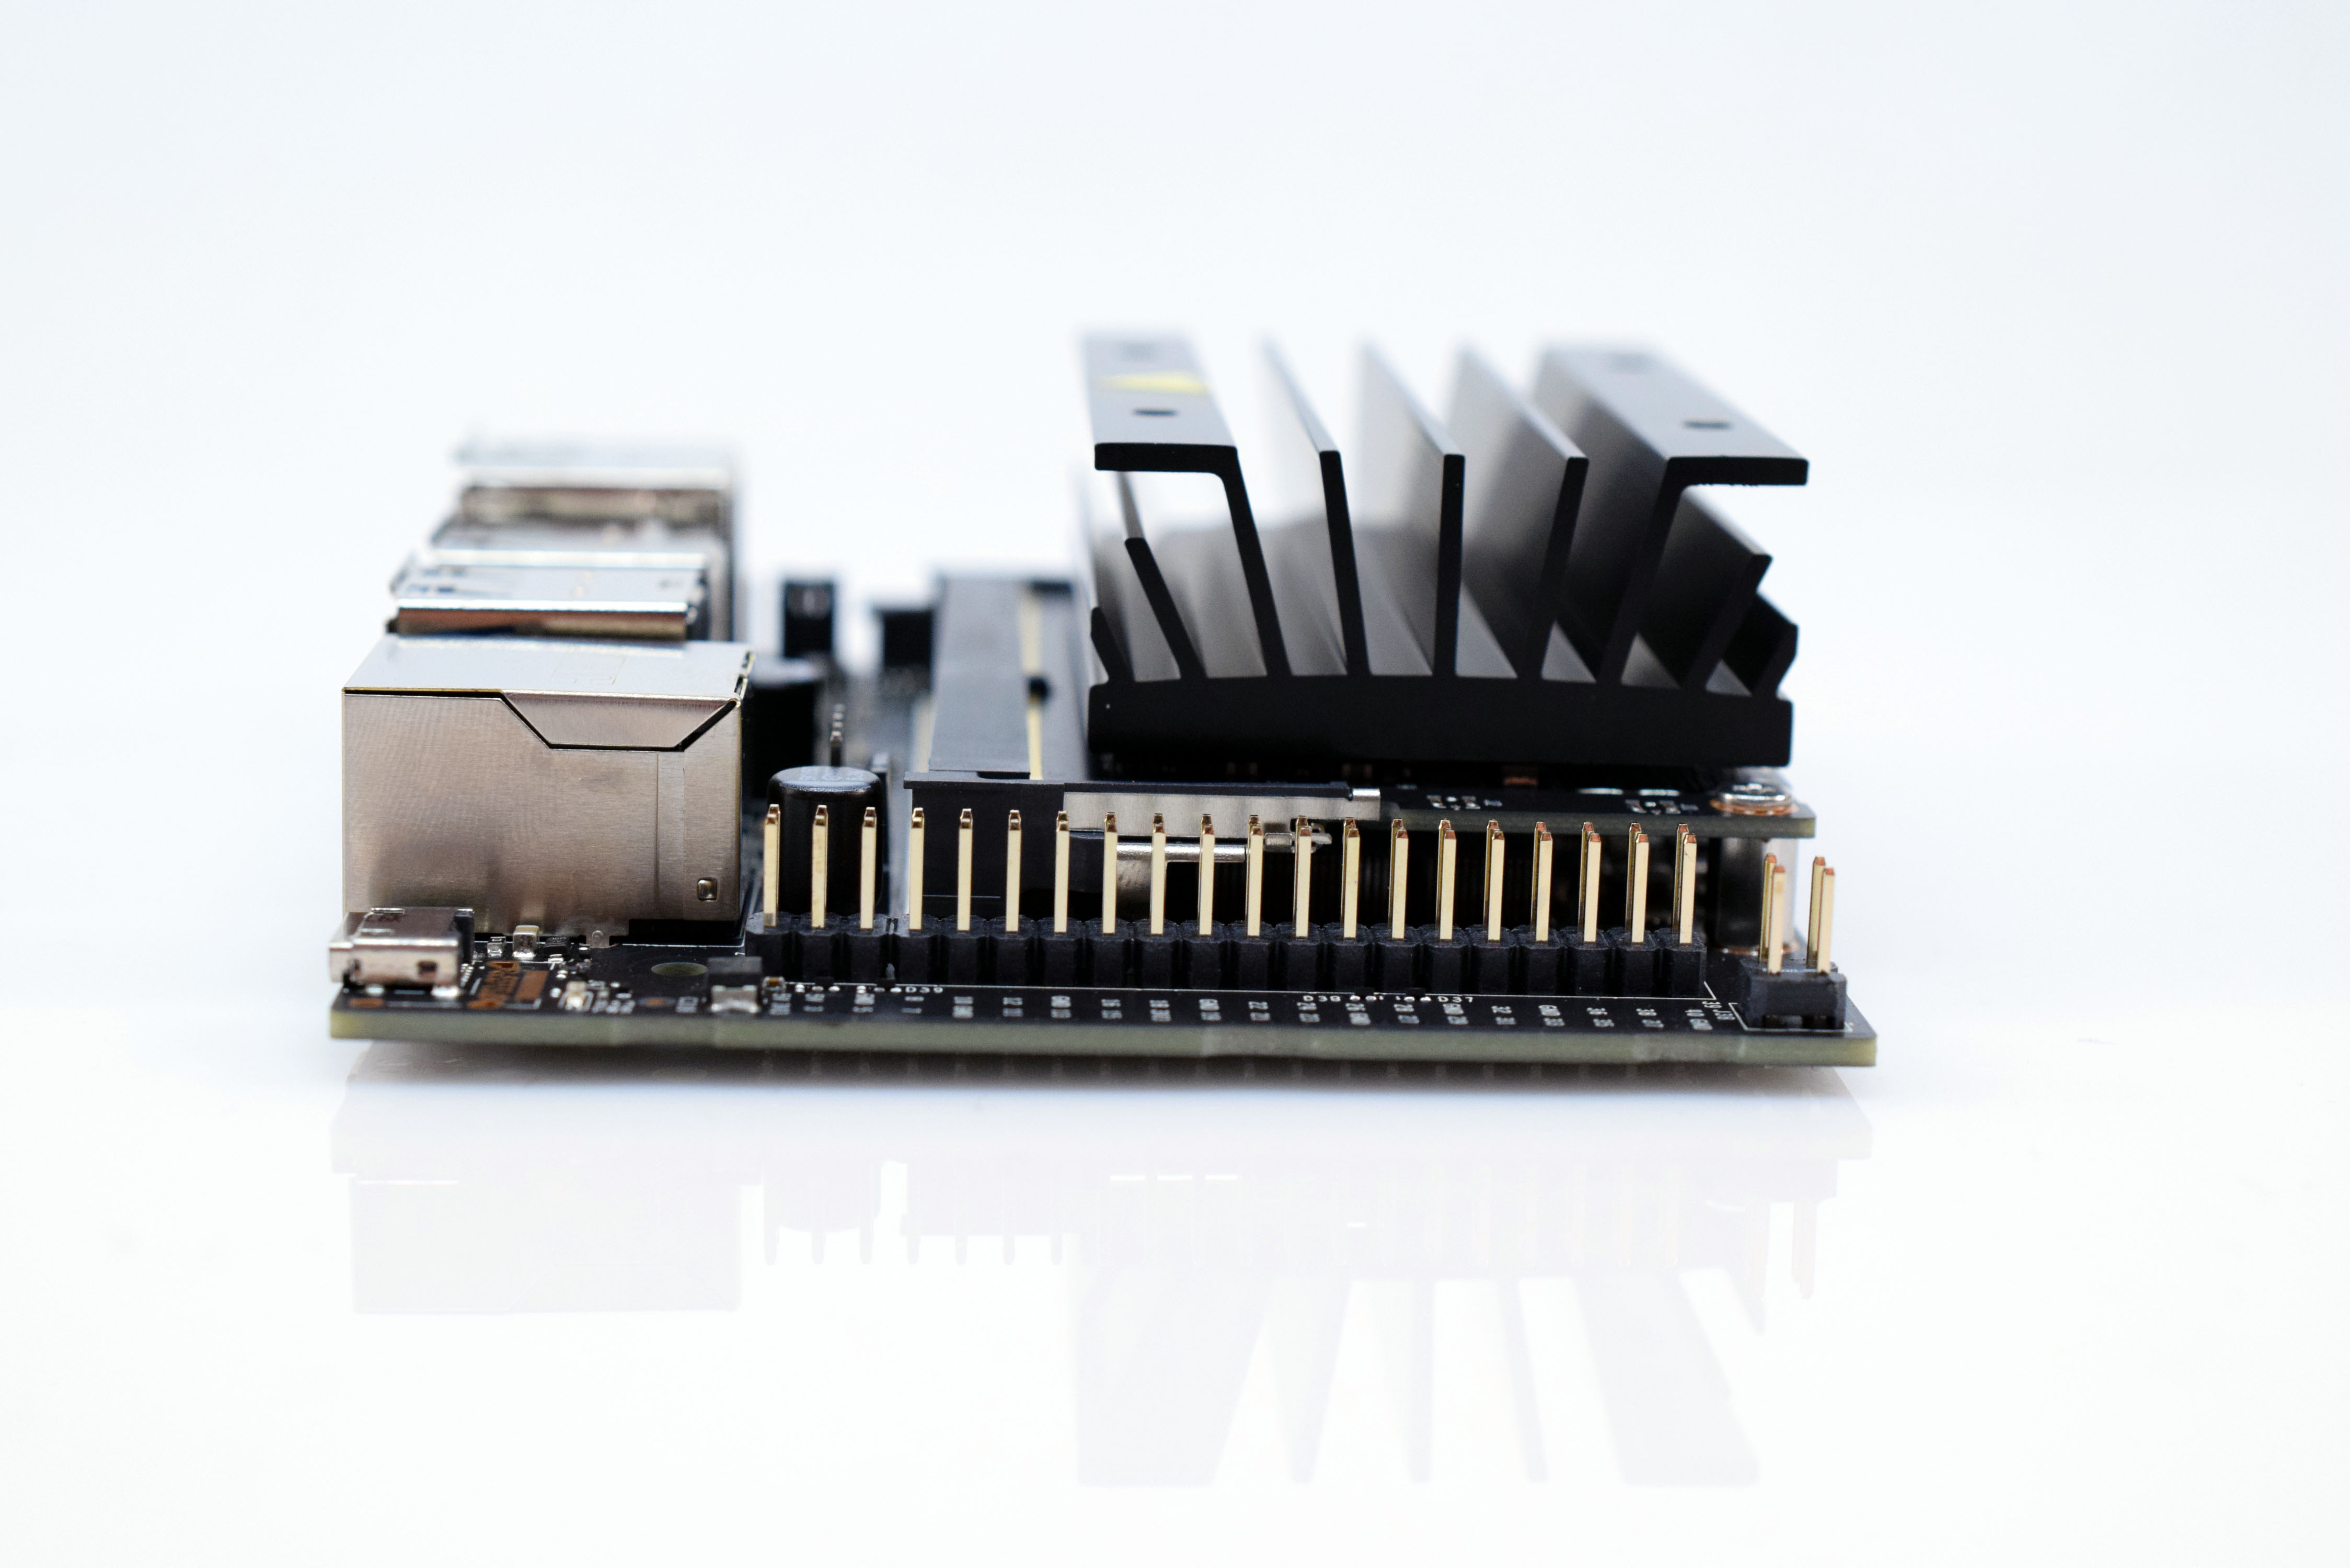
Finally, it also has a 40-pin GPIO connector with a layout that is identical to the Raspberry Pi’s, enabling makers and developers to easily reuse certain modules and circuits from previous projects.
Downloading and Flashing the FilesIn order to do anything, the Jetson Nano first needs an operating system, and similar to a Raspberry Pi, it must be installed on a micro SD card. Nvidia provides a zip file with the OS image inside at this link. Once downloaded, go ahead and open up an SD card writing utility such as Balena Etcher or Win32 Disk Imager. Select the card you wish to use and then the zip file.
After it is done being written and validated, the card can be ejected and plugged into the Nano’s SD card slot, as seen below:
For less intensive workloads, the micro USB connector can be used to give the Jetson Nano 5V at 2A. However, training machine learning models can put a massive strain on the GPU and draw much more power than the micro USB can supply. So, for now, use a 5V power supply with a barrel jack connector that is able to supply at least 4A of current. There is a jumper near the barrel connector that must be connected in order to use the jack as the power source, so simply connect the two prongs together with a jumper wire or cap.
Go ahead and plug in the power supply to the barrel jack. You should see a green light come on, and after it has been on for 30 seconds, plug one end of a micro USB cable into your development PC, and the other end into the Nano’s micro USB port. This will cause your PC to install a driver and initialize an ethernet over USB adapter. Additionally, there will be a serial COM port that can be used to communicate with the Nano via a terminal. If you want to control the Nano via a network instead, then use an ethernet cable or WiFi adapter, but keep in mind that you might have to install drivers and set up the network information if you choose to use a WiFI adapter.
Installing JupyterJupyter Notebooks are interactive environments that are used in a browser to experiment with code and learn new concepts. The Jetson Nano OS image comes with a folder that contains several of these notebooks to experiment with cameras and training models. To log into the Nano, open a terminal via ethernet or serial and use the user ‘dlinano’. The password is also ‘dlinano’. Then run the command python3 -m pip install jupyter and follow any instructions that come with it. On your development machine, open up Firefox or Chrome and go to the Nano’s IP address with the port of 8888. Then log into the notebook with the password of ‘dlinano’.
If it states you have the wrong password, then run the command jupyter notebook password and enter in the new password you wish to use.
Next StepsNow that you’ve logged into the jupyter notebook server, you should now be able to view the directory tree on the left. Enter the nvdli-nano folder and start exploring the notebooks there. In the future you will learn how to use a camera to train and detect objects.


Comments