


Hardware components | ||||||
 |
| × | 1 | |||
| × | 3 | ||||
| × | 3 | ||||
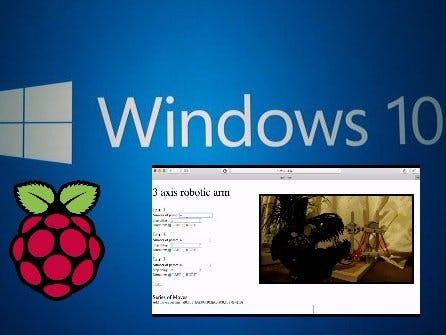
Software apps and online services | ||||||
 |
| |||||
By putting my 2 small projects together How to control stepper motor and Webserver controls DC Motor, I can now move forward with making a simple 3-axis robotic arm. This project allows one to understand the complexity of robotic arms.
If you are not familiar with programming or software development, I have also created a simple User Interface that allows you to control just arm movements. Hence, this project may be interesting for robotic education.
In this project, you can run simultaneously 3 arms with different speeds, distances and directions. If you look for the cost for a robotic arm, you may be find it can be more than $500. My idea here is to take the cost down. In total, it costs me less than £10 excluding the Raspberry Pi. The arms are built with ice cream sticks that you find in any supermarket.
Please note that this project is just a 3-axis robotic arm concept. There are more things to be developed and improved. For example, the mechanisms for the arm and turntable may need to be upgraded. A stable structure may help the arm to look more stylist and stronger. This also has a relationship to how the motors are mounted and where to place and hide wires to allow of freedom of rotation. Then an external power supply for motor will eliminate Raspberry Pi system problems. Finally, it may be interesting to have a look at the software; a simple and easy-to-use User Interface may impress users.
User InterfaceAs the interface is based on the webpage, it can be accessed from anywhere and by any devices. For example, I did use iOS for the video and Android for my previous project (see Webserver controls DC motor).
On the first part of the interface, you can run independently all 3 joints with different speeds, distances and directions. By entering the desired amount in each text box, you can test live all your robotic arm movements. Once the movements are finished, this webpage will be refreshed and loaded with all default values.
The second part of the User Interface is aimed for education.
Now, if you are happy with your tests, you can program your task. The software will parse your input line per line.
Letters "a", "b" and "c" mean respectively joint 1, 2 and 3. Same of the first part, every joint has 3 arguments: number of phase, step delay and direction. The last bit in the line is delay function. I added this function to allow the arm structure time to stabilize before initiating its next movements.
You are welcomed to place comments and suggestions.


Comments
Please log in or sign up to comment.