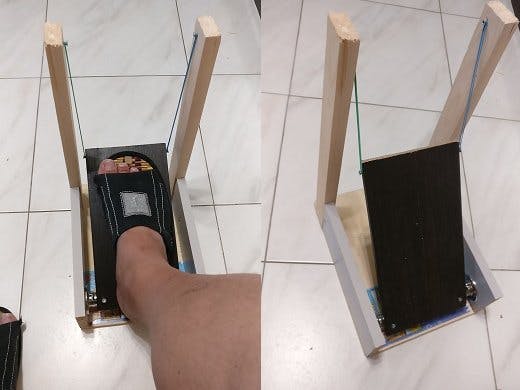
This guide specifically discusses how to build Gas Pedal with Infineon's 3D magnetic 2GO kit based on their TLE493D as controller. This chip give simplify construction. I have long been planning to make a gas pedal for simulators. And found instruction in https://cults3d.com/en/3d-model/tool/throttle-pedal, but need make gear.
Make PedalStep 1: To make a pedal we use material from the DIY store and old toy.
Step 2: Take a board from old toy. This will be the basis. And screw the side walls of the furniture parts, before this we fix them with hot melt adhesive.
Step 3: Secure the holders and shaft to the pedals.
Step 4: On the one hand we insert a cork stopper and shorten it. We glue the magnet.
Step 5: Make a hole for the magnet.
Step 6: Connect all.
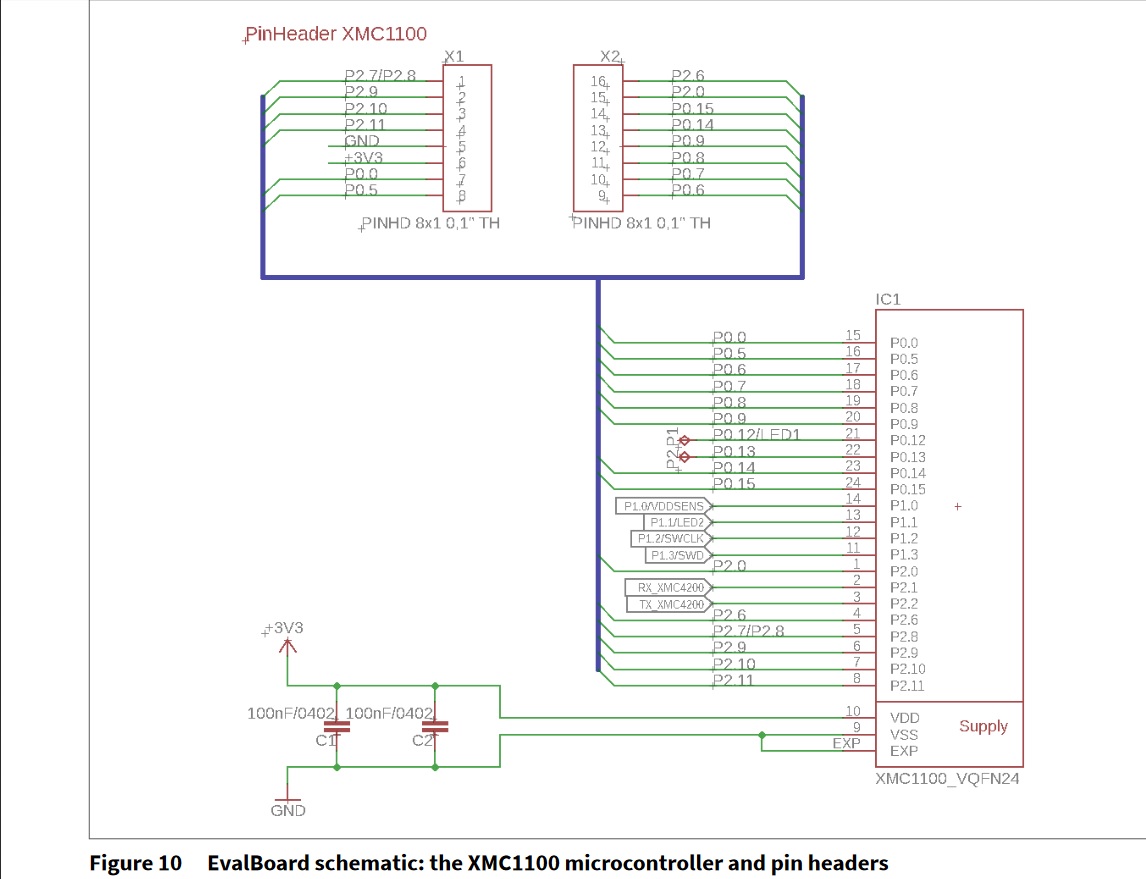
Step 7: We fix the card with the sensor.
Finish:
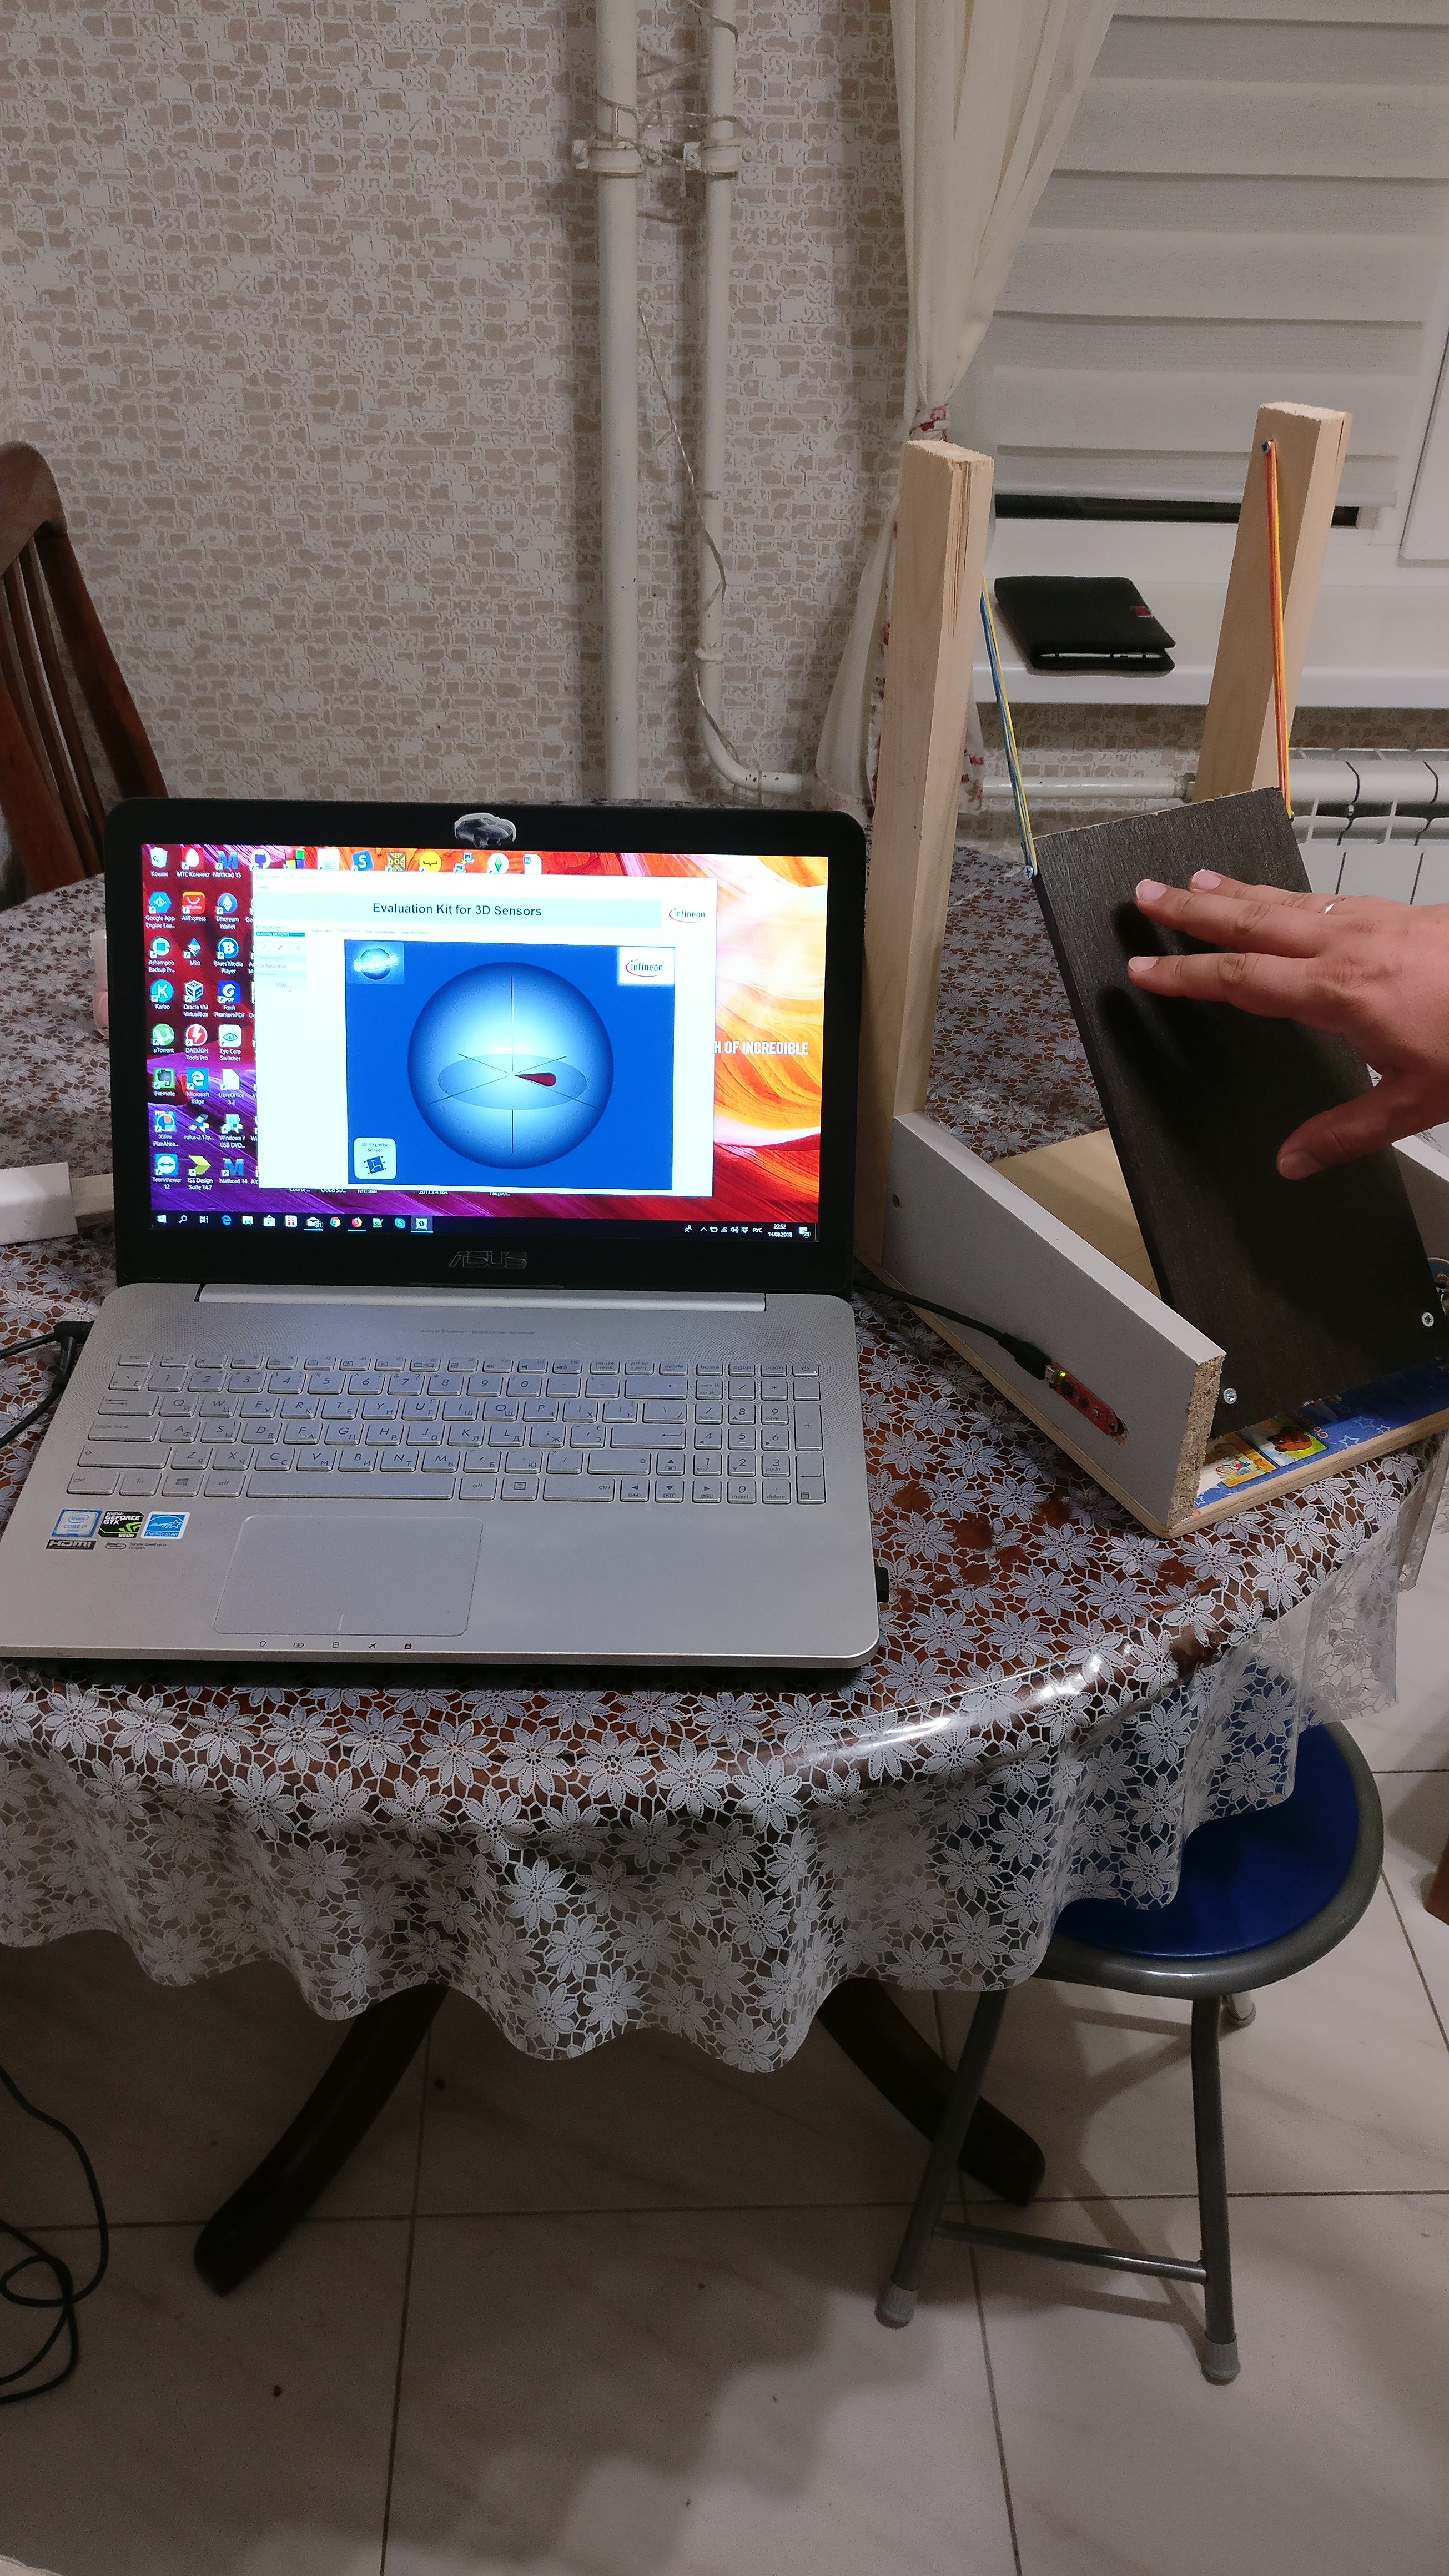
Installed Evalkit for 3D Sensors GUI.
Demo:
Develop SoftwareTo send data from sensor needs some software:
1. For Arduino IDE install new Dev Board through Device Manager. Go to Infineon's GitHub page and follow the instruction.
2. Install library for 3D-Magnetic-Sensor-2GO to Arduino IDE go to GitHub and follow the instruction.
3. Write a little sketches and flash our controller.
#include <Tle493d_w2b6.h>
Tle493d_w2b6 Tle493dMagnetic3DSensor = Tle493d_w2b6();
void setup() {
    Serial.begin(9600);
    while (!Serial);
    pinMode(14, OUTPUT);
    Tle493dMagnetic3DSensor.begin();
    Tle493dMagnetic3DSensor.begin();
    Tle493dMagnetic3DSensor.setWakeUpThreshold(1,-1,1,-1,1,-1);
    Tle493dMagnetic3DSensor.disableTemp();
}
void loop() {
    Tle493dMagnetic3DSensor.updateData();
    Serial.println(Tle493dMagnetic3DSensor.getAzimuth());
    delay(10);
}
Result can see in Serial Monitor.
4. I found a little application for Java language - link to this video and code.
5. I make change in the code. I take RXTX library. and add them in project. Project I make in Eclipse IDE. Add methods work with COM port and handle data. Final code I receive to GitHub and link leave in next part.
Result


Comments