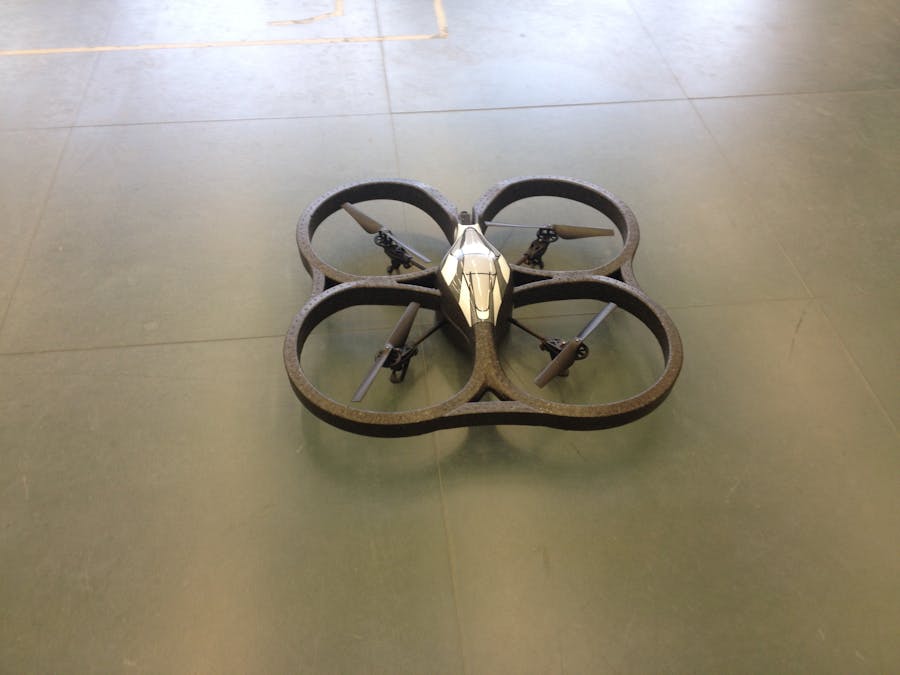
Performing the control of the AR.Drone with the iOS or Android apps is really difficult. The controls are very unstable because the app virtual joystick hasn’t a good sensitivity response. The idea was to use a real joystick instead of the Parrot application itself:
So, to create an application to control the quadcopter, you need Linino with Node.js and the Ideino development environment on-board, that include a library for managing the pins of the board in Node.js. For installing Node.js and Ideino on the Yun, please refer to this guide: http://wiki.linino.org/doku.php?id=wiki:nodejscript
After setting up Node.js and Ideino, we looked around for a node module implementing all the necessary commands to pilot the AR.Drone. We found that the most used is ar-drone. The source code of the ar-drone module is available on GitHub (https://github.com/felixge/node-ar-drone). ar-drone module comes with a detailed documentation from which I deduced that the main commands for controlling the AR.Drone:
-
take-off
-
land
-
stop
-
left / right
-
front / back
-
up /down
-
clockwise / counter clockwise
The following picture show how we associate the ar-drone commands with the joystick shield controls
Note that the Take Off / Landing commands are performed by a single button switch, located under the two potentiometers of the joystick.
To start write the Node.js code in Ideino, we need to setup our environment. The First step is to setup the mcu with a sketch, generally to work with ideino and the ideino-linino-lib you need to load the firmata sketch that allows Linino to comunicate with the board. With ideino-linino-lib are distributed two .hex files:
-
firmata_spi.hex
-
firmata_spi_pullup_enabled.hex
The most used is the first one, but in this case, for the Joystick Shield, we need to use the second one which enables the pullup resistor in the Arduino board. See the product page for more details https://www.sparkfun.com/products/9760. To load the .hex file you need to open an ssh connection to your Arduino Yun and execute the commands below in the linux shell :
$ ssh root@linino.local
$ cd /opt/ideino-linino/node_modules/ideino-linino-lib/ext/firmata/firmata_spi_pullup_enabled
$ run-avrdude firmata_spi_pullup_enabled.hex
Then go to the Ideino workspace page via web browser (http://linino.local:2424) (after the root login) and create new project called “drone”, inside that we write our code to pilot the ar.drone.
Before start coding, we need to install the ar-drone module. To do that open the package.json file inside the drone project you have just created, and add the dependence of the ar-drone module. This is the default package.json file:
Your file should look like this:
You can also write other informations like the name and description of the project. Finally save the package.json file, press the right mouse button on it and click Install. Ideino will run npm command for you and will install the ar-drone module inside the project directory.
Finally, we are able to write the code to controls the drone: inside the “drone” project, create a new file and name it drone-joystick.js:
Import the ar-drone module and create drone object :
var arDrone = require('ar-drone');
var drone = arDrone.createClient();
Create a board object with the ideino-linino-lib :
var linino = require('ideino-linino-lib'),
    board = new linino.Board();
Create variables that representing both the joystick buttons and controls, and board pins:
Create variables for controlling the AR.Drone:
var flying = false,
    LRValue = 0,
    BFValue = 0,
    S1 = 0.47,
    S2 = 0.52;
Connection to the Arduino Board:
Now that the code is ready to run, you need to put the application in autorun mode, this means that the application will run automatically at the next startup/reboot of Linino. Right mouse click on drone-joystick.js and click “Autorun”.
Finally you need to tell your Arduino Yun to connect to the AR.Drone wifi hotspot, to do that connect to the luci administration panel of you Arduino Yun via web browser. Wait a few minute for the wifi reconfiguration, system restart and for autorun your Node.js file. When your file is started you will see a 1 second fast blink of the on board led (L13) of the Arduino Yun.
Go fly!


_3u05Tpwasz.png?auto=compress%2Cformat&w=40&h=40&fit=fillmax&bg=fff&dpr=2)
Comments
Please log in or sign up to comment.