From breadboard dreams, February 2012
This project taught me to use borders, stabilizer, and the Machine’s “test run” feature, to great success. I’ve taken the near-field communication chip and antenna from a San Francisco "Clipper" transit card, and sewn them into a decently attractive cloth patch.
1. Measuring
I lost my old stripped-down Clipper card, and the second stopped working after I wrapped it around a peg, so this is version 3. It requires a border of approximately 9 x 6.5 cm – the closest I dare to sew. The extra leeway allows it to shift a little as the patch flexes. It’s good to pin around the antenna, inside and out, since its edges can be difficult to discern from above.
In this image, you can see where the embroidery foot started to come loose, and finally fell off, breaking the thread. I’m learning to handle the Machine as I go along.
2. Hooping the materials
It was really more of an “oblonging”, but anyway, I placed the card between my surface fabric and a sheet of stabilizer. After some mucking about, I learned that the best way to position the chip is to stretch and tighten the fabrics, then tap on the sides of the hoop until the chip is in place.
3. Pinning & alignment
I guess satin wasn’t the best material for a first go; I must learn to treat it with respect and avoid pulled areas, which are very obvious with this fabric. Here, I have the chip secured.
Aligning this under the needle was much easier than I’d expected. On my Machine, there are arrow buttons to help you place the center point, just like jogging the head on a laser cutter.
4. Border
The SE400 also has a really useful test-run button, which moves the carriage to “draw” a rectangle where your embroidery will go. With these tools, I defied the odds and didn’t hit the card once while making this. The border went neatly around it – no breakage this time.
5. Center design
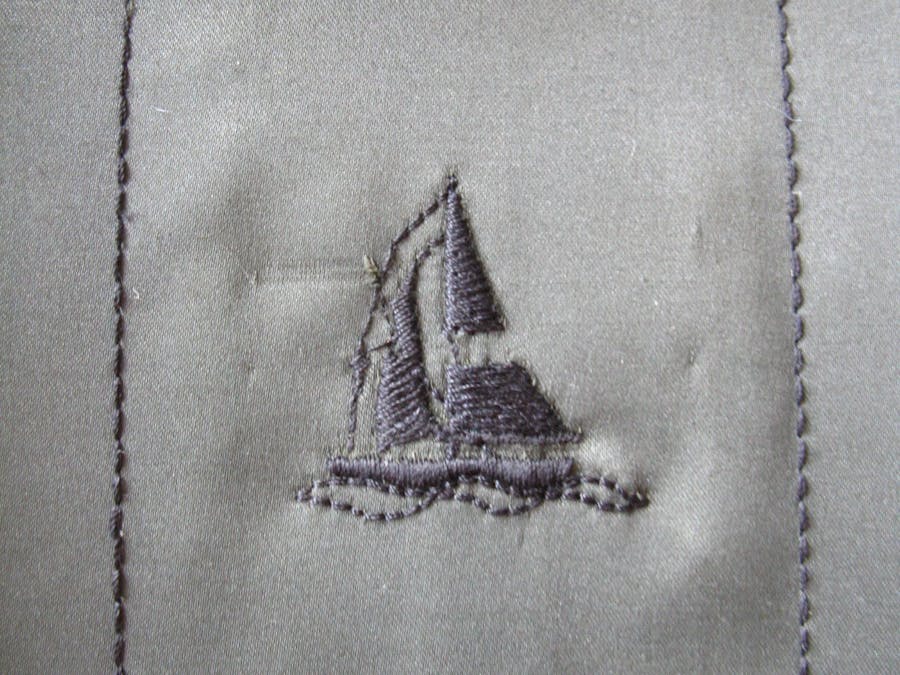
A central embroidery helps hold the fabric layers together, keeping the chip and antenna secure as well. Since this is a Clipper card, I picked a sailboat pattern that comes with the machine. It’s probably some other kind of ship, but who cares? This is a test run.
Of course, the Machine doesn’t actually know what colors you have in there, so I stuck with black thread for the whole thing. I sewed two color areas, intending to complete the first three…
…and then the needle broke. I’m not sure why; it appears to have caught in the satin, since it was a good space away from the pin and halfway through the cloth when it broke. Still, there are more needles in the world, and I didn’t break it on the chip!
I am reading the manual thoroughly, without which I’m sure there would be far more mishaps, and I’m generally happy with this progress. My first machine-completed patch is flexible and very much ready to wear.
Next steps: learning to digitize my own designs, and figuring out a temporary attachment/detachment method to put these on clothing.
Here’s a demo video of updating the balance on the patch!


Comments
Please log in or sign up to comment.