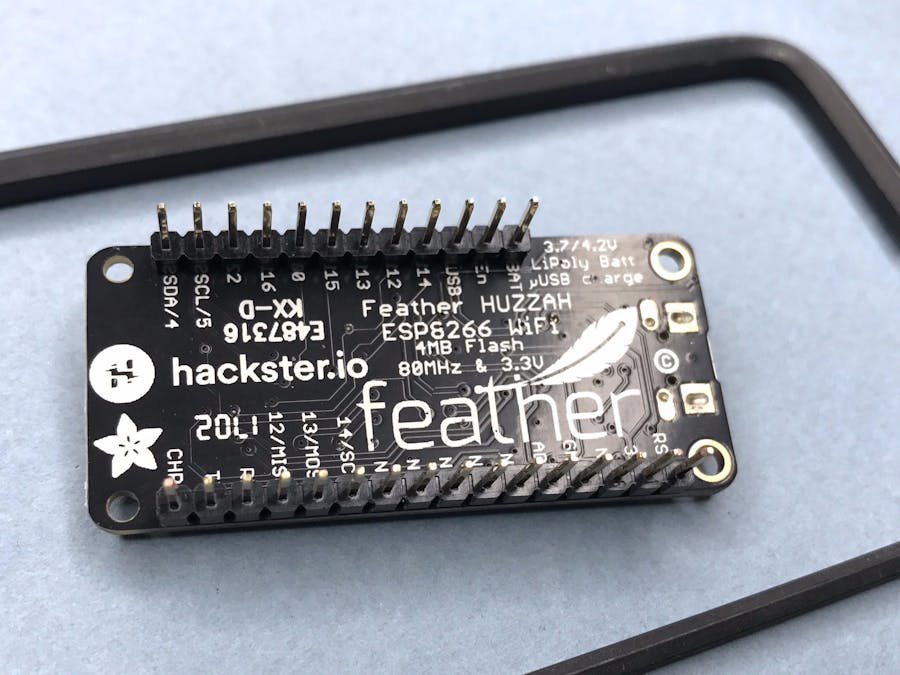
Adafruit already has a great learning guide here, but I think it's useful to have multiple perspectives. Here's a couple of quick projects to get you started with this board.
NodeMCU Lua vs. Arduino codeI did a little research to figure out whether to go with Lua (using the pre-installed firmware) or switch to the Arduino IDE. This thread helped a lot: not only would I have to learn Lua, but Lua would run a tad more slowly, being an interpreted language. Other users seem to agree, though I'm sure there are cases where Lua would be better.
Getting startedPlug in your board with a Micro USB cable. Fire up the Arduino IDE – version 1.6.8 or newer.
Add the ESP8266 board definitions in your Board Manager, by entering this URL in the Preferences: http://arduino.esp8266.com/stable/package_esp8266com_index.json
Here's Adafruit's guide to that, in case you run into trouble.
Once you've added the URL and saved the prefs, you'll be able to open up the Board Manager, select those definitions, and click the "Install" button. This will make the Feather available to select in the Tools menu.
You may also need to install this USB-to-UART driver. I'm running a MacBook Pro, and it wouldn't detect the plugged-in Feather until I did so.
Blinking LEDs: the "hello, world!" of hardwareThe Feather HUZZAH has two programmable LEDs built in: a big red one, on the main body of the board (pin 0), and a small blue one, on the ESP8266 sub-module itself (pin 2).
I ran the regular Arduino Blink example, changing the pin number to 0 and 2 like Adafruit does in their example, to use the built-in red LED. It works great. Check out the code example below, for a streamlined version that enables you to easily switch pins.
Feather to TwitterWe're gonna use IFTTT (If This Then That) to post a tweet with an image!
- Head over to ifttt.com and create a new applet.
- Choose the Webhooks channel for your "this".
- Pick a name for the event you'll be triggering; I simply called it "feather_a".
- Choose Twitter for "that", and select "Post a tweet with image" (we mustn't be boring!).
- Compose a tweet and find a suitable image somewhere on the internet, adding its URL in the appropriate box.
- Create the action!
- Now, click on the Webhooks channel icon and hit the "Settings" button (on the channel, not your new applet!)
- Copy the URL it gives you. We'll be feeding this into the Arduino code.
Now, update your Arduino code with your WiFi network name and password (if required), and put in maker.ifttt.com
as the host.
Scroll down and, in the String url
section, paste the rest of your URL. Follow the format I used in the code example below, and you should be just fine. Remember to double-check your event name (which you set in IFTTT) and access key.
Finally, be sure to increase the delay from 5000ms! Otherwise, you're gonna bomb your account with 30 identical tweets, auto-forward it to Facebook 30 times, annoy Adafruit, and...
I finally remembered to set it to 300000ms, or five minutes. Ahhh, much better.
...And that's it!
The IFTTT Maker channel gives you an HTTPS URL to trigger your action, so I messed around in Arduino trying to figure out how to adapt the Adafruit "Connecting via WiFi" sketch for HTTPS.
Drew advised me that HTTPS requires making an SSL connection on top of the regular communication – it's not just about swapping port 80 for 443. However! He also pointed out that you can just use HTTP. The traffic isn't encrypted – so don't use this for anything mission-critical, since your Maker Channel auth key could be sniffed, granting access to *any* Maker Channel applets you have running. However... it totally works!
Some WeirdnessI also edited the Blink code to use *both* LEDs. Oddly, although each LED should be off while the other is blinking, the opposite is true... the LEDs seem to stay on. It's confusing, and I will figure out later why it does this... If you have ideas, do tell! Here's the code:
// the setup function runs once when you press reset or power the board
void setup() {
 // initialize digital pin 13 as an output.
 pinMode(0, OUTPUT);
 pinMode(2, OUTPUT);
}
// the loop function runs over and over again forever
void loop() {
 digitalWrite(0, HIGH);   // turn the LED on (HIGH is the voltage level)
 delay(1000);              // wait for a second
 digitalWrite(0, LOW);    // turn the LED off by making the voltage LOW
 delay(1000);              // wait for a second
 digitalWrite(2, HIGH);   // turn the LED on (HIGH is the voltage level)
 delay(1000);              // wait for a second
 digitalWrite(2, LOW);    // turn the LED off by making the voltage LOW
 delay(1000);              // wait for a second
}
I previously had the ESP8266 board definitions installed, but I got an error message when trying to upload:
Board huzzah (platform esp8266, package esp8266) is unknown
Error compiling for board Adafruit HUZZAH ESP8266
I fixed it by removing and reinstalling the ESP board definitions in the Boards Manager.
And don't forget: if your Feather is plugged into USB but your computer isn't detecting it, try installing this driver.


Comments
Please log in or sign up to comment.