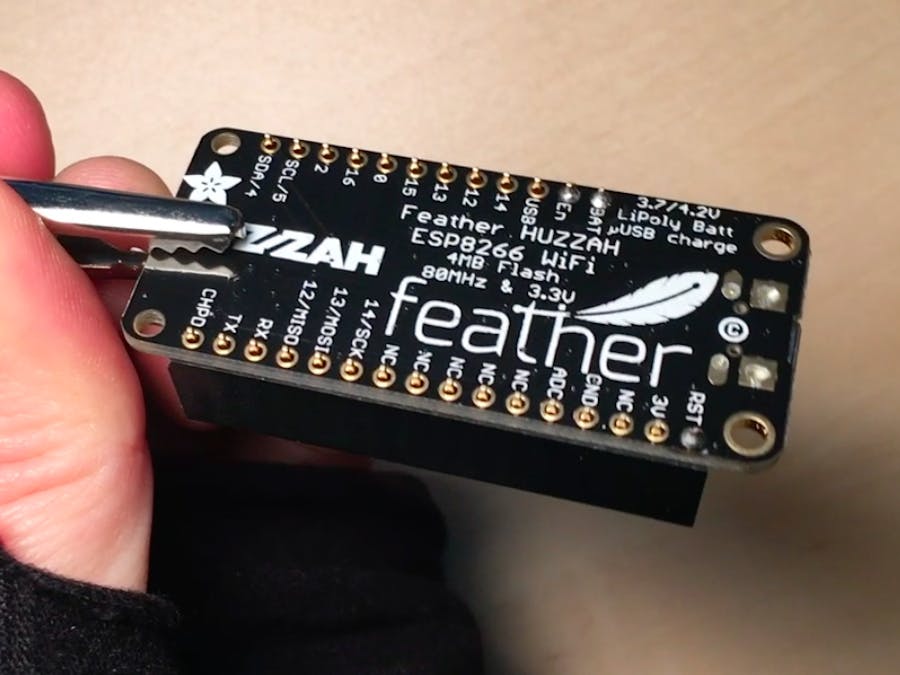
Breadboards! Soldering! Which do you use, and when?
Breadboards are for temporary connections, and we've been using it for most of this Hackster 101 series. If your circuit is having trouble with flaky connections, you may want to move on to soldering. You can combine the two by building a jig, if part of the circuit needs to be removable. This is really useful with boards like the ESP8266, which requires rock-solid connections and can be a huge pain to program on a breadboard.
Tools for solderingSoldering iron: This tool heats up the metal connections so the solder will adhere. It typically looks something like a really thick, metal pen. Careful with a hot soldering iron – turn it off whenever you're done using it.
Roll of solder: This metal wire melts to connect your components together. Two main types exist: lead solder and lead-free. The first one typically comes with a core of rosin, which helps it melt and flow smoothly. Lead-free solder can be more finicky to work with, but is safer.
Third hand: The most common type is a little stand with two alligator clips on "arms" and a magnifying glass in the middle. Use it to hold your parts in place at a convenient angle. Much better than singeing your friends.
Of course, make sure you have a good light source and all the magnification you need.
1. Through-hole solderingThis is used when you're attaching components or headers to a printed circuit board (PCB). You'll probably be sticking metal leads through tinned (metal-coated) holes in the board, to connect them. A few things to note:
- NEVER SOLDER to a board that is connected to power! You can fry your board, laptop, and other precious possessions.
- WASH YOUR HANDS frequently if you're working with lead solder! It can pass through your skin. And you definitely don't want it on any food you're eating afterwards.
- Try not to inhale any fumes, and always solder in a well-ventilated area.
- Remember to use the soldering iron to heat the metal components, not the solder wire directly. The solder will want to stick to the iron, instead of the joint.
- If you're a beginner, give yourself a long piece of unrolled solder to work with. It improves visibility and protects your fingers!
- Protect sensitive components! Use a temperature that melts solder quickly, but not much higher. And instead of soldering a chip directly into a circuit, solder a socket there instead.
- If you're soldering things with long leads, like LEDs, use a pair of clippers ("side cutters") to trim the ends off after soldering.
- Unplug your soldering iron after you're done, to prevent corroding the tip.
This requires a couple more tools! A video is coming next week.
Wire stripper: Use this to remove insulation from the ends of cut wires. With the insulation removed, the bare wires will be ready to solder. There are a few different types, but they generally look like pliers with different-sized "teeth".
Heat-shrink tubing: After you've soldered the wires together, this can be slid over the joint and shrunk with a heat-gun or lighter (if you live dangerously). Just remember to cut a piece and slide it down one wire *before* you solder the wires together, since it's a tube!
Soldering wires together is a similar process, except that you'll need to strip the insulation from the end of your wires first. Depending on the size of the wire, typically you'll need about 1/4" of bare wire for a DIY electronics connection with 18-22 gauge wire.
You can now cut a piece of heat-shrink tubing and slip it over one wire. It'll be used to insulate the connection, later on.
Then, tin both wires – that is, heat up the end with your soldering iron and melt a bit of solder onto it – then place them together, overlapping from opposite sides, and melt them into one. Finally, slide your heat-shrink over the joint and heat it up to insulate the new connection.
3. DesolderingNew tools, and another upcoming video!
Solder sucker: This is a strange device with a spring-loaded plunger that you push down. Then, place the tip of the sucker next to your melted joint, and push a button to make the plunger spring back up. That creates a vacuum that sucks the heated solder away. Weirdly effective!
Solder wick/desoldering braid: A roll of woven copper that you heat up against the joint. It conducts heat very well, so it wicks the solder away.
These are both handy if you're desoldering lots of connections at once – for example, headers in a row – and you can't simply reheat and pull apart the joint.
In the future, we'll cover soldering wires together, including heat-shrink tubing, as well as desoldering (in case you make a mistake). If you're curious about other methods, check out this surface-mount soldering tutorial. Surface-mount components are soldered to one side of the board, and are typically much smaller. They can also be placed using solder paste applied through a stencil. So many options!


Comments
Please log in or sign up to comment.