


This tutorial requires basic familiarity with the command line. It describes the process for setting these up on a Mac computer.
Joe Grand's OpticSpy can read secret serial messages transmitted in quick flashes of light. This tutorial will show you how to set up the OpticSpy, and then, we'll learn to use it with Tomu – a teeny-tiny USB device that hides inside your port with a couple of programmable LEDs peeking out.
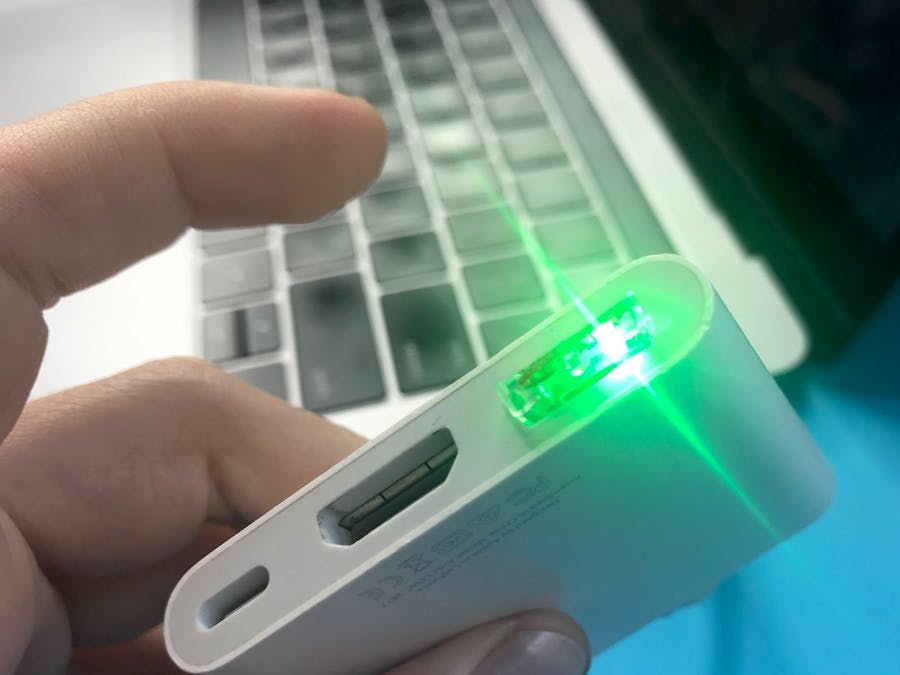
In this demo, the Tomu is sending bits of data by blinking its LED at 19200 baud – much faster than the human eye can detect. In fact, this is the same persistence of vision we use to make LEDs look like they are "fading" brighter and dimmer, when in fact they're just on or off for a larger percentage of the time. In this case, though, the LED just looks like it's constantly "on".
1. Set up TomuFirst, if you have the injection-molded plastic enclosure for your Tomu, assemble it with the chip facing the plastic, bare contacts facing out. Press down until they snap together. Note that you won't be able to remove the enclosure without damaging it! Plug this into your computer. It'll start flashing red and green (the two LEDs on the outside of the board).
Next, head to http://tomu.im/samples to grab some example program files for your little Tomu.
To load a piece of code onto your device, fire up your favorite command line / terminal app, get into the directory where you stored those files, and run:
dfu-util -D miniblink.dfu
(...or whichever file you've chosen.) You'll see it take effect momentarily.
If you unplug your Tomu and plug it in again, this will be gone and it will return to running its demo, so you'll have to load it again. (Some code disables that feature – for example, the U2F / FIDO firmware example – and you can make it programmable again by shorting together the two outer contacts that poke out of the Tomu. That's more of a pro-level move, though.)
Now, try it with the OpticSpy demo code:
dfu-util -D opticspy.dfu
Follow the OpticSpy beginner tutorial to learn how to use the OpticSpy sensor with your command line.
3. Put 'em TogetherNow, you need to figure out which port each of your devices is plugged into. On a Mac, you can use this command for both:
ls /dev/tty.*
The Tomu will be on a.usbmodem port, and the OpticSpy should be on a.usbserial port. Next, open up a screen session for each, in different windows. For Tomu:
screen /dev/tty.usbmodem-XXX
And for OpticSpy:
screen /dev/tty.usbserial-XXX 19200
...In the Tomu screen, you should see a prompt to enter some text and hit enter. Once you do, point the OpticSpy at the Tomu's LED, and you should start seeing your message flow in on its feedback screen – along with some glitchiness from ambient light! Awesome!
Enjoy. :)


Comments
Please log in or sign up to comment.