Node-RED is a tool for wiring together hardware devices, APIs and online services in new and interesting ways.
Node-RED provides a browser-based flow editor that makes it easy to wire together flows using the wide range nodes in the palette. Flows can be then deployed to the runtime in a single-click.
Why Node-RED?- Open-source
- Multi-platform/Cross-platform
- Browser based and supported by cloud platforms like Bluemix of IBM.
- Visual programming tool
- Supports real-time automation of M2M and IoT protocols.
- Future of Industrial IoT(Internet of Things)
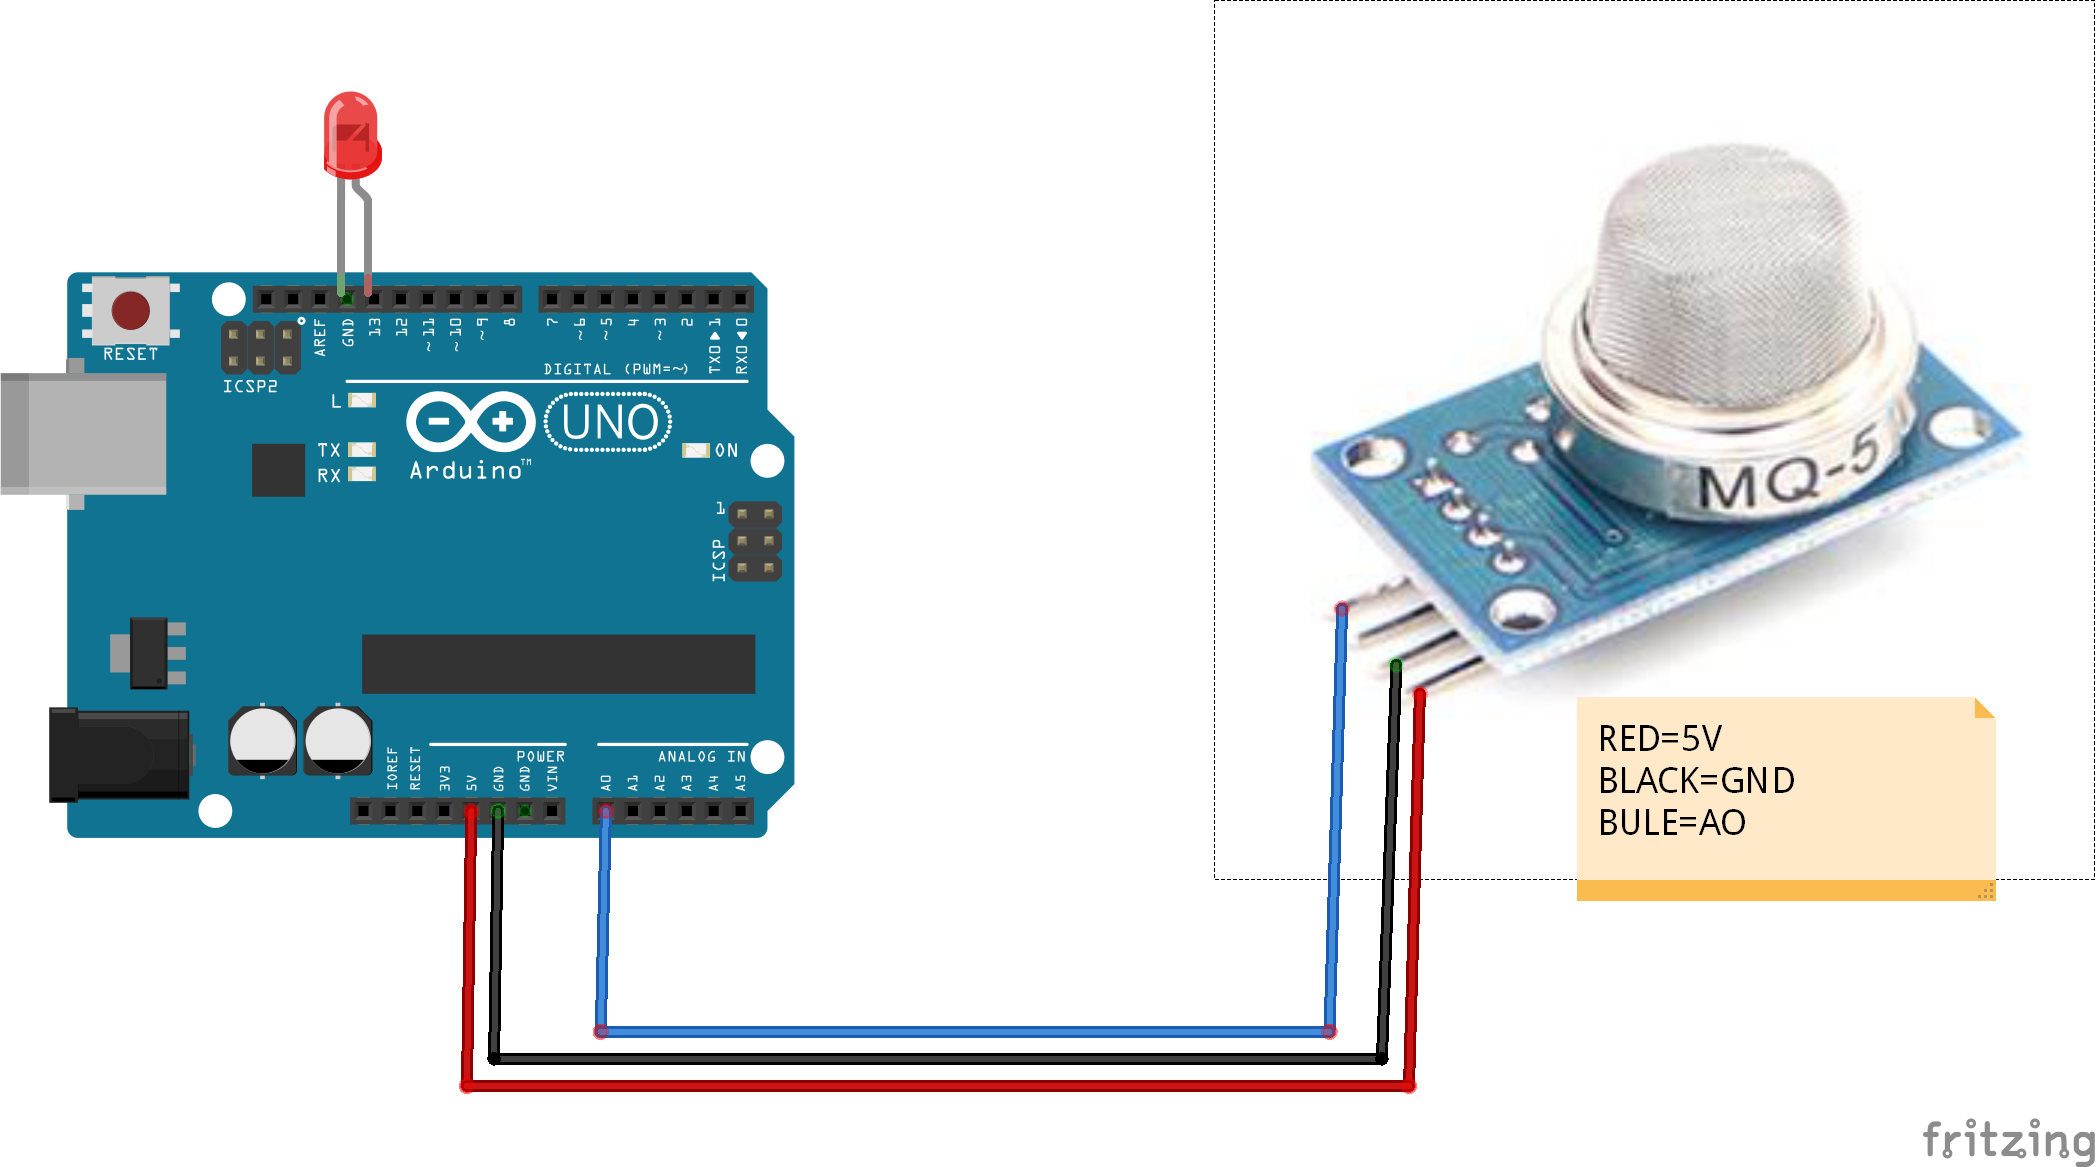
Preparing your Arduino Uno board:
Im working with- Arduino UNO and MQ-7 gas sensor, you can use any analog sensors of your choice, even a POT would do.
Things to follow:
- Baud-rate should be 57600.
- Delay should be more than 60000 ms, as per Twitter standards.
- Don't use/open your serial monitor, keep your COM port free.
- Keep your arduino board connected to your computer.
Code
const int AOUTpin= 0;
int value;
void setup()
{
Serial.begin(57600);
pinMode(AOUTpin, INPUT);
}
void loop()
{
value= analogRead(AOUTpin);
Serial.print("CO value: ");
Serial.println(value);
delay(60000);
}
- Download node.js for your computer, Click here.
- Open the command prompt and install Node-RED with these commands:
npm install -g node-red
- Now run your Node-RED, with this command:
node-red
- Copy the local-server link to your browser (Chrome) http://localhost:1880/#
Explore Node-RED
Panels of Node-RED:
- Nodes Panel, list of nodes.(Left-end)
- Flow Panel, to design your flow/wiring of the project.(Middle)
- Third one is of three sub panels named as INFO panel, Debug panel and Dashboard panel.(Right-end)
- Explore them.
Now it is time to create your project:
Choose the following NODES:
- Serial Node Input
- Twitter Node
- Text Node from Dashboard and
- debug node.
(or)
Copy and Import the following code (Menu>Import>Clipboard):
[{"id":"d6230d5f.c05e","type":"serial in","z":"b9075383.db257","name":"","serial":"1b8769a6.621dc6","x":91,"y":135,"wires":[["ea730c90.ebc4b","84c15113.4ecec","e146cbcf.251818"]]},{"id":"ea730c90.ebc4b","type":"debug","z":"b9075383.db257","name":"","active":true,"console":"false","complete":"false","x":501,"y":274,"wires":[]},{"id":"e146cbcf.251818","type":"twitter out","z":"b9075383.db257","twitter":"","name":"Tweet","x":689,"y":144,"wires":[]},{"id":"84c15113.4ecec","type":"ui_text","z":"b9075383.db257","group":"90f1c978.bba628","order":0,"width":0,"height":0,"name":"CO in PPM","label":"Arduino Reading","format":"{{msg.payload}}","layout":"col-center","x":467,"y":41,"wires":[]},{"id":"1b8769a6.621dc6","type":"serial-port","z":"b9075383.db257","serialport":"COM7","serialbaud":"57600","databits":"8","parity":"none","stopbits":"1","newline":"\\n","bin":"false","out":"char","addchar":false},{"id":"90f1c978.bba628","type":"ui_group","z":"b9075383.db257","name":"CarbonMonoxide in Atmosphere","tab":"93b83a33.771108","disp":true,"width":"9"},{"id":"93b83a33.771108","type":"ui_tab","z":"b9075383.db257","name":"Home","icon":"dashboard"}]
You should modify the Nodes, with your custom settings.
And click DEPLOY BUTTON to run your program.
STEP 5


_ztBMuBhMHo.jpg?auto=compress%2Cformat&w=48&h=48&fit=fill&bg=ffffff)


Comments
Please log in or sign up to comment.