


Hardware components | ||||||
 |
| × | 1 | |||
| × | 1 | ||||
 |
| × | 1 | |||
Software apps and online services | ||||||
 |
| |||||
| ||||||
| ||||||
The SAMA7G54 is the last ultra-low-power MPU 32-bits. Its exceptional performances make it able to run AI/ML based applications. In this tutorial you will learn how to build a Linux image compatible with the main necessary libraries for AI/ML. These main libraries are tflite_runtime and SciPy. Both are not integrated in buildroot for the moment.
I)Download buildroot for Microchip productsYou must work on a Linux environment on your host.
First of all, in the location of your choice, create a folder named: “buildroot_for_ML” and enter it:
mkdir buildroot_for_ML
cd buildroot_for_ML
Then :
git clone https://github.com/linux4sam/buildroot-at91.git
cd buildroot-at91
git checkout tags/linux4sam-2022.04
Hint: It is better to use the latest tag of buildroot-at91. To do so you can check the recent tags list on our GitHub repository by following this link : Linux4SAM/buildroot-at91 tags
Next step is:
cd ..
git clone https://github.com/linux4sam/buildroot-external-microchip
cd buildroot-external-microchip
git checkout tags/linux4sam-2022.04
Once all these steps are done, you will need to make a few changes in buildroot-at91 directories.
II)Make the installation compatible with libraries for AI/ML purposes1) Change Python VersionFirst of all, as explained in the introduction, you will need to use tflite_runtime. This python library is not compatible with the latest version of python (Python 3.10) but only with Python 3.8.
Go to the “buildroot_for_ML/buildroot-at91/package” directory and remove the “python3” directory.
What is important now is to go pick the python3.8.6 in a previous version of buildroot.
To do so, download the required specific version of buildroot by following this link:
Warning:
Do NOT download it in the “buildroot_for_ML” directory but in another one please.
Once this file is downloaded:
- Unzip it
- Browse to the “package” directory
- Copy the “python3” directory
- Paste it at this location: “buildroot_for_ML/buildroot-at91/package”
Now it is done. Congrats! You changed the version of python inside buildroot.
2) Add SciPy to buildroot.The library SciPy is a mathematics library often used for audio preprocessing in Audio ML models.
Follow these steps to add it to our buildroot installation:
- Go to https://patchwork.ozlabs.org/project/buildroot/list/?series=287352
- Download each patch by clicking on its link and on “MBOX”:
- Once the four patches are downloaded, put the files in the “buildroot_for_ML/buildroot-at91/” directory
- Open a terminal in this directory
- Then type theses commands:
git apply v4-1-4-package-python-gast-new-host-only-package.patch
git apply v4-2-4-package-python-beniget-new-host-only-package.patch
git apply v4-3-4-package-python-pythran-new-host-only-package.patch
git apply v4-4-4-package-python-scipy-new-package.patch
Once these steps are done, the SciPy library is now available in buildroot. But this is not its latest version which is SciPy version 1.8.1.
To update SciPy version, please, follow these steps:
- Go to the “buildroot_for_ML/buildroot-at91/package/python-SciPy” directory
- Open the file “python-scipy.mk” with a code editor like gedit for example.
- Change the SciPy version from 1.7.3 to 1.8.1:
- Once it is done, save the file and close it.
- Open the file “python-scipy.hash” with a code editor
- Delete the lines 3 ;4; 5; 6; 7; 8; 9
- Replace the content of the line 2 by this one:
sha256 0140dd24d14ce194fdb3df496c2190f0896ca84ac98bf5d69c3b3fb7bde1a1e9 scipy-1.8.1.tar.xz- Like this:
Now it is finally done! You have the latest version of SciPy integrated with buildroot.
III) Configure Buildroot1)Default configurationAs we want to build the Linux image for the SAMA7G54-Ek board, we need to indicate it to buildroot by setting-up an environment variable.
- In your terminal go to the“buildroot-at91/” directory
- Run this command:
BR2_EXTERNAL=../buildroot-external-microchip/ make sama7g5ek_headless_defconfigNow that the external toolchain is set, you can run the configuration GUI by typing:
make menuconfigTo be able to add python-scipy to your configuration, you will have to enable Fortran Support with your toolchain.
To do so:
- Go to the “Toolchain --->” option
- Activate the “Enable Fortran Support” option by pressing your spacebar.
- Double press “ESC” to go back to the main page.
Now that this is done, you can add as many packages as you need.
The Microchip's MPU32 Marketing team recommends you at least theses ones:
- BR2_PACKAGE_PYTHON3
- BR2_PACKAGE_PYTHON_PIP
- BR2_PACKAGE_NUMPY
- BR2_PACKAGE_PILLOW
- BR2_PACKAGE_PSUTIL
- BR2_PACKAGE_SCIPY
- BR2_PACKAGE_PSYCOPG2
Hint: You can search for any package you want in menuconfig by pressing the “/” keyboard key.
Warning:
Some packages are enabled by default, but they cause compatibilities issues because they do not support the SAMA7G54-Ek board and are not required, so please, disable them:
· Search for “cryptoauthlib”
· Select the first result and disable both packages:
Now that everything is done, you can build the image.
IV) Build and flash the image1)Build the imageTo build the image:
- In your terminal, inside the directory “buildroot-at91”
- Identify the number N of CPUs that can be used for the image generation
- Replace N in the following command and run it
make -jN- And now you have to wait several hours till the generation is finished:
Once the generation is completed, go to the “/buildroot_for_ML/buildroot-at91/output/images”directory. The file “sdcard.img” is the Linux Image that will be flashed on your SD Card.
Please follow this tutorial to learn how to do it:
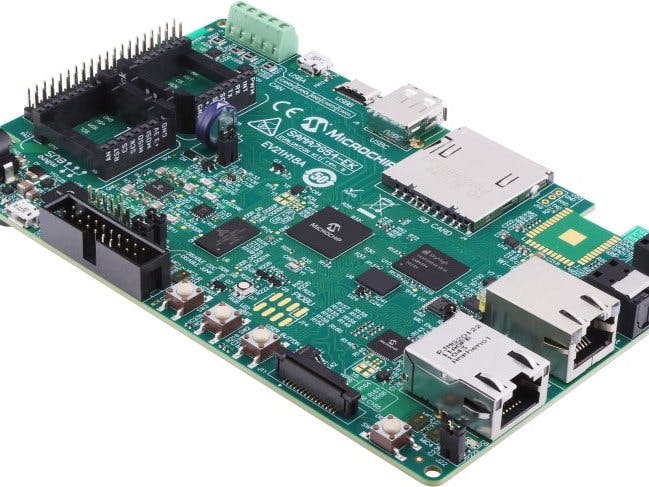
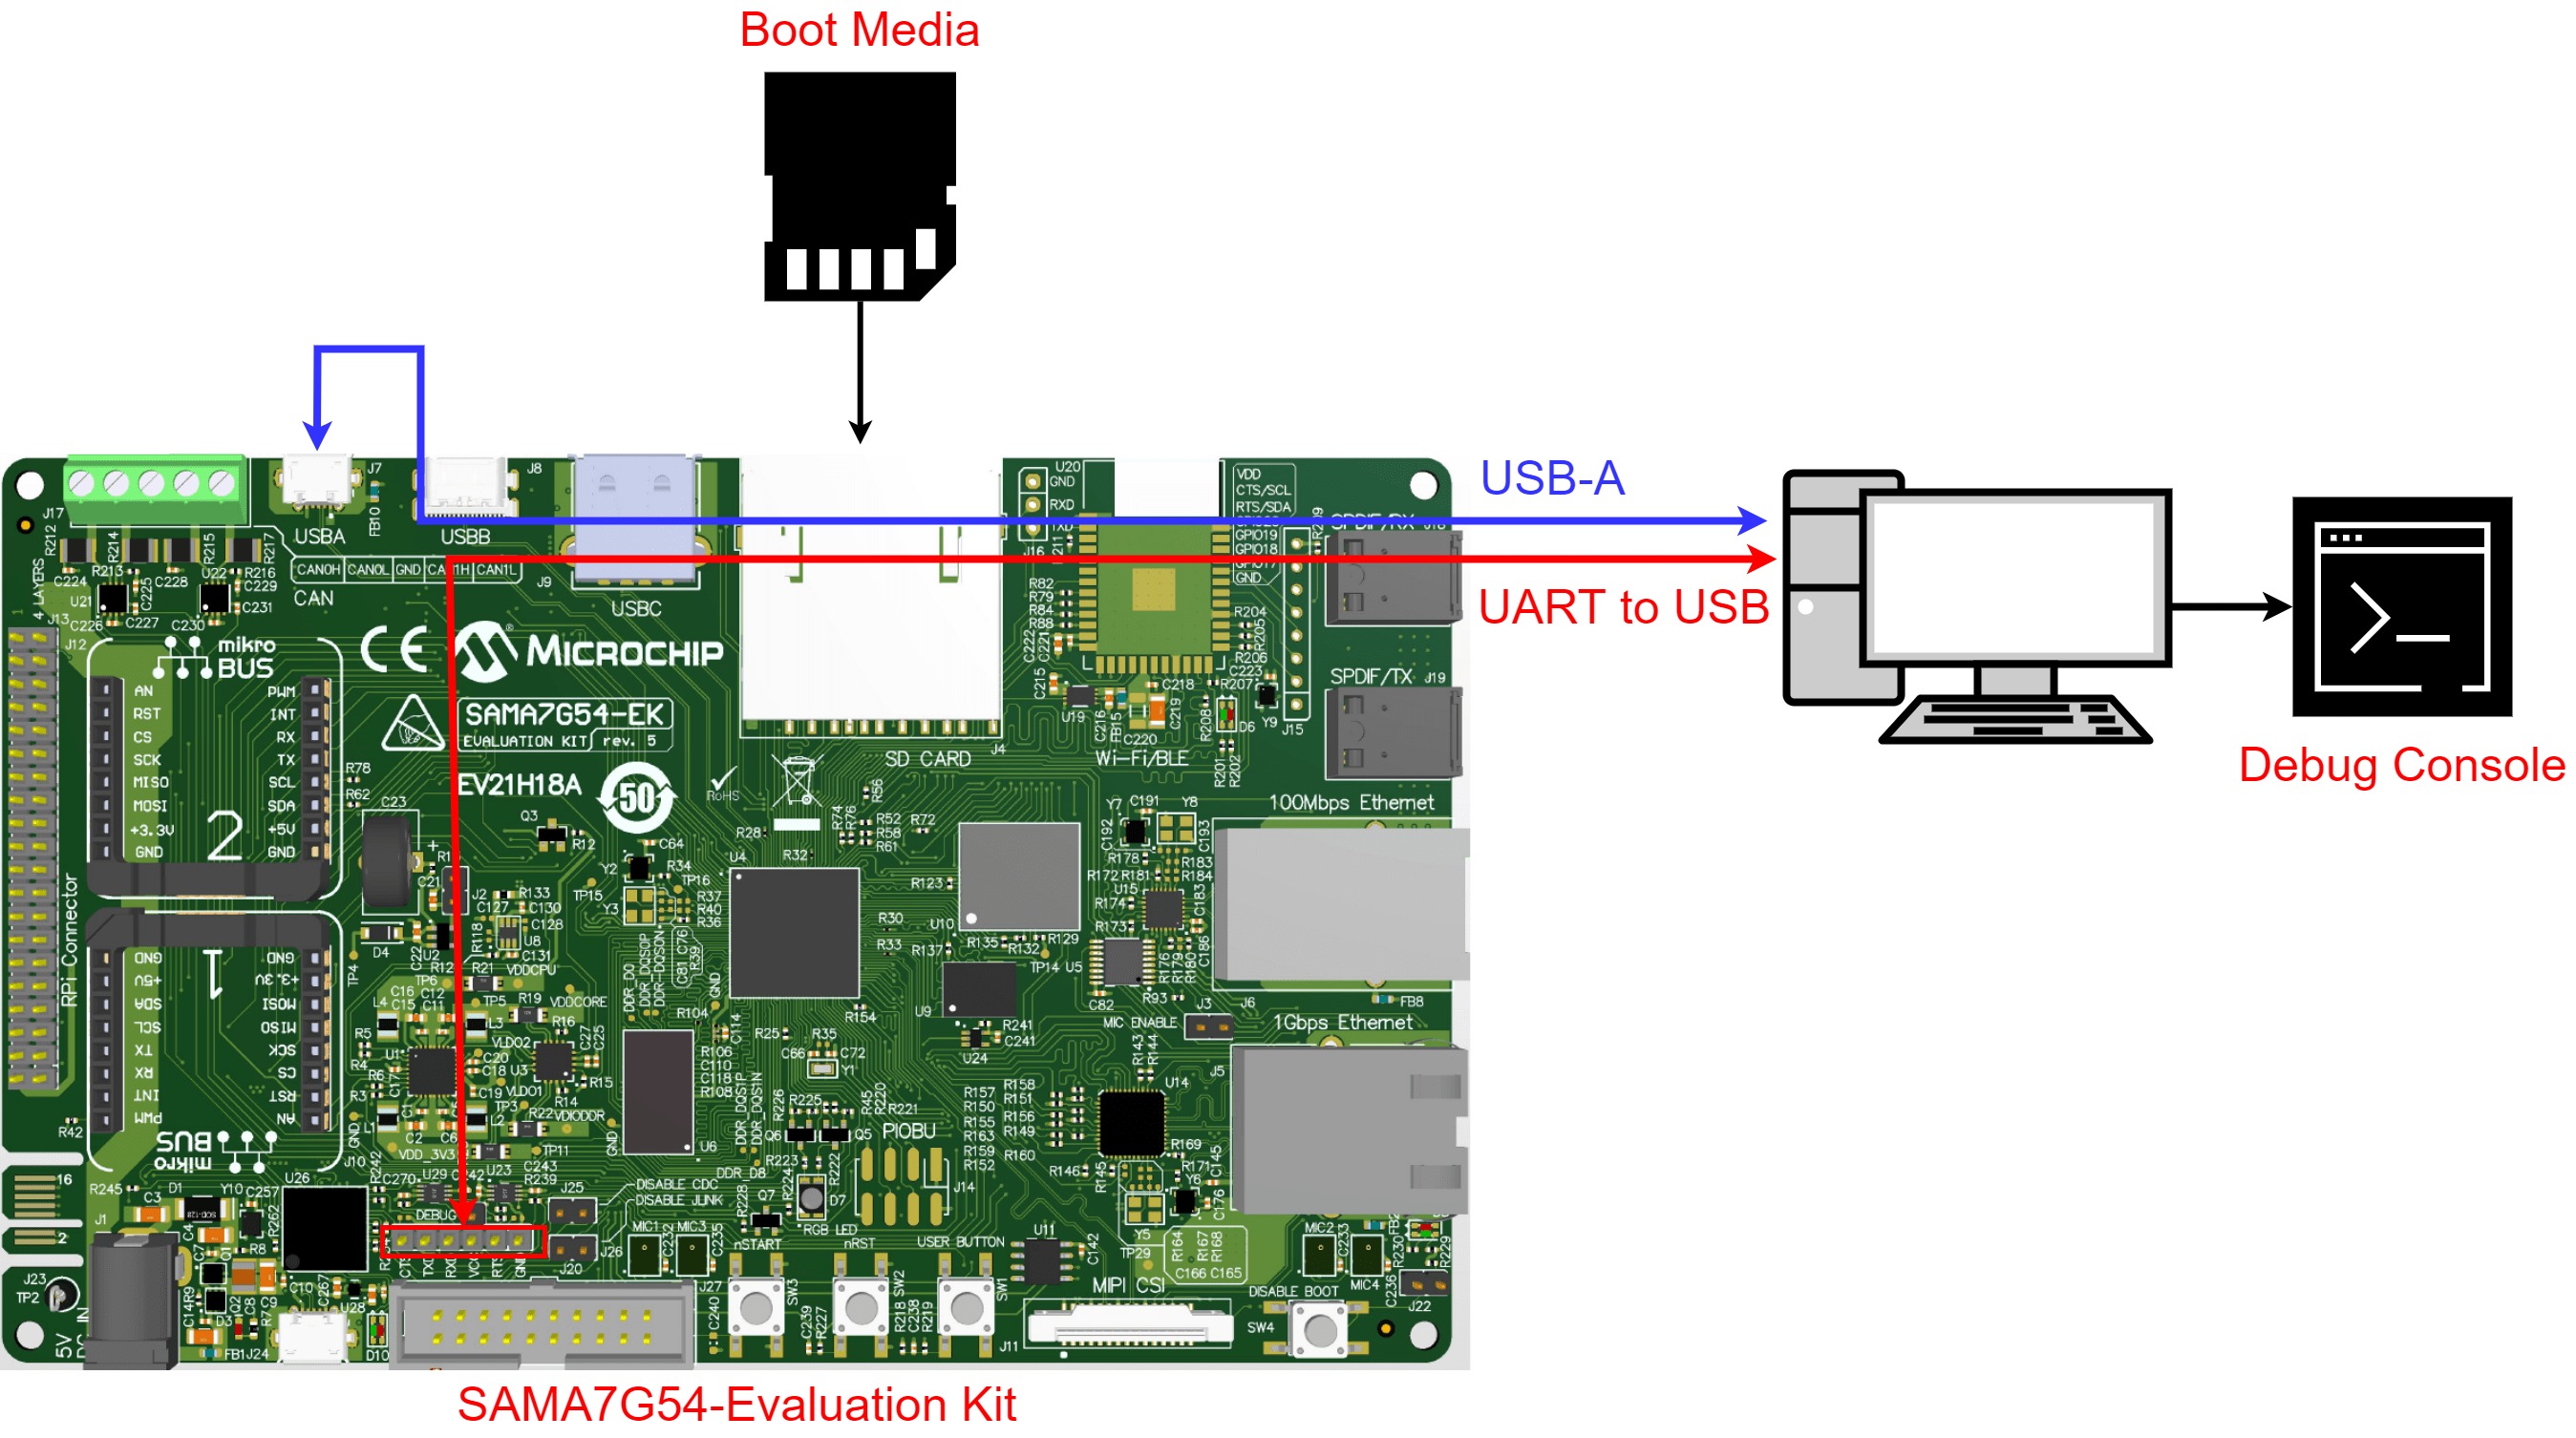
V) Install tflite_runtime1) Run the imageOnce the SD Card is flashed, you can plug it into the SD Card Receiver on the SAMA7G54-Ek Board and run the OS by pressing the “Reset Button” and the “Start button”.
Follow the indications of this image if you have some difficulties setting up your hardware:
Hint :
If you need help installing the driver for the TTL-to-USB connector(UART) you can follow this tutorial :
Linux4Sam - SAMA7G54-Ek - TTL-to-USB connector2) Install tflite_runtime
To install tflite_runtime you will have to use “pip”. But first of all you need to connect the board to the internet:
- Plug an ethernet cable to the “1Gbps Ethernet” module.
- Activate the interface :
ifup eth0- Setup the current date and time (for SSL certificate compatibility reasons):
date YYYY-MM-DD
date HH:MM:SS- Install tflite_runtime :
pip install tflite_runtimeThanks for using this tutorial. Now that you have a working image, you can install others packages, if compatibles, by using “pip” again. Do not hesitate to contact me if you need some help


Comments
Please log in or sign up to comment.