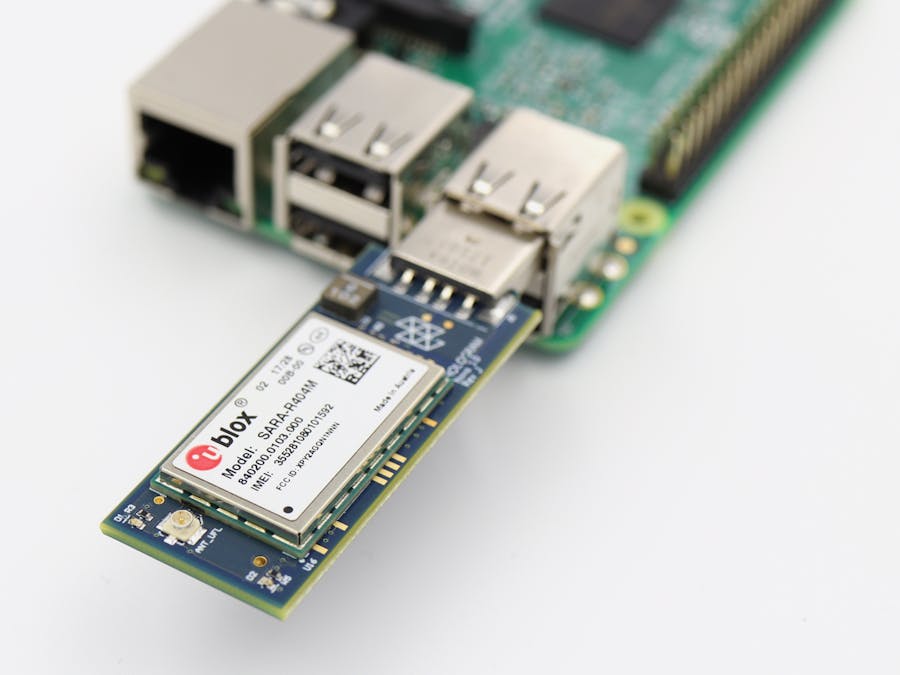
This tutorial walks through connecting a Raspberry Pi to the internet via cellular using a Hologram Nova USB Modem.
PrerequisitesBefore starting, make sure you have the following requirements:
- Raspberry Pi Zero, 3, 2 Model B or newer
- SD card with NOOBS or Raspbian Jessie/Stretch
- 2.4A USB power supply (anything less will not power the modem)
Before proceeding make sure your Raspberry Pi is running on the latest Raspbian release. If you have a new Pi you may need to download and burn the OS to the SD card.
Once you have an operational Pi we need to access its terminal. There are two ways we can do this.
Option 1: Connect an external monitor, keyboard, and mouse. From the Raspbian desktop, open the terminal application.
Option 2: Remote SSH over WiFi into the Pi. This takes a few more steps but is well worth the extra effort.
From your computer (not the Pi), insert the SD drive that will be for the Pi. A new drive should appear called BOOT. Open a terminal application and change directories into BOOT.
Create a file called ssh
in BOOT and create/edit a wifi config file called wpa_supplicant.conf
. This WiFi config file will set the networks your Pi should connect to after it reboots. Commands are as follow:
$ touch ssh
$ nano wpa_supplicant.conf
The last command will open a code editor called Nano inside the terminal. Add the following code block, modifying the network name and password to your own.
country=US
ctrl_interface=DIR=/var/run/wpa_supplicant GROUP=netdev
update_config=1

network={
      ssid="**your-wifi**"
      psk="**your-password**"
      key_mgmt=WPA-PSK
}
For insecure networks:
country=US
ctrl_interface=DIR=/var/run/wpa_supplicant GROUP=netdev
update_config=1

network={
    ssid="**your-wifi**"
    key_mgmt=NONE
}
Press CRTL+X to exit, Y to save, ENTER to confirm.
Eject the SD from your computer and insert it into the Pi. Apply power to the Pi, wait a minute for it to boot up then attempt to login through SSH.
From your main computer open a terminal and run:
$ ssh pi@raspberrypi.local
When prompted enter password raspberry
After gaining access to the Pi, it's good practice to change the hostname and password on first boot. You'll find options for both by running:
$ sudo raspi-config
After changing the hostname and password you'll need to reboot and log in through SSH again. This time your hostname will change:
$ ssh pi@[what-ever-your-hostname-is].local
Installation of the Hologram SDK is made very easy with a script we maintain. The install script will check what operating system you're running, install the necessary dependancies, and install the Hologram Python SDK.
Before we install the SDK it's best practice to update all installed libraries by running:
$ sudo apt-get update
Updating might take a few minutes. When it finishes run the SDK install script.
$ curl -L hologram.io/python-install | bash
If the install fails it likely means you need to install a required package manually. The output should let you know what you need to do.
After a successful install lets plug in the NOVA and wait for one solid light and one blinking light.
[insert gif of blinking lights]
Once we have lights, run:
$ sudo hologram version
A version number returned means the install was successful.
Lets do one more test to verify we can connect to the network by running a command to find your estimated location by triangulating off of nearby towers.
$ sudo hologram modem location
If you see lat/lon coordinates, you're in business!
Lets do one more, sending a message to the cloud.
$ sudo hologram send "Hello Worlds"
Now head to your online Hologram Console to see the message appear.
Take it to the next levelInterested in learning more about the SDK and creating Python scripts? Try one of the following tutorials.
For more examples check out our projects site.


Comments
Please log in or sign up to comment.