


Hardware components | ||||||
 |
| × | 1 | |||
 |
| × | 1 | |||
 |
| × | 1 | |||
Software apps and online services | ||||||
 |
| |||||
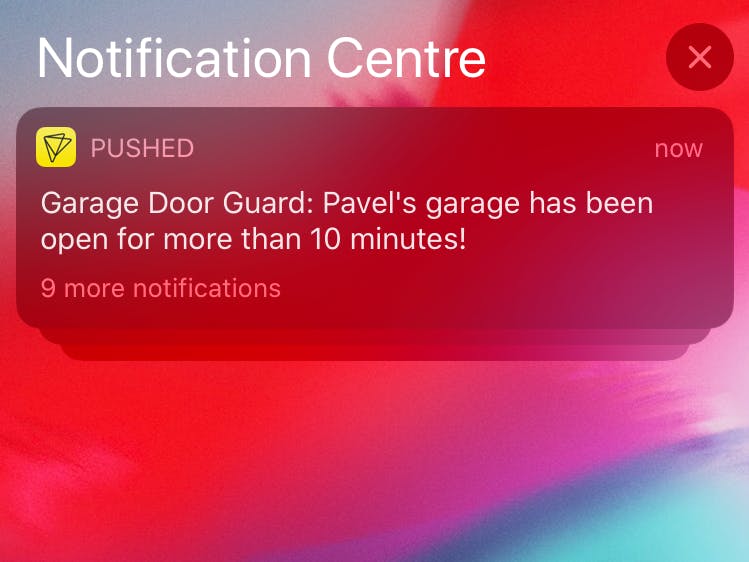
This project will help you to build your own Garage Door Guard. When the garage door is left open for more than 10 minutes, you will get a notification on your smartphone. The detection of the opened door is done using the 3-axis accelerometer. The device is battery-operated and can be used anywhere with the Sigfox connectivity (in the zone RCZ1). The expected battery life is approximately 2 years on four AAA 1.5 V Alkaline cells.
1. Build HardwareYou will need just these 3 basic BigClown modules specified above. BigClown is an IoT kit specialized in low-power wireless applications for the Internet of Things. It is all open-source and comes with great documentation. There is no need for wiring nor soldering - just plug the modules on top of each other as shown in the following pictures:
Core Module integrates the microcontroller, accelerometer, thermometer and USB interface. Sigfox Module enables radio communication to the Sigfox LPWAN network. Battery Module provides the power to the system. It integrates a DC/DC converter providing steady voltage for the rest of the system. Easy, right?
2. Flash FirmwareThe easiest way to flash this firmware is via the BigClown Playground desktop app (available for all platforms). Just connect the Core Module via USB cable and go to the Firmware tab. From the list, choose bcf-sigfox-garage-door-guard.
This section is completely optional but useful in the case, you want to change the default behaviour (e.g. adjusting the 10-minute timeout).
The firmware is written in C and available on this GitHub repository:
https://github.com/bigclownprojects/bcf-sigfox-garage-door-guard
You can clone the repository and build it yourself using the BigClown Toolchain Setup guide. Once the firmware is built, you will need to flash to the Core Module via Micro USB cable.
On this link, you will find the application source code.
It is possible to see the log output of the microcontroller if you chain the flashing command with the log parameter:
bcf flash --logYou should see messages when you change the device orientation. Finally, disconnect the USB cable.
4. Setup NotificationsThis project uses service pushed for sending push notification to your smartphone. First, go to their website and create the account. Also, install their app on your smartphone and log in to your account.
Now, create the app in the web admin interface of pushed. For instance, call it a Garage Door Guard.
Go to the App Settings and search for the QR Subscription Link - you can use it to subscribe to the notifications on your smartphone (via the "+" symbol).
Now, in the web admin interface, go to the Notifications (under your app) and you can send a testing notification. You should see it on your smartphone.
5. Connect DeviceThe next step is getting the device connected to the Sigfox network. For that purpose, you will need:
- Sigfox backend account
- Sigfox Device ID
- Sigfox Device PAC (portable authorization code)
Don't worry about the last two codes - you will get them together with the BigClown Sigfox Module.
In the Sigfox backend, create a Device Type (e.g. My Garage) with the following callback configuration:
Follow these steps:
1. Set the Url pattern:
https://api.pushed.co/1/push2. Set the HTTP method to POST.
3. Enable Send SNI checkbox.
4. Set Content type:
application/x-www-form-urlencoded5. Set Body:
app_key=...&app_secret=...&target_type=app&content=Pavel's garage has been open for more than 10 minutes!In the Body section, replace the ... after the app_key parameter and... after the app_secret parameter with the real values from the App Settings page of pushed service.
Then transfer (or register) your Sigfox Module in this created Device Type in the Sigfox backend.
Insert batteries to the BigClown Battery Module. Now, change the device orientation from vertical to horizontal. In the debug build, the message will be transmitted via the Sigfox network after 10 seconds.
You can now invite more people (e.g. your family members) to receive this notification via QR code you can get in the pushed service.


Comments
Please log in or sign up to comment.