There are so many ideas to build something with IOTA, but it's hard to start with development and even harder to handle the IOTA payment process. You need to know so many IOTA related things and setup a lot of stuff to have a good user experience with payments within the Tangle.
We build an IOTA payment module in Javascript for NodeJS applications, which cares about all things at IOTA payments.
You can add this module with NPM and power up your NodeJS application with few lines of code into an IOTA payment provider. This is a tutorial where we demonstrate the module and combine it with some hardware. The Raspberry Pi cares about the payments and shows the status on a e-ink display on it's top. You can use the resources to build your own idea with the module. Happy Hacking! The npm module is in a very early stage, so please report Bugs, or Feedback as an issue here. Thanks!
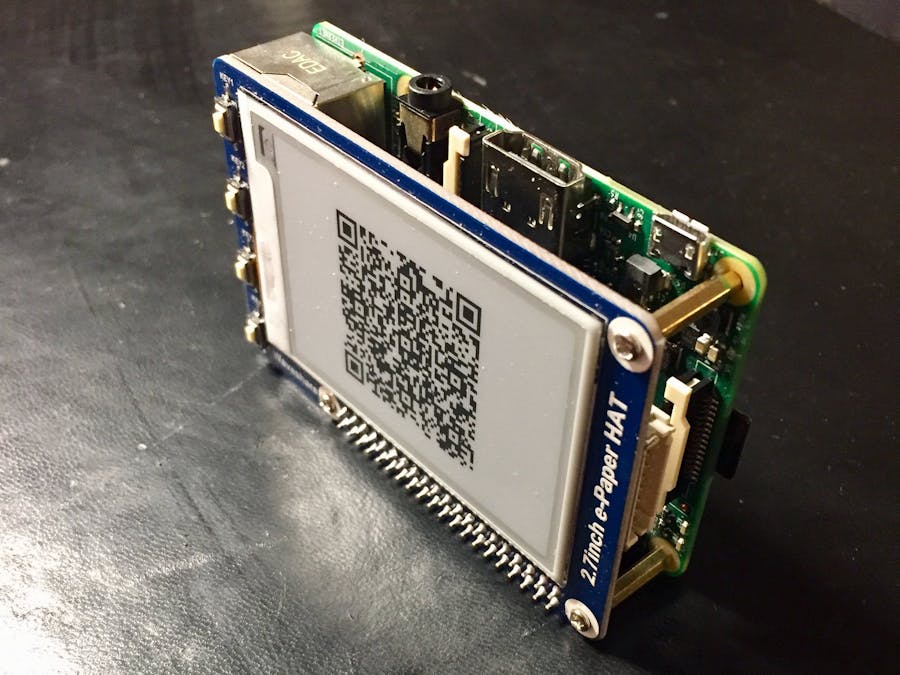
OverviewThis project is about the basic setup to display an IOTA address from a Raspberry Pi 3 Model B+ to a 2.7inch e-Paper HAT display. The addresses get generated by an NodeJS module, which acts as a Wallet and runs on the Raspberry Pi. Users can pay with their Trinity Wallet and see the payment status on the display.
1. Case preparationTo protect the bottom side of the Raspberry, I use the down side of this case.
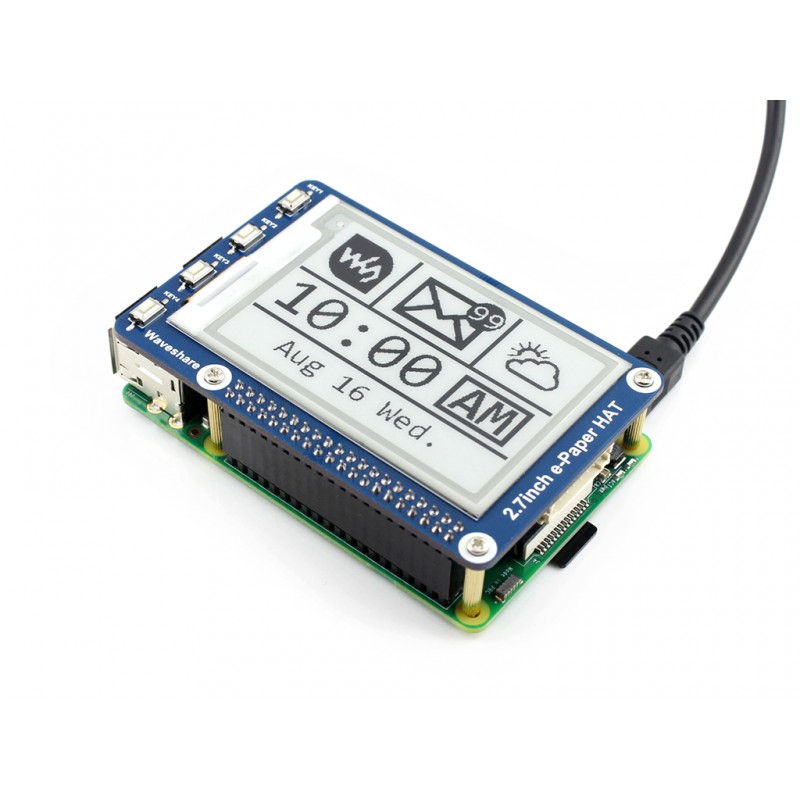
The ePaper HAT can fits perfectly on the top.
Having the case prepared we need to get started with the basic setup of our Raspberry Pi.
Step 2.1 - Install Raspbian
First we want to install Raspbian - we recommend to install Raspbian Stretch Lite (Download here). To do that plug the Pi's SD card in your computer and flash the Raspian Stretch Lite on it. Tip: To do that you can use Etcher.
Step 2.2 - Connect to WLAN
After the flashing process finished, the SD card has been ejected from your computer. All you need to do is to plug it out and in to let the OS recognise it again. As soon as your boot drive has appearedto open your terminal and execute:
$ cd /Volumes/bootNow we want to enable SSH, which is disabled by default on the Raspberry Pi. We simply create a file called ssh within the boot drive. To do that execute:
$ touch sshEven if the file is empty it will enable ssh as soon as the Pi boots.
Lastly, we also want the Pi to connect with wifi as soon as it boots. To do that we store the connection details at the boot drive of the Pi. Execute the following command:
$ nano wpa_supplicant.confNow go ahead and paste the following code in the file. Also, enter your wifi connection details and press ctrl + x to save the changes.
ctrl_interface=DIR=/var/run/wpa_supplicant GROUP=netdev
network={
    ssid="YOUR_SSID"
    psk="YOUR_WIFI_PASSWORD"
    key_mgmt=WPA-PSK
}
Now we are ready to connect via SSH to the Pi.
Step 2.3 - Enable SSH
Before we plug in the SD card into the Raspberry. We want to enable SSH, which is disabled by default. We simply create a file called ssh within the boot drive like the WLAN configuration file above. To do that, just execute:
$ touch sshThis creates a new empty file. Even if the file is empty, it will enable ssh as soon as the Pi boots.
Step 2.4 - Connect to the PI
We want to open a WIFI with the Raspberry, so we connect vie normal LAN to the Raspberry for configuration.
Checks the Raspberry Pi IP in your Router, or try to connect with the hostname "raspberrypi".
$ ssh pi@raspberrypiNow you have to enter the default password "raspberry" and you're in!
For security reasons, let's change the default password of the user "pi. Input this command:
$ passwdNow you need to type in the current password again (raspberry) and then your new password and the confirmation.
Now you're safe and ready for the next step!
Step 2.5 - Install dependencies
For this example, we need to install NodeJS and npm, and some Python libraries to control the e-ink display.
Install NodeJS
$ sudo apt-get update
$ sudo apt-get dist-upgrade
$ curl -sL https://deb.nodesource.com/setup_10.x | sudo -E bash -
$ sudo apt-get install -y nodejs
$ node -v
After the last command, you should see your node version.
Install python dependencies
sudo apt-get install python3-pip libtiff5-dev libopenjp2-7-dev fonts-freefont-ttf
sudo pip3 install RPi.GPIO spidev qrcode Pillow
install git, to clone the example code.
sudo apt install gitClone and run the example code
git clone https://github.com/huhn511/iota-payment-raspberry-example
cd iota-payment-raspberry-example
npm install
Create a new file called ".env", take care of the leading dot! Add a new seed and a IOTA Node as config parameters like in this example:
SEED='REPLACE-THIS-WITH-YOUR-SEED'
IOTANODE='https://nodes.tanglebay.org'
MAX_PAYMENT_TIME=1440Thats all, run the example and pay some iota to it!
npm startNow you can open your browser and check the example page.
Just type your Raspberry Pi address, the port, and the endpoint into the browser. You also could use the hostname "raspberrypi", instead of the IP, like this:http://raspberrypi:3000/
You just need to create a payment. This is just a POST request. For this example, you can use the button on the "create_payment" endpoint. Just go to this site and press the button and wait:http://raspberrypi:3000/create_payment
Your Raspberry Pi should show and QR code. Just transfer 1 IOTA with your trinity wallet to it! That's all!
You should see the "Payment success" screen on the e-ink display.
If you look into the code, you will see that the examples use the iota-payment module. After events like "onPaymentCreated" or "onPaymentSuccess", the example runs some python code to show the result on the e-ink display.
This example shows the flexibility of the iota-payment module. If you have any questions, feel free to ask. Please provide some feedback for the iota-payment module so we can improve it! Thanks!


Comments