

Step 1: Solder the ATMEGA328P MCU
It will be more convenient to use the edge of the iron.You should pay attention to the direction of the pin1 of MCU.
Step 2: Solder the crystal oscillator
There are no directions of crystal oscillator. Solder the three pins to the corresponding bonding pad.
Step 3: Solder the tantalum capacitor
The end which has a mark on the tantalum capacitor is the negative pole. It corresponds to the round silk screen of the contact pad.
Step 4: Solder the 0.1UF ceramic capacitor,1UF ceramic capacitor, 330R resistor, 10K resistor
Those resistors and capacitors have no anode and cathode.
Step 5: Solder the microswitch
Step 6: Solder LED
The end which has green points is the negative pole. It corresponds to the contact pad that the silk screen indicates.
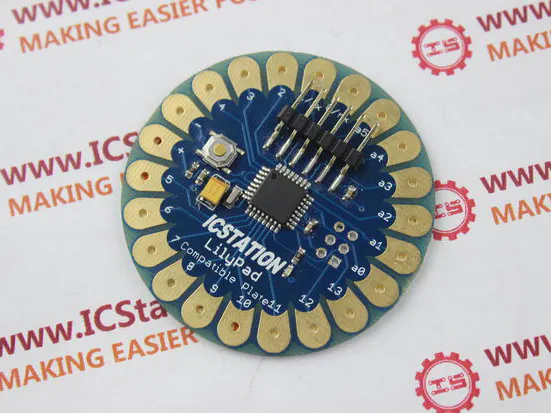
Step 7: Solder the pin header of the SMD
Step 8: Download the program
You can use the Arduino downloader which is developed by the ICStation. Open the Arduino IDE and Blink sketch. And choose the LilyPad arduino and COM interface, then click to download. Look, the red LED flashes. You see, it is very easy! Use ICStation LilyPad PCB circuit board to begin your design.


Comments