Featured design on Thingiverse.com!
Runner up winner of Instructables Plastics Contest!
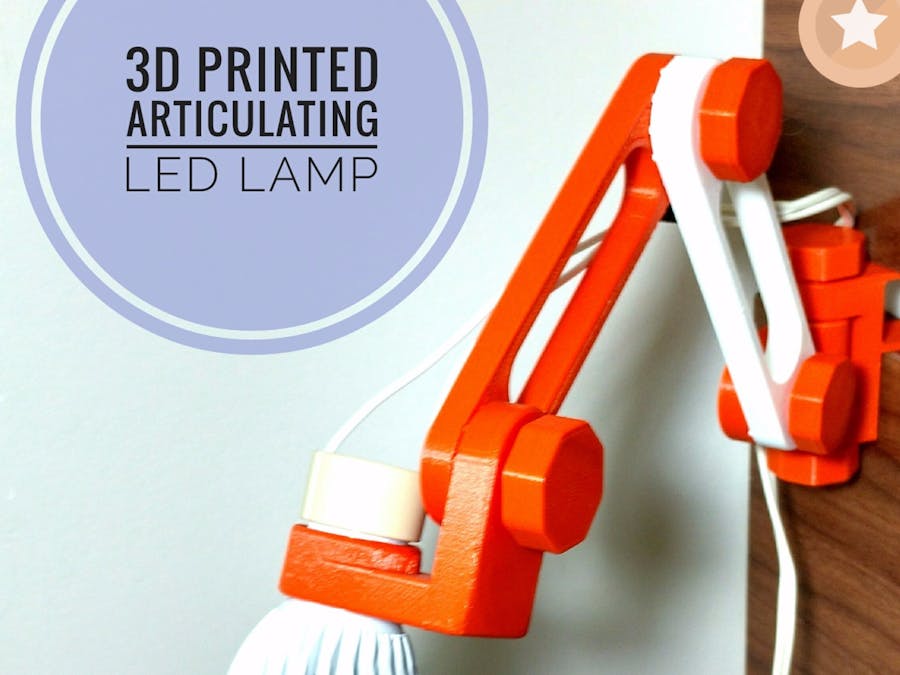
Introduction:Having good lighting at your desk or at a reading location is essential for your visual comfort and the health of your eyes. Although, it is not always possible to find a lamp of your liking, or that does not occupy much space on your desk, limiting your work area. In this tutorial I show how to make a 3D printed articulating lamp, which can be configured according to your needs.
Possibly the final product will be more expensive than ordinary lamps that you will find in stores. But none will be configurable like this, nor will will let you be proud to say that you did it by yourself! If you have a 3D printer or have access to one in your hacker/maker space, this is an interesting and useful project to equip your workshop and practice your 3D printing and modeling skills.
In the following steps I'll show how I adapted Kenneth awesome Articulating, Wall-Mounted, Magnetic Phone Mount design into an articulating wall mounted LED lamp.
Did you know you can buy a Anet A8 for only $165.99? Get yours at Gearbest: http://bit.ly/2kqVOdO
Be careful when working with electricity. Make sure there is no short circuit and just try to connect to the electrical power plug after making sure that all components are properly connected and double insulated. If you don't have enough experience working with electricity, as for others help. If you have no experience working with electricity, ask for help of any one with experience, or use lower voltages (e.g. 5V LEDs).
Don't touch any exposed wire or any metal part of the LED lamp after it's energized! Some LED spots have a metal heat sink. Avoid touching that part when the lamp is on! Don't forget ot check its voltage before turning it on.
Once there are exposed wires, it's not recommend to use it places accessible to children or animals. Under no circunstances use it close to wet surfaces!
It's and experimental design, so you might use it with caution.
3D ModelThe 3d model was designed using Fusion 360, based on Kenneth's Articulating, Wall-Mounted, Magnetic Phone Mount desing. For this lamp I redesigned most of the parts using Fusion 360 and made some adaptations and simplifications to reduce the number of different components need to assemble the whole structure.
The model is composed of 8 different parts (some of them printed more then once as described bellow):
- Lamp holder - this is the part where the LED spotlight and it's connector are attached to the structure of the lamp;
- Arm (male) - one of the arms used on the structure. It has built in screws used to attach it to the female type arm;
- Arm (female) - another type of arm. It has whole in it's ends, which are used for the connection to another arm an to the base joint;
- Arm (mixed) - it has a hole at one end and a stud at the other. With this you can extend the reach of the lamp one arm at a time (rather than needing a pair of arms). This may replace the other two types of arms (male and female);
- Wall joint - it connects the arm to the wall mount using a 3d printed screw;
- Bolt - connects to the wall joint ot the wall mount
- Wall mount- used to attach the structure the wall.
- Knobs (x4) - used for the fixation of each link.
You can download all the stl files from de following websites:
https://www.thingiverse.com/thing:2505394/
https://www.myminifactory.com/object/43697
https://pinshape.com/items/38232-3d-printed-3d-printed-articulating-led-lamp
InstructionsFull instructions on how to print and assemble it:
http://www.instructables.com/id/3D-Printed-Articulating-LED-Lamp/


_t9PF3orMPd.png?auto=compress%2Cformat&w=40&h=40&fit=fillmax&bg=fff&dpr=2)
Comments
Please log in or sign up to comment.