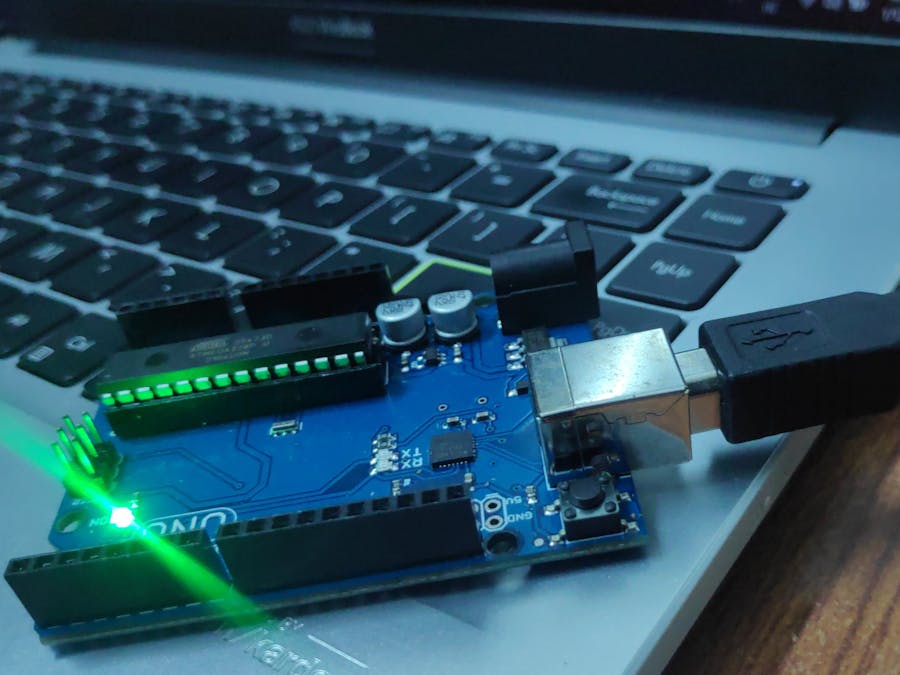
USB Rubber ducky is an HID device that looks similar to a USB Pen drive.It is a macro keyboard device that automates keystrokes that can type up to 1000 words per minute! Anything that can be done on a keyboard can be done with the Ducky. It may be used to inject keystroke into a system, used to hack a system, steal victims essential and credential data can inject payload to the victim’s computers. The main important thing about USB Rubber ducky is that it cannot be detected by any Anti-Virus or Firewall as it acts as an HID device. But here we are going to make a USB rubber ducky using Arduino UNO R3 board.
Arduino Rubber DuckyWill you guys believe if I say, we can do it with a 550rupees arduino compatible board with simple coding without detailed knowledge on how USB works? Yes, you can make your own Arduino Rubber rubber Ducky!
Material Requirements[Note: Click here to download the required packages and extract it]
- Arduino based board
- USB connector
- Arduino IDE
- A Ducky Script
- A Ducky File converter
- HID-Keyboard file
Ducky Script is the language of the USB Rubber Ducky. Writing scripts for can be done from any common ascii text editor such as Notepad, vi, emacs, nano, gedit, kedit, TextEdit, etc. You can learn more about ducky scricpt from this github repository. Now that you have a Ducky file the next step will be to convert this Ducky file to Arduino compatible file. There are lots of online converters available which will carry on this task for you.
Now you got an idea about what we are going to do....
STEPS OVERVIEW- Install Components
- Add HID-Keyboard library to Arduino IDE
- Upload sketch to Arduino UNO
- Converting UNO to a HID device
- Reflashing arduino
Install Arduino IDE From the official download page.
We need Atmel FLIP software for reflashing. For runnning Atmel FLIP, we need JDK and java runtime.
STEP 2 - Add HID-Keyboard library to Arduino IDEDownload the hid-project file from the below link and Add the zip file as shown below. https://www.arduinolibraries.info/libraries/hid-project
Then goto Files > Examples > UNO-HIDKeyboard-Library-master > KeyboardHelloWorld.
STEP 3 - Upload the sketchConnect the Arduino board to the computer using the USB connector and open the IDE and also confirm that the computer is detecting the board(you can see it in the device manager).
Before uploading the sketch we have to check whether we have selected the correct board name and port name. Select the board which you are using, Tools–>Board–>Your board. Here I am using Arduino UNO board and also choose the port, where Arduino is connected. Tools–>Port–>Your Port.
Then upload the sketch.
Note:Here we are uploading our sketch to the main micro controller called ATMEGA32 IC.
STEP 4 - Converting UNO to a HID deviceAfter uploading the sketch, we have to convert the Arduino UNO to a HID device by flashing the hexfile to atmega16u2, this chip is used as bridge between ATMEGA32 and the computer. We can reprogram this chip from a usb serial device to a hid device.
for that you have to short the two connections as given below, Use a male-female jumper to connect one pin of the ICSP ports to the ground. Then take a male-male jumper, connect one end of the jumper to ground and touch the TX component with the other end until there is a flicker. Then touch the right side of the crystal oscillator.
after having done the above steps, we entered into device firmware update mode(dfu mode), so we can disconnect the jumpers. In the device manager we can see a device is detected then we have to update the driver, choose the path of 'usb' folder where we install the Atmel software.(usually C:\Program Files(x86)\Atmel\Flip 3.4.7\usb).
Go to Atmel software, then go to icon > usb > open.
Note: If you did not perform the driver update process, an error will appear when you click open.
check all the four boxes(Erase, blank check, program, verify).
Then click File > Load HEX File > select 'Arduino-keyboard-0.3.hex' file and click run.
Once more short the two points foor one second like we shorted earlier and then disconnect and reconnect the arduino to the computer.
tadaa...Our arduino is now works as a rubber ducky.....
Now if we want to flash another code to the ATMEGA32 so that it does something different like a payload or reverse shell. We have to reflash our AtMega 16u2 to a usb serial device.
For that we have to short the 2 points as mentioned earlier and open the Atmel flip software and load the 'Arduino-usbserial-uno.hex', click run.
disconnect and reconnect arduino.
Now the arduino will recognize the board. we can upload any sketch we want. Then reprogram the AtMega16u2 as a HID keyboard device.
THANK YOU


_ztBMuBhMHo.jpg?auto=compress%2Cformat&w=48&h=48&fit=fill&bg=ffffff)


Comments
Please log in or sign up to comment.