Make a self-regulating heating system for my bedroom so I can stay at a comfortable temperature at all times.
In Chicago, winters are brutal. As a basement dweller in my home, it is absolutely essential that I have some kind of secondary heater because the central AC unit just does not work that well in most homes. As a result, I decided to make my own, small scale heating unit that would detect the temperature and keep me warm.
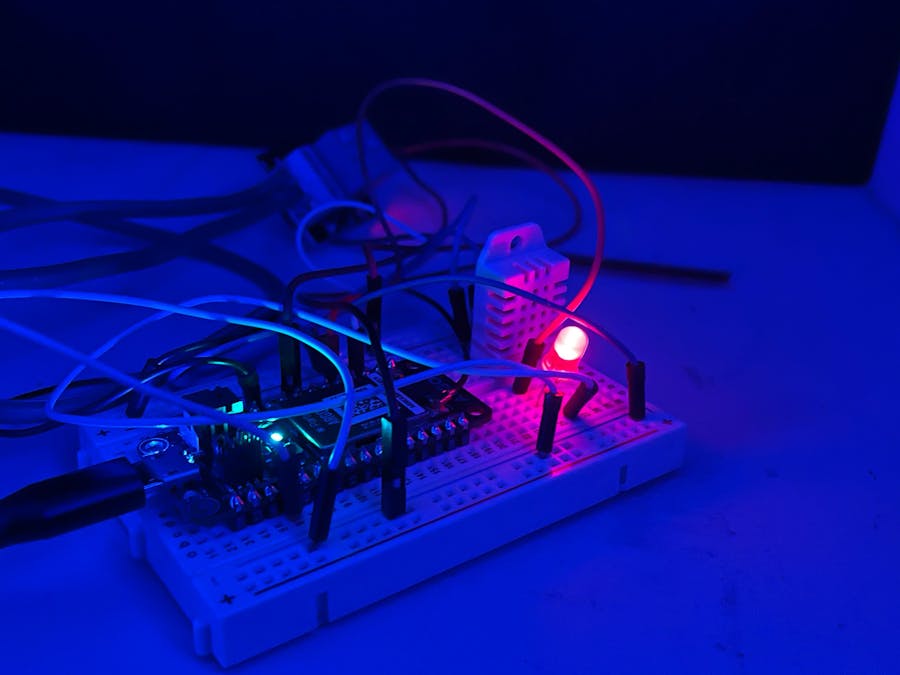
WiringStarting with my Particle Argon, a breadboard, and the DHT22 I wired up a simple circuit using the DHT22 pinout that checks the temperature and then responds by turning on the red LED if it is under a certain value. This is essentially an indicator light for testing and information purposes when we eventually connect it to the heater.
The DHT22 only needs three connections despite the four pins. The VCC pin must be connected to the Argon's VUSB pin. Connect the Data pin to any of the Argon's D(number) pins (data pins). Connect the GND pin to ground. One important detail is that the DHT22 requires a 10k ohm resistor that goes between the VCC and Data pins. This will reduce noise on the line and give more refined data.
The indicator LED just needs to be connected to ground via the shorter leg and to a data pin on the longer end.
Test CodeThis starter code is a good way to make sure that your DHT22 is working properly and pairs with the first step of the project above.
This code is fairly simple. It adds the Adafruit_DHT library, which will allow us to use DHT specific commands. Without this library, the Argon cannot interface with the temperature sensor. It also sets the pin we will be using for the DHT and tells the Argon which DHT model we are using. After that, the DHT is initialized. Don't forget to set your LED pin to output.
This loop uses the DHT temperature check command in an if/else statement to check the temperature and change the state of the LED accordingly. This will help you narrow down the ambient temperature of your room as well as whether or not your DHT is working properly. Don't forget to add a delay- the DHT22 can only update its data every three seconds at minimum.
The RelayThe key to interfacing between the DHT22, the Argon, and the Heater is the relay. The relay allows you to control the flow of electricity from the wall outlet (via the extension cable) to the heater.
To attach your extension cord, cut the negative wire (the ground one is textured on the rubber) and use a wire stripper to reveal the wire. Insert the wall outlet side into the common slot on the relay and the output plug side of the extension cable into the Normally Open slot.
Next, the Relay needs to be connected to an analog pin, ground, and 5V power on the Argon (I used the VUSB pin).
Finally, plug in the extension cable to the wall, and the heater to the extension cable.
The next step is to add the relay pin in your code as another variable.
The next step is to create an if/else statement that will allow you to pick the target temperature. When your condition is met, make sure to set both your relay and LED to high as a power indicator. You can change the the delay at the bottom as you please, but it's best not to rapidly pulse the heater with power on/off. The temperature won't really be affected and it can cause issues with the heater.
At this point, your mini air conditioning unit should be fully functional!
Of course, this works only in cold seasons, but could be easily modified to work with a small AC unit or a fan; simply switch out the space heater for the device of choice. Hopefully this guide was helpful. Happy building!


_zhWsCcSEcl.jpg?auto=compress%2Cformat&w=48&h=48&fit=fill&bg=ffffff)


Comments
Please log in or sign up to comment.