


Hardware components | ||||||
 |
| × | 1 | |||
 |
| × | 1 | |||
 |
| × | 1 | |||
 |
| × | 1 | |||
 |
| × | 1 | |||
 |
| × | 1 | |||
Software apps and online services | ||||||
 |
| |||||
| ||||||
| ||||||
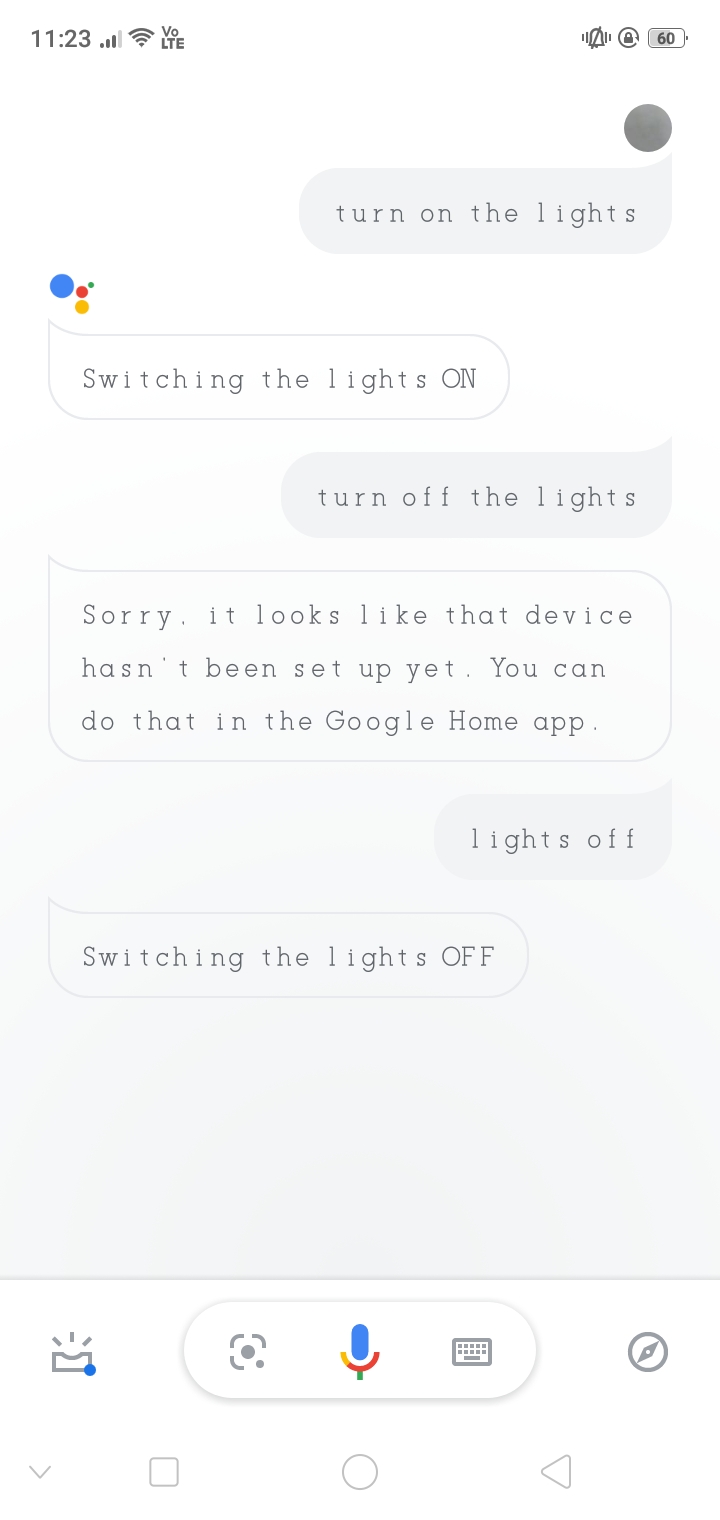
Now the world is moving forward by using many developed tools and features like AI, ML, IoT, etc..So here is a awesome project for home automation. Turn ON or OFF your light by saying to google to do so.
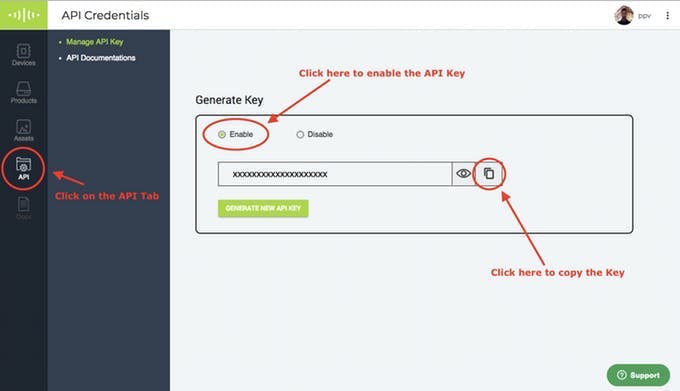
STEP 1: Get the api_key and BOotI_id
Login to cloud.boltiot.com and note the ID of your Bolt WiFi Module.
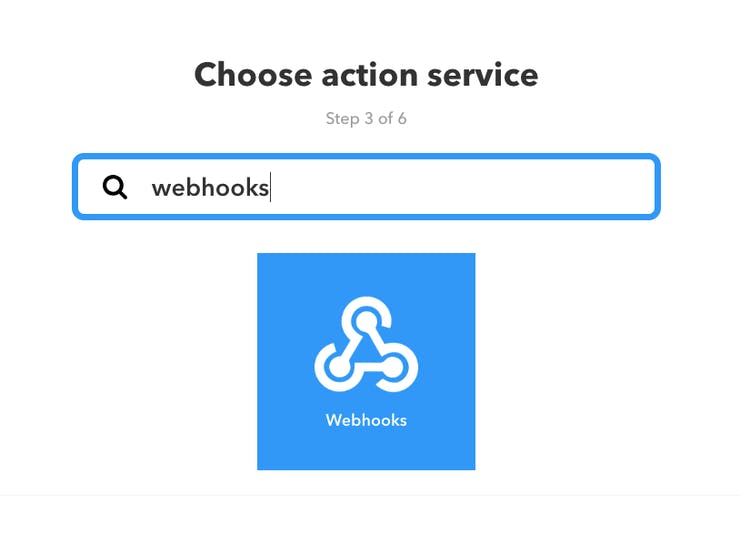
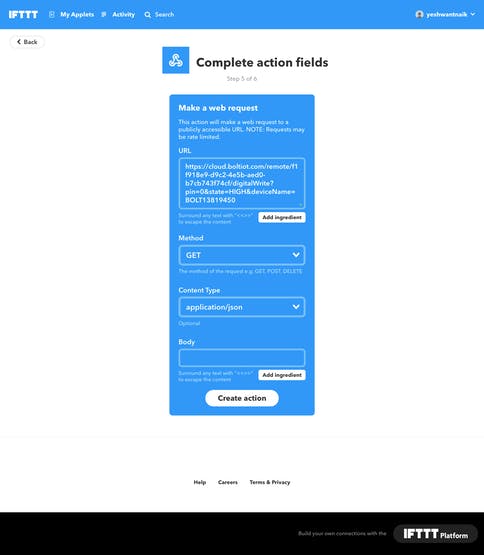
Step 4: IFTTT integration via Google Assistant and Webhooks
Go to IFTTT to create a new applet by clicking here
Login using your Gmail account. Make sure you use same account which you'll be using on your mobile to interact with Google Assistant.
Login using your Gmail account. Make sure you use same account which you'll be using on your mobile to interact with Google Assistant.


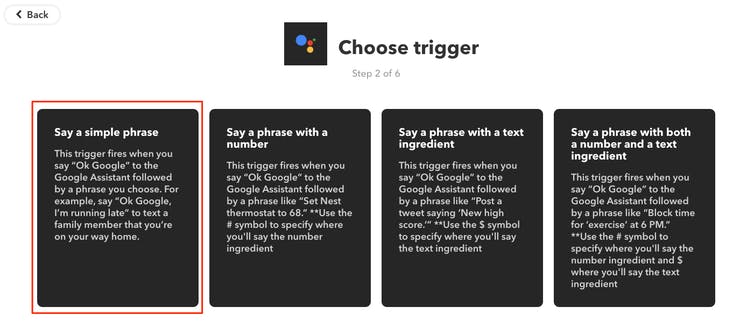
Step 7:
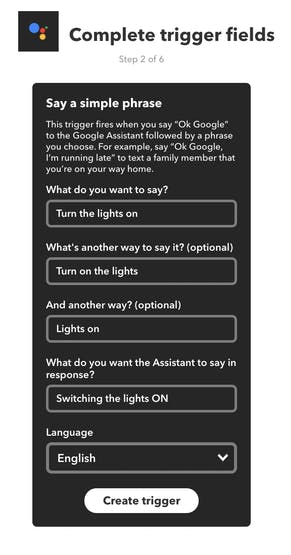
Type the phrase you want to trigger the action. Make sure to specify the trigger command in different ways for example I used
for on select on for off the light select off
a) Turn the lights on /off
b) Turn on/off the lights
c) Lights on/off
d) Switching lights on/off
click on create trigger
for on select on for off the light select off
a) Turn the lights on /off
b) Turn on/off the lights
c) Lights on/off
d) Switching lights on/off
click on create trigger

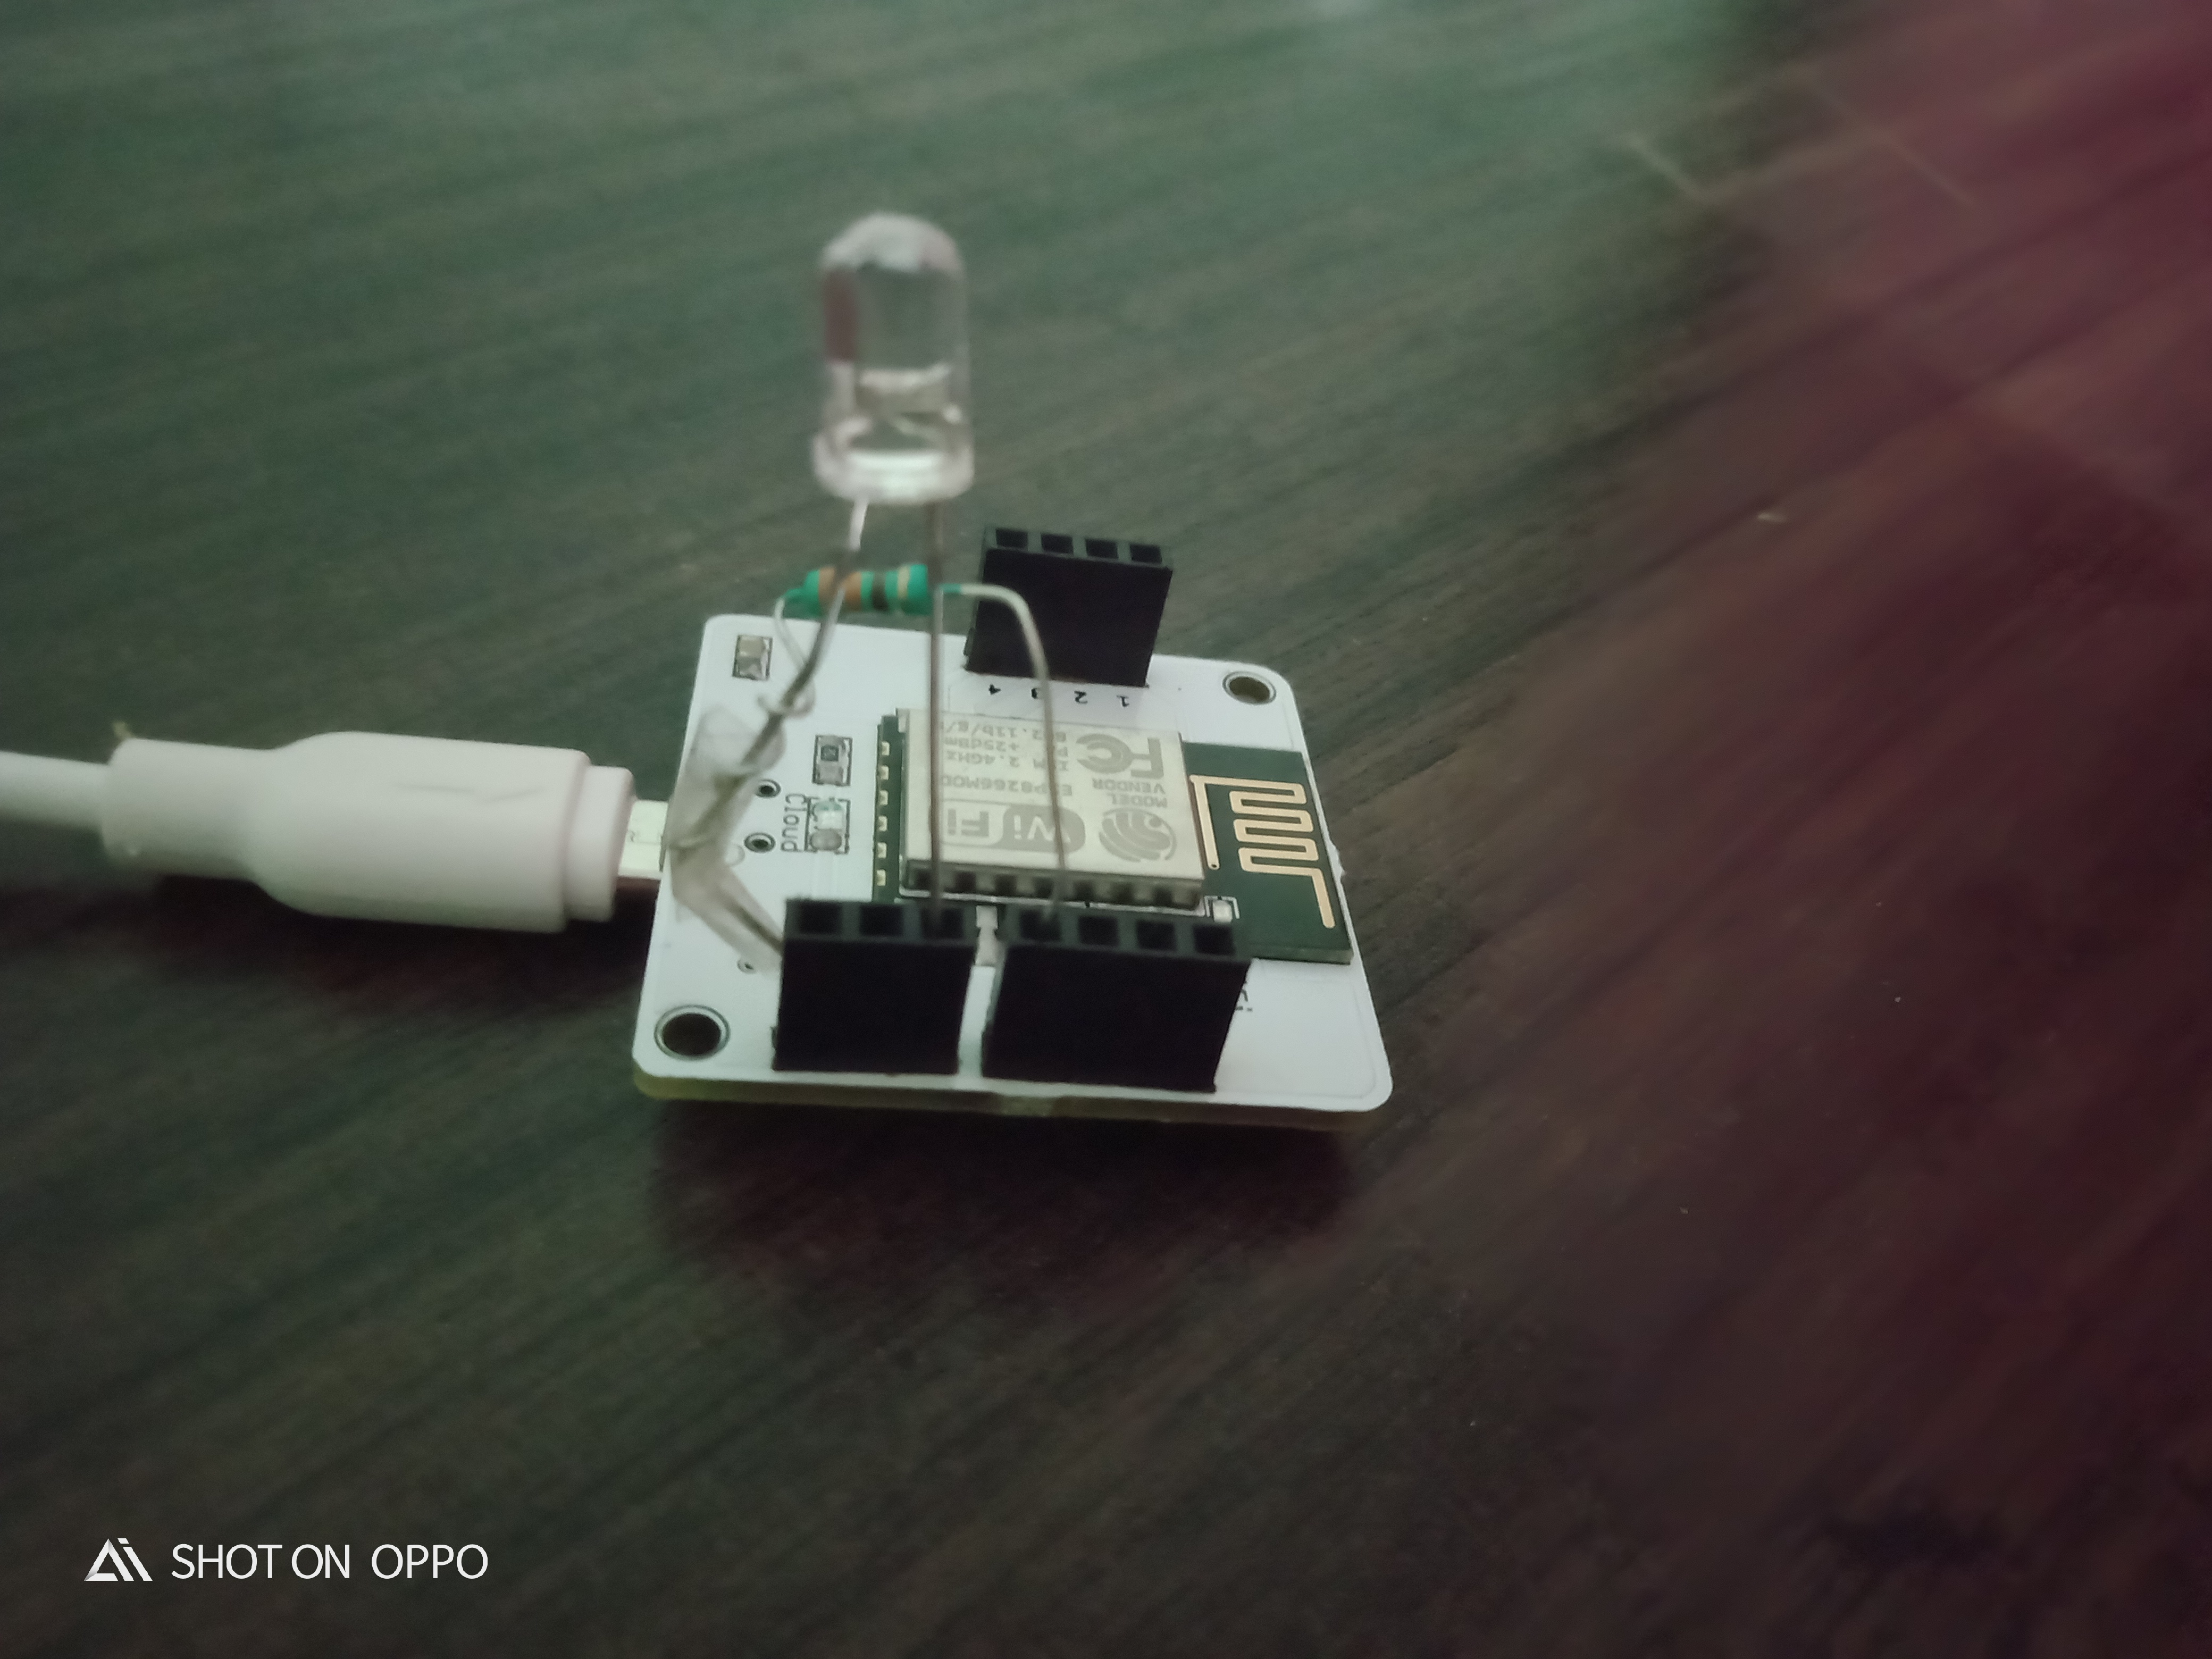
Circuit Diagram
This pic shows how to interface the led with the Bolt WiFi Module
make sure that there is no short circuit between two leg of LED.
make sure that there is no short circuit between two leg of LED.


Comments
Please log in or sign up to comment.