Tuya is an IoT Cloud Platform that lets you connect your devices to the internet. They provide developers with a one-stop IoT PaaS-level solution that contains hardware development tools, global cloud services, and smart business platform development. Many popular smart home device manufacturers use Tuya’s platform for their appliances. You can also join Tuya as an IOT Product Developer or start a Business by Signing Up On the Tuya IoT Platform.
Home Assistant ( HASSIO):Home Assistant is one of the most popular open-source local server-based home automation projects. Where you can add do some cool things with all of your devices together.
Tuya HA plugin / Tuya integration is officially added to Home Assistant. It will allow integrating all Tuya devices you have added to the Tuya Smart and Tuya Smart Life apps. This integration is officially maintained by Tuya. Here is the Github link for this integration.
About the Project & How does it worksToday I’m going to add the smart home device to the Home Assistant with Tuya HA plug-in. To add tuya devices to the Home Assistant, where tuya users will need to follow some easy steps to add their devices. All the devices will be added in a Cloud project on the Tuya IoT platform and all the Tuya Devices are inside the Cloud project will get the instruction from the Hassio and trigger the devices as per user command.
Supported platforms- Climate: air conditioner, heater, thermostat.
- Fan: fan, air purifier, humidifier, dehumidifier.
- Light: light, light strip, ambient light, light string, humidifier’s light, ceiling light.
- Scene: smart scene.
- Switch: switch, socket, power strip, smart kettle, breaker, pet water feeder, air purifier, diffuser.
Or, you can create your own device with the Tuya IoT Platform and can add those devices with Home Assistant via Tuya HA Plugin. You can read my other article where I have shown how to make a smart home product Tuya IoT Platform.
Required Components and SoftwareHardware:
- Tuya Smart Devices (Connected with your Tuya Smart / Smart Life App)
- Raspberry Pi 3 /Raspberry Pi 4 / Windows PC/ MAC
Software:
- Home Assistant ( HASSIO)
- Tuya Smart / Smart Life App
Add Tuya Devices with Tuya Smart or Smart Life app first to add your devices to Home assistant and to create this Tuya Cloud Platform Project. You can follow this manual to use your Tuya App. Tuya Guide- Google Drive
To add the tuya smart product to your home assist server you have to create a developer account on the Tuya IoT Platform. Go to Tuya.com and click the “Go to IoT Platform” As shown in the image below.
After you click the button you will land on the login/signup page, from there you fill the form and create the account.
Create a Cloud Project In Tuya IoT Platform:Once you logged in you will land on a page that looks like this-
Sign up for a free trial on the Tuya Cloud project. Once you signed up, it’s time to create the cloud project–
Click the Create Button to create a cloud project. After clicking the button you will land on the page like this-
Give a name to your project, select the industry type and development methods Smart Home. then select the data center according to your area/ region. It will better to check your Tuya smart app or smart Life app before selecting the data center. You can also change the data center later. After filling all the box click ok, once you click it you will land on this page below-
Just select the Device status Notification and then click Authorize button. Then go to the Link Tuya App Account under the “Device” tab then click the “Add App Account” Button as shown below-
Once you click the button a QR code page will show up like this image below-
Now you need to grab your phone and open the Tuya smart/ or smart Life app and give them access.
Once you give permission in your app, all of those devices are added to your Tuya Smart or Smart Life App.
Then go back to the overview tab Copy the Access ID/Client ID and Access Secret/Client Secret and save them in a text file because we will need those two codes in HASSIO.
Go to your Home assistant dashboard, if you had set up the home assistant server already. If you haven’t done it yet knock me I will help you to set up the server. Once you are inside your home assistant server dashboard, click the Configuration tab and then go to the Integration section.
Once you are there click the Add integration button as shown below-
After clicking the button you will see this pop-up. Type Tuya on the search bar, Tuya HA plugin is already added to hassio by default. Click on it.-
As you have clicked it, you will see this pop-up. Select Your country, put the Access ID/Client ID and Access Secret/Client Secret you had copied before from the Tuya IoT platform then the submit button will be active, just click on it as shown below.
Once you click the “Submit Button” you will see all the devices that are connected with your Tuya App and the Tuya IoT Platform. Now you can set the device area according to your needs and click the “ Finish Button” As shown below.
After doing the setup you will be able to see the Tuya Integration in your Integration Tab, and how many devices are being added through the Tuya IoT Platform.
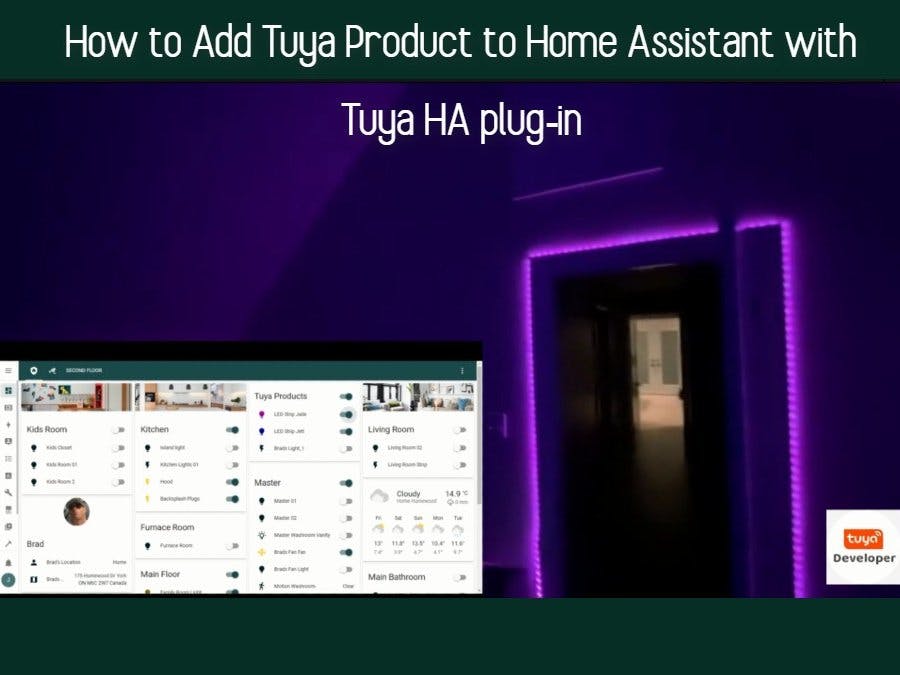
After doing the Hassio Setup, I have added the Tuya Devices in a one entity card and it’s ended up looking like this-
I hope this article will be helpful for you and you will be able to add the Tuya Products with your Home Assistant Server by using the Tuya IoT platform. So, grab some Tuya Smart Products and create the Cloud project onTuya IoT Platform to create the Cloud project. Let’s do some cool things with your Sweet Home.
Note: Just keep in mind to select the correct Data Center in Tuya Cloud Project.
Useful Links:Arduino Development Beta Test Program
https://github.com/tuya/tuya-home-assistant?&_source=22769ffc5f12f35edf50bdbb086a6480
https://pages.tuya.com/develop/HomeAssistantBetaTest_V2?_source=67abab4d8074fa5b317c904f8eeb6508
RelatedPlease Share This Share this content


Comments
Please log in or sign up to comment.