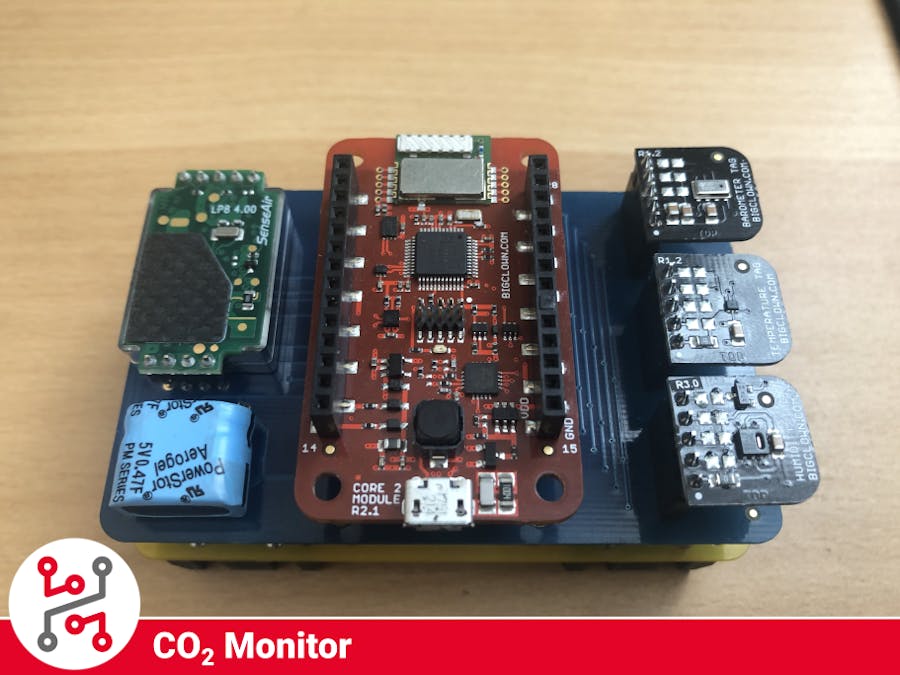
According to a lot of studies, a high level of CO2 on workspace affects the productivity of your workers and has some effects on your health as well. With this simple solution, you can monitor a CO2 level in your home, office, etc. You can also measure temperature, atmospheric pressure, and relative humidity of the rooms that you have this device in.
It uses radio for communication and MQTT messages for sending the values. The whole device is designed to run just on 4 AAA batteries because of the low-power solution for a long period of time.
You can see some article for some more insight for example here.
1. Build hardwareAll the hardware that you will need will come in a package with the CO2 monitor kit. You will just assemble it all together.
For complete assembly guide watch the video below.
2. Flash firmware- Download HARDWARIO Playground.
- If you bought the CO2Monitor Kit you will receive the Core Module with the firmware on it.
- Otherwise you can see documentation page on how to flash the firmware with HARDWARIO Playground.
- You will need the bcf-radio-co2-monitor firmware for this project.
- After this just wait a while until the firmware is downloaded and flashed onto the Core module.
You need to pair the Core module with the radio dongle that you are using, follow the instructions below to see how it is done.
- Connect your USB Radio Dongle to your computer.
- Open HARDWARIO Playground
- Click Start Pairing the LED on the dongle should start blinking
- Connect the device that you want to pair into your computer or insert the batteries.
- Wait for the device to appear in the table
- It should add the device with the Alias: co2-monitor:0
- Click Stop Pairing
Open Node-RED in the Playground or Raspberry Pi and import the flow from the Attachements. In the Menu -> Import -> Clipboard. Do not forget to hit "Deploy" in the top right corner to apply the changes.
With this flow you can get the data in the Playground Dashboard or in the Blynk app. You will see four gauges for every value that is measured by this device (Temperature, Pressure, CO2 concentration and Humidity).
More on the Blynk down below.
5. Blynk integrationThis project is ready for Blynk integration. How to set up Blynk with your HARDWARIO Playground is described in this guide.
Follow the guide if you want to make your own blynk app. If you want to use the one specified for this project in the Blynk app click this Icon and scan the QR code bellow.
As was written before, in this application, you will see four gauges with all the data that the device provides. You can add some notifications, triggers and so on, so you can control some more devices based on the data.
SummaryYou can renovate your office based on the data from this device, put more flower here and there if there is too much CO2 in the air. Avoid moldy room because of high humidity...
This device works as an internal monitor of all the needed data in your rooms, so you always know when there is some problem.
Feel free to ask any questions about this project.
- Visit HARDWARIO page on hackster.io for more interesting projects or go directly to their website
- Go to HARDWARIO documentation to learn more about their modules and other possibilities of the platform.
- Try more firmware from HARDWARIO Playground or write your own, it is easy to start.
- Because everything is Open source you can get all firmware on GitHub, get some inspiration and try to make your own applications.
- Get your own HARDWARIO Hub to replace your computer in this project so you have always access to your applications.
- Check out more applications that can be used with HARDWARIO IoT Kit in Integrations section.


Comments
Please log in or sign up to comment.