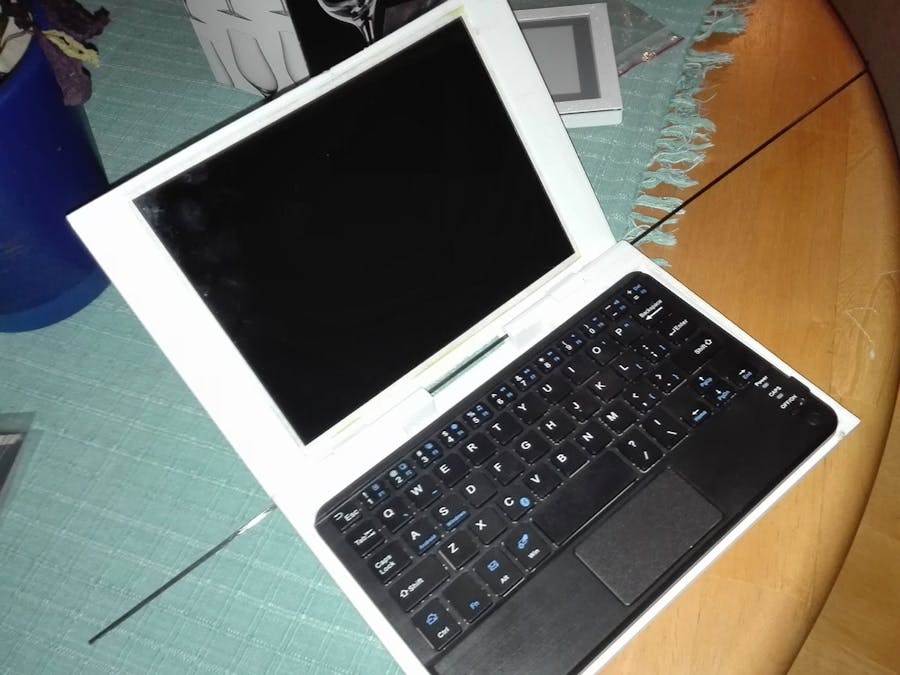
Ever wanted to build your own Raspberry Pi laptop?
There are lots of nice builds on the internet but none of them looking very professional.
This is how I built mine.
The Netbook is based on a RPi3 A+ with a Pimoroni 8-inch HDMI display and a Bluetooth keyboard.
I know the RPi3 A+ only have 512K RAM but is has the WiFi, Bluetooth and 1.4GHz quad-core CPU required to run a nice Netbook desktop.
The Pimoroni 8-inch HDMI display is a gorgeous 1024x768 IPS display and really required to make this a professional Netbook.
The tablet BT keyboard with touchpad is required for the build since the screen does not have touch.
To make the Netbook build I needed a real frame and a display lid with hinges. They are printed with a 3D-printer and almost a bit larger than my build surface but it fitted exactly.
The frame needs to be printed with 10% infill to be sturdy but not use too much fillament.
The display frame is the lid, hosting the display and is the second hinged part of the build.
The display is glued to the lid display frame.
A carbon fibre rod is temporary inserted into the hinges to test the fit.
Next up is to fit the display board and the Rasberry Pi3 A+ for a dry test run.
I installed Raspbian Lite and the xfce desktop.
Found the Pimoroni display to be upside down so I added this to the end of config.txt:
display_rotate=2 which rotates the display 180 deg.
Well here is the first run of the netbook:
Next up is fitting the RPi into the frame.
Probably need to remove the connectors on the Raspberry board.
I only have room for one 3500mAh 3.7v li-ion cell. Hope its enough to run it for a couple of hours.


Comments
Please log in or sign up to comment.