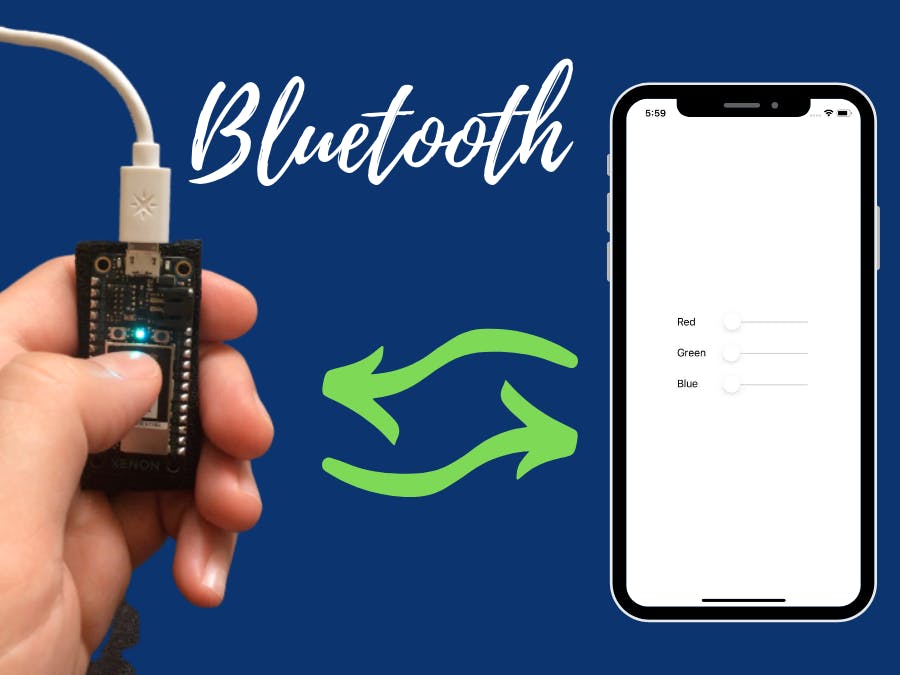
In this project, you'll learn how to load an app on your iPhone that talks directly to a 3rd Generation Particle Mesh board. It will take less than 20 minutes of your time. Plus, you can start tinkering right away!
Let's get started.
Things you'll need- Particle Mesh (Xenon, Argon, Boron) board
- Newer iPad or iPhone.
(That's it!)
Getting setupGetting setup will be the trickiest part.
- Install Xcode. You can download it from the App store here.
- Install Particle Workbench. You can download it here.
- You'll also need an Apple login. I use my iCloud email. You can create a new account within Xcode if you don't have one yet.
Here's a quick video on getting everything running.
If you prefer a written tutorial though, you can also check that out below.
Clone the repos- Clone the RGB firmware code to your computer
git clone git@github.com:jaredwolff/particle-bluetooth-rgb.git
- Clone the App example code to your computer as well
git clone git@github.com:jaredwolff/swift-bluetooth-particle-rgb.git
The fastest way to get started is to compile and load locally.
- Plug your Particle device into USB
- Click on ble-rgb-control.ino in the left menu
- Select the Particle device you're using in the bottom right corner. (I'm using a Xenon in this example)
- Select the deviceOS version as 1.3.0-rc.1 in the same area.
- Put the device into DFU mode.
Here are some handy ways to do it without touching a single button on the mesh board:
For Mac (tested)/Linux (untested)stty -f /dev/tty.usbserial1234 14400
For PC:mode COMx 14400
(x being the auto-assigned port number)
Once you run the command, you may notice your device is blinking yellow! Good stuff! - Command + Shift + P and then click Flash application (local)
- Side note: if you are unsure which version is on your device it's best to do a CloudFlash instead of a Flashapplication (local). That way your OS is updated in the process as well.
- Open the project in Xcode
- Plug in and select your device
- Press play to load it
- Check to make sure your phone is unlocked. The app should automatically load
Things don't always go as planned. Here are a few errors that I got during the process. I've also provided the solutions so you can get back to the good stuff!
Step by Step Testing of FirmwareI have a detailed step by step tutorial on testing the firmware itself here. It's a great way to validate the hardware is working before attempting to connect with a phone or iPad.
Fixing "Failed to create provisioning profile"When you download the example, you may find that you get an error about the app ID. Something like "The app ID "com.name.app" cannot be registered to your development team."
The best way to avoid this error is to modify all the Bundle Identifiers in the project.
There are three locations.
First is the main project itself. Select the project name in the left side. Then right under Display Nameyou'll find Bundle Identifier.
Change my name in com.jaredwolff.ParticleBluetoothiOS to something else. i.e. com.<your name or org here>.ParticleBluetoothiOS
Next is in the two separate tests folders. Navigate to the first one using the drop down.
Then click over to Build Settings. Then enter Product Bundle Identifier into the search box. It will pull up the identifier for that test. Make the same modifications as suggested from above.
Repeat the same process for the UI tests as well. That should fix any issues you may have with downloading the app from Github.
Fixing "Unable to copy symbols from this device."If you get a "Unable to copy symbols from this device." try restarting your Xcode. I'm running 10.2.1 and that's what did it for me!
Tricks for playing furtherOne thing this app does not do is read data from the Particle Mesh hardware. If you want to read values you'll want to set up a new characteristic.
Here's an example:
BleCharacteristic dataCharacteristic("data", BleCharacteristicProperty:: READ, dataCharacteristicUUID, serviceUuid, NULL, NULL);
Then later on you can update the value of the characteristic using
uint16_t value = 16;dataCharacteristic.setvalue(value);
If you do a read, you should be able to get it to return the value.
There's actually 3 overloaded versions of the setValue function. Depending on your data, you can change it accordingly. More info on Particle's documentation.
ConclusionI hope this small project has you excited about Bluetooth on Particle. Also, hopefully, it's encouraged you that making apps with Bluetooth is easier than you think.
If you're curious about all the details you can check out my step-by-step post here:
https://www.jaredwolff.com/the-ultimate-how-to-bluetooth-swift-with-hardware-in-20-minutes/
Also! This is a preview of some of the content from my upcoming Ultimate Guide to Particle Mesh. You can subscribe to my list for more details, exclusive content and a discount when it comes available here:
https://www.jaredwolff.com/the-ultimate-guide-to-particle-mesh/
Thanks for check this project out. If you enjoyed it, consider hitting that thumbs up button. It really helps me out. :)


Comments
Please log in or sign up to comment.