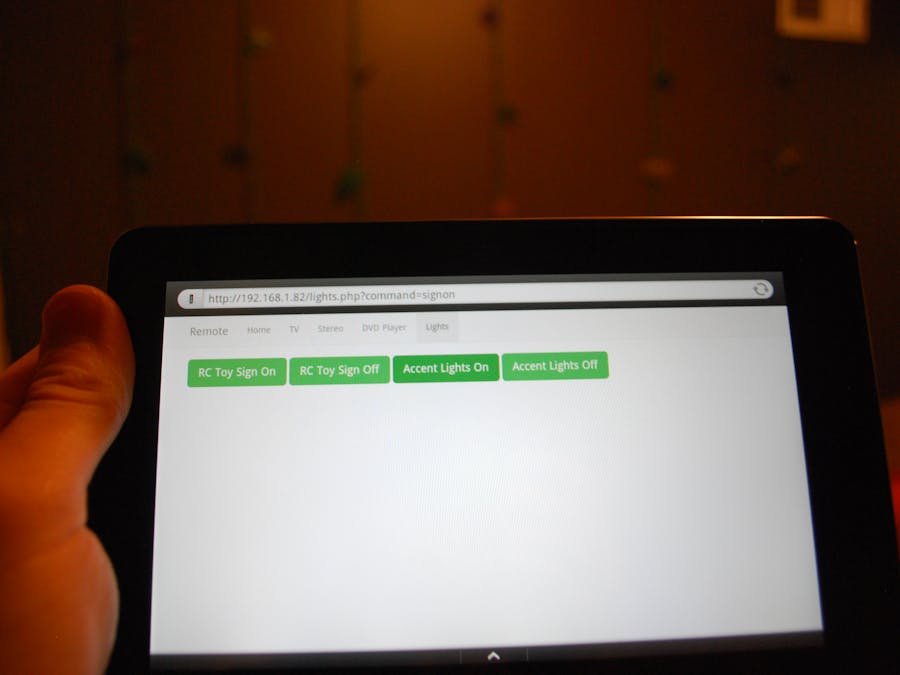
First off, I'm going to say this outright: This project is definitely NOT for beginners. It took a whole summer and then some for me to work on. But onto the project.
Like any teenager in the summer with nothing to do, I was bored. I wanted to do something with my awesome (albeit messy) basement. This led to my laughable stab at a contained home automation project. All in all, this cost me about $40, mainly because I already had a ton of stuff on hand.
Parts- An IR LED, like Sparkfun's Max Power IR LED kit
- A salvaged computer PSU which can supply 3.3v, 5v, 12v, -12v, and 25v
- An Arduino UNO R3
- The ESP8266 Shield
- A Raspberry Pi
- A USB WiFi adapter
- A GPIO breakout for the RPi
- A media system already using IR remotes
- Tons of wire
- Loads of time
- Lots of ingenuity
So my first step was installing stuff. I installed LigHTTPD on the RPi (which I ran on a USB cable I spliced onto the 5v line of my PSU), which is a lightweight, easy-to-configure web server for a resource-light computer, hence the name. Then, I installed FastCGI PHP, and PHP APC for caching. For easier web file editing, I installed Samba and AFP/Netatalk.
Step 2After that, I installed LIRC for the IR control. To program my remotes into the system, I used irrecord to save the codes for buttons. The PHP code was simple but long. In a nutshell, I created a simplified system for taking the web input from GET and feeding that to irsend in the command line. For "macros" like watching TV which powers up the TV, sound system, and tunes the TV to your favorite channel, I just strung together a bunch of irsend commands in the PHP. When a macro would run, it would save the state of the devices (powered on or not) to a text file, which is called upon next time a macro is called to see what is on and what isn't.
Step 3For the lighting, I used an Arduino (which I again wired to the 5v line of the PSU), Sparkfun ESP8266 Thing, a Seed Studio relay shield, and an individual relay module. I recovered a cool sign from my local RadioShack when it closed, which I then strung an LED strip on. I wired that to the relay shield and the 12v line of my PSU. For the 120v lighting, I used an individual relay module that I spliced onto the switch of a switchable power tap. I hooked that up to the UNO. I then downloaded the Blynk app onto my iPhone and started a Blynk server on my computer. After that, I loaded the ESP8266 Software Serial example onto the Arduino, and specified the server, SSID and PSK of my network. On my phone, I added 2 buttons and called it a day.
Some things I learned- Netatalk creates AppleDouble files which makes it hell to commit to Github.
- Aim small, then go big. My original idea was to have a decked-out automation deal, but as I went into it, I quickly learned that it is much harder than it seems. Aim small, then, as you go, expand the project to fit your abilities, time, and equipment.
- It will break more often while actually using it, because you come up with problems you never thought of in the first place. For example, I would press the Watch TV button when the TV was already on, so it would actually power off the TV. This led to keeping track of the state of the TV and other devices.
I hope this article mad sense and was helpful to you. Thanks for reading!
-jm


_ztBMuBhMHo.jpg?auto=compress%2Cformat&w=48&h=48&fit=fill&bg=ffffff)


_3u05Tpwasz.png?auto=compress%2Cformat&w=40&h=40&fit=fillmax&bg=fff&dpr=2)
Comments
Please log in or sign up to comment.