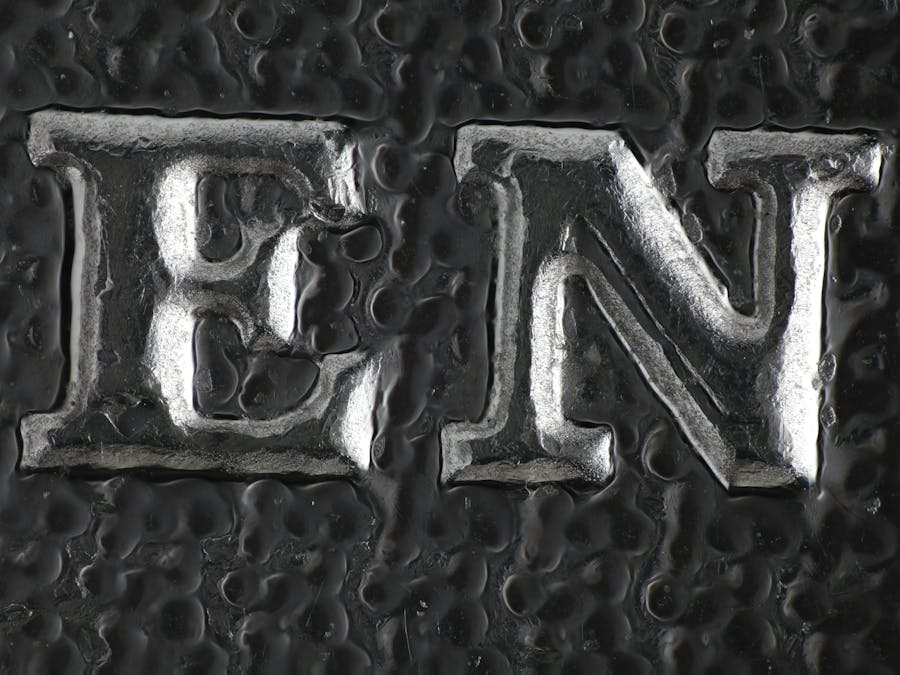
This is the testing mechanism for my focus stacking setup.
SetupHere is what I do with the setup all running together. Some sample photos of a 5p piece are shown at the bottom of the page.
- Set up the rail first and attach the arduino or raspberry pi setup to the microscope block. Follow the instructions on connecting the raspberry pi or arduino to a laptop or battery from the guides.
- Put the camera on top of the rail, with the appropriate lens fixed on. Prop up the lens so it is horizontal.
- Attach the camera to the laptop by usb cable and start EOS remote, which is used to set the camera setting, to focus, and to fire the shutter.
- Get the lighting ready.
- Put the photographic sample on the mount. If it is a coin for testing then that is easy, if it is a fern then it should be done last, and the photograph taken quickly, as the fern will gradually dry out and deflat in dry indoor air.
- Turn the microscope block knob so the camera is as far from the subject as it can go. Position the subject so it is nearly in focus. Then wind the camera forward until the subject comes into focus. Wind forward so the focal point goes right through the subject, back and forth several times to get a feel for what's what.
- Wind the camera back so that none of the subject is yet in focus, but that if the camera moves forward a little bit, then the subject will come into focus.
- Take a few test shots to check exposure and lighting.
- Make sure that no other light is going to come in from windows to interfere during the series.
- Make sure that no bounding animals or humans are going to rush through the room during the series to cause vibration.
- Test the script on the raspberry pi or arduino to make sure that the microscope block actually moves when it's running. Sometimes the cogs can get a bit stuck and a whole series of shots can be taken with no movement from the focus block at all.
- Check everything one more time. Turn on live view from EOS Remote so that the mirror will be locked up.
- Run the script and withdraw to a safe distance to minimise vibration. Check periodically that the the stage is still moving forward, that the focal point is moving through the subject and that the images are going onto the computer, with reasonable exposure.
- When the focal point has gone right through the subject, stop the script and run the images through Helicon focus.
- Tidy away all the equipment and put batteries from the camera and any flashes into chargers so they are ready for next time.
Below are three slice/stack pairs.
1 / 2
1 / 2
16 projects • 20 followers
I am working on deep focus photography of specimens from 0.5mm to 2.5mm tall. I would be interested in receiving commissions.


Comments
Please log in or sign up to comment.