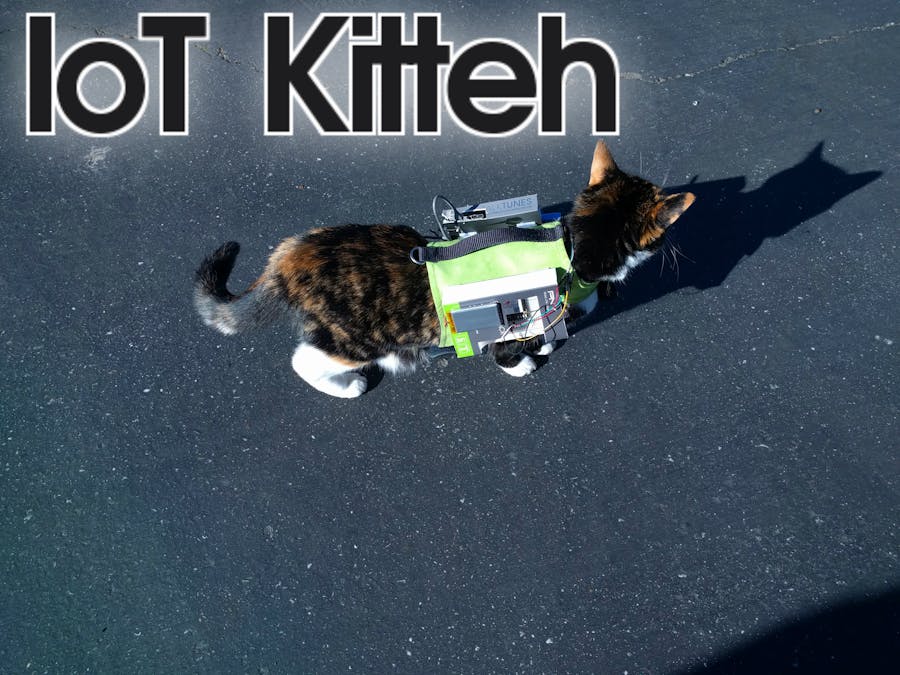
IoT Kitteh was inspired by a discussion with a coworker about IoT and silly ideas as we watched a quad-copter drone crash into our office parking lot. Long story short I decided I wanted to connect my cat Lily to AWS IoT so I could get her GPS coordinates and I decided to include cellular phone call capabilities simply because a cell modem on a cat makes me laugh. In talking with my coworker about this he said it would be awesome to call the cat but I told him that's a ridiculous idea because how in the world would the cat answer the phone call. Instead I would push a message over AWS IoT to the device and have it initiate a phone call to my cell phone, thus avoiding the problem of trying to train a cat to answer the phone.
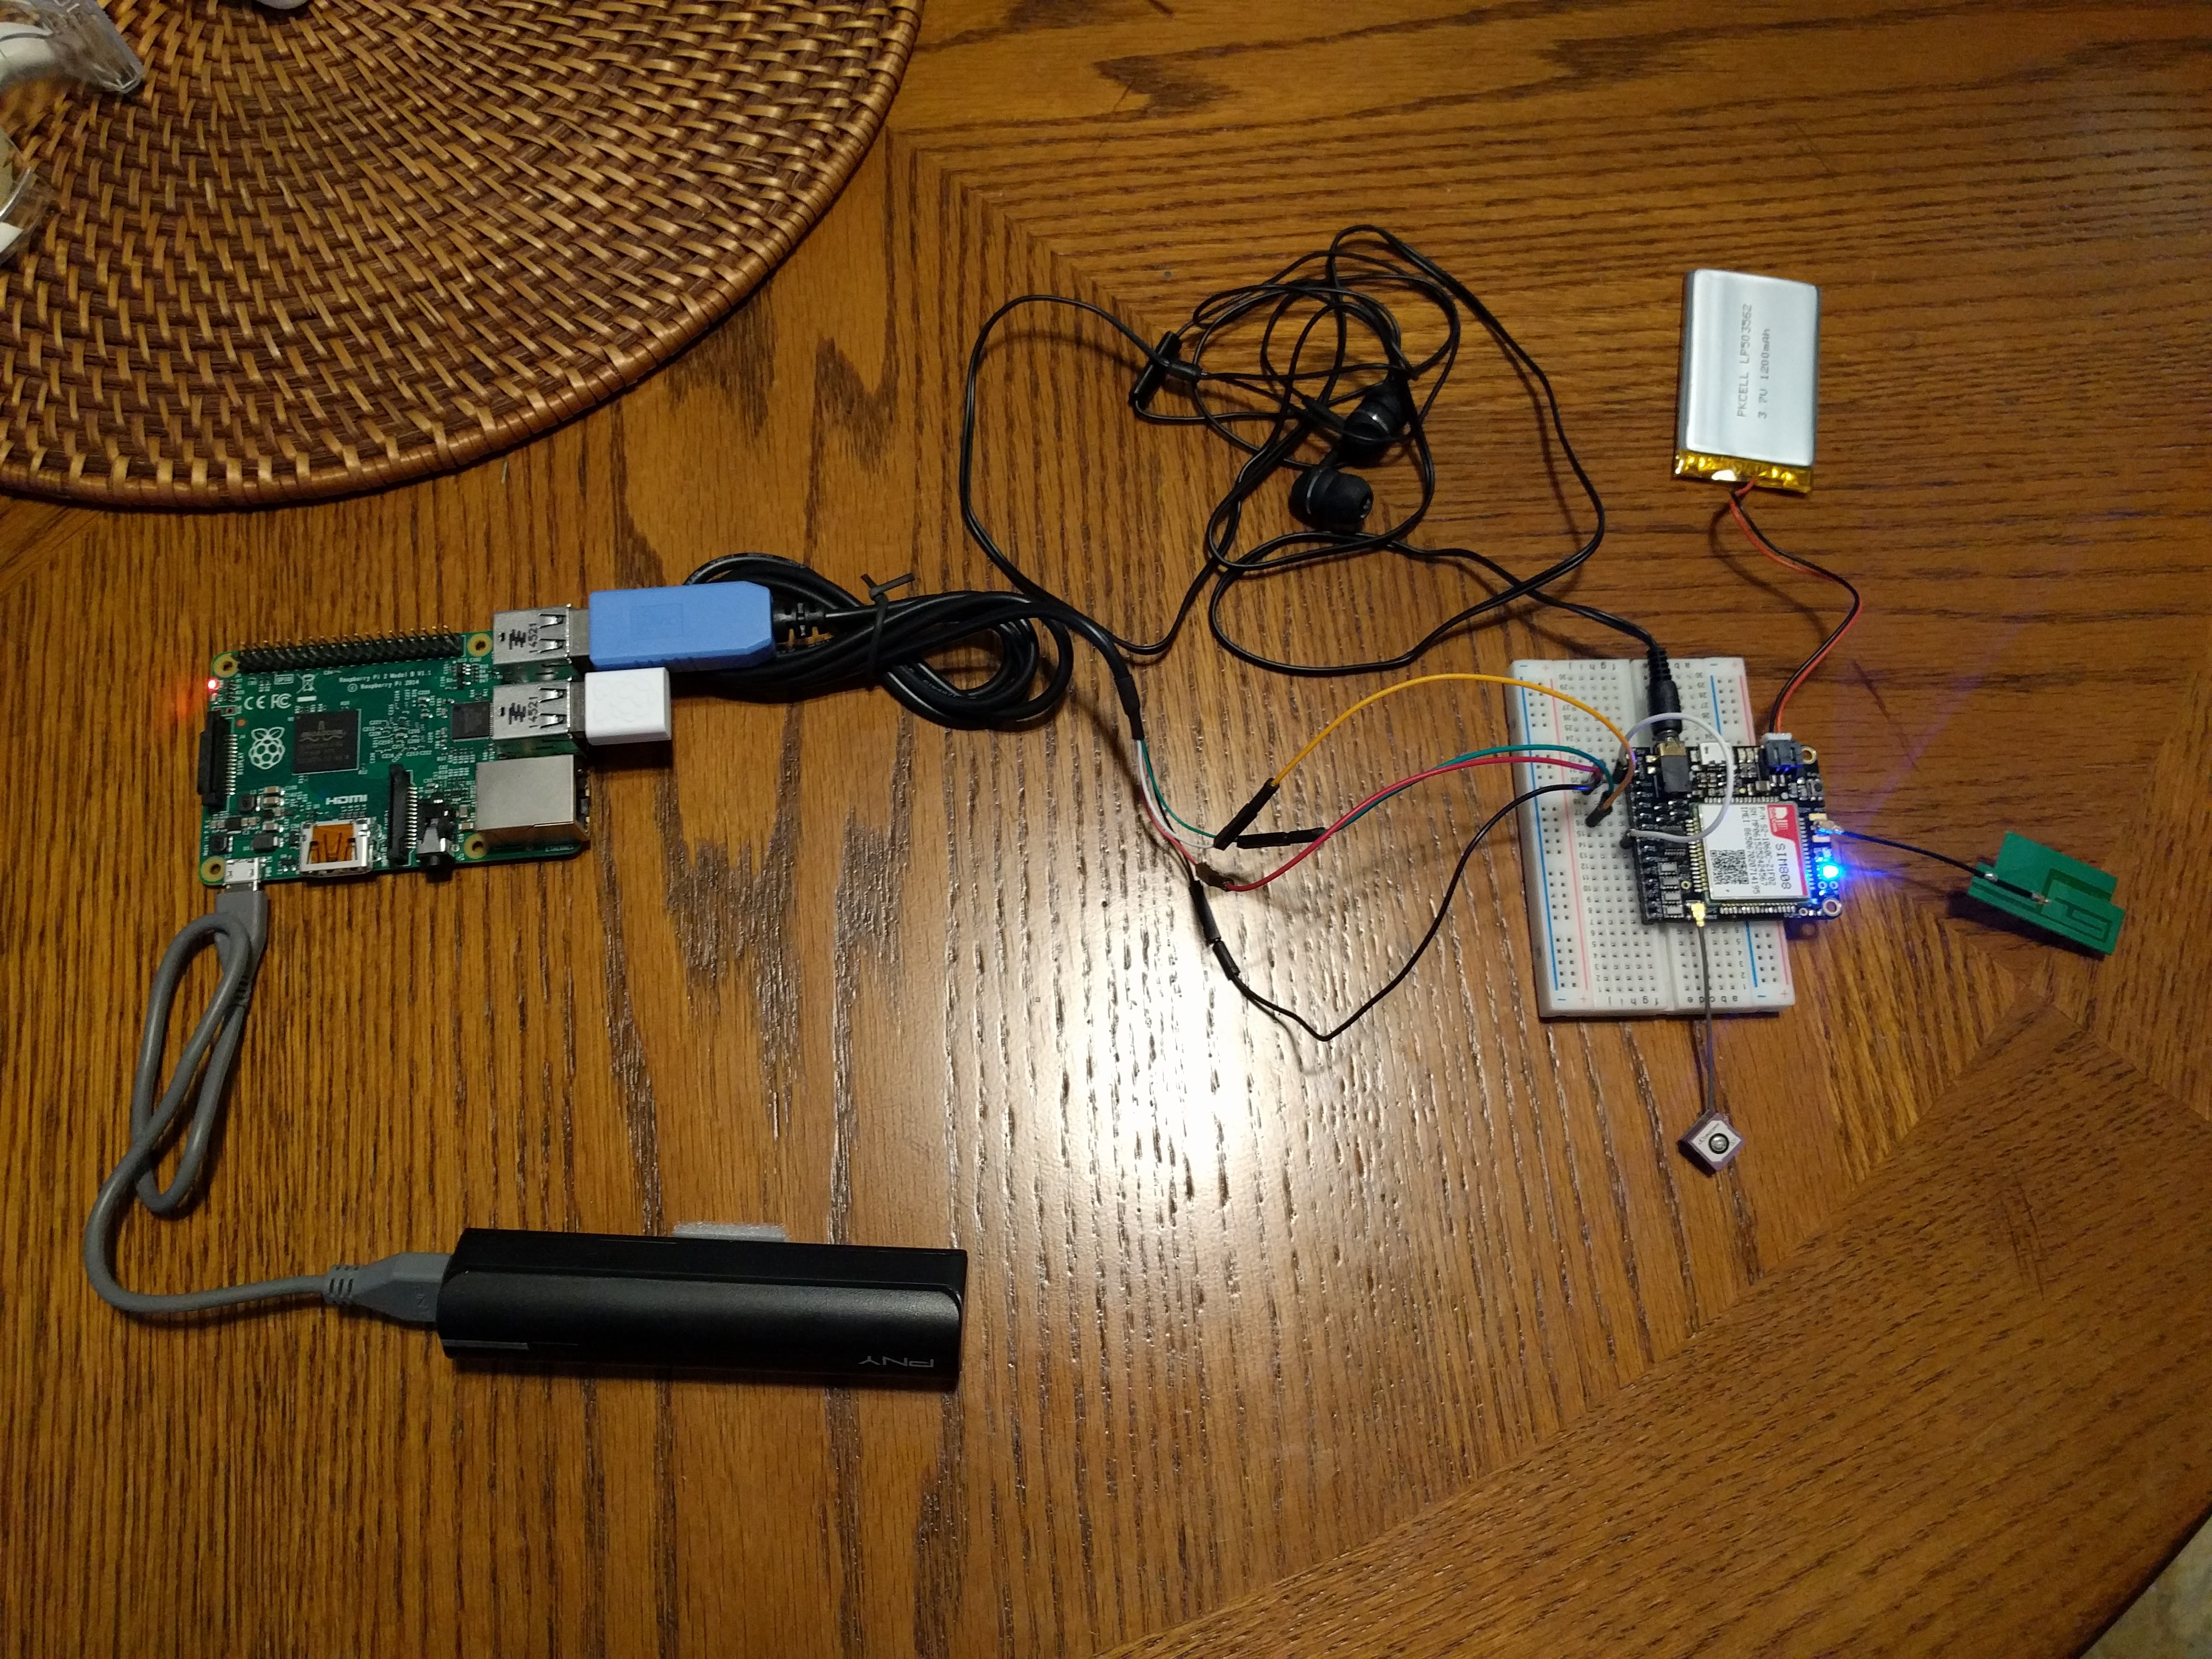
Hardware SetupI started by soldering the FONA 808 modem to it's pin strip for use on my breadboard. I then connected the USB to TTL Serial Cable to one of the Raspberry Pi's USB ports and connected the wires to the modem in the following manner:
- USB to TTL Serial Cable's black wire to the FONA 808's Ground pin
- USB to TTL Serial Cable's red wire to the FONA 808's Vio pin
- USB to TTL Serial Cable's green wire to the FONA 808's Rx pin
- USB to TTL Serial Cable's orange wire to the FONA 808's Tx pin
- Connect the FONA 808's Ground pin to the FONA 808's Key pin
Now attach the GPS antenna and GSM antennas.
The final pieces needed for the modem are the earbuds with microphone and the battery for the modem.
On the Raspberry Pi I attached the USB Wifi module and inserted my microSD card with Raspbian Jessie installed and lastly powered up the Raspberry Pi.
After my Pi was up and running on my wifi network I installed Node Version Manager (NVM) because it's awesome and makes life easier when it comes to managing and versioning multiple installations of Node.js. There's a great walk though on installing NVM and Node.js at this page:
https://github.com/blobsmith/raspberryTestNode/wiki/Node.js-installation-with-nvm-on-Raspberry-pi
For setting up the AWS IoT Thing, certificates, security roles, and a DynamoDB table to log the messages I'll leave you to the detailed AWS tutorial at:
http://docs.aws.amazon.com/iot/latest/developerguide/iot-quickstart.html
Once I had the x509 certificate files created I copied them to the Raspberry Pi at /home/pi/AWSCerts. These files will be referenced in my Node.js application code so I can connect to the AWS IoT service.
The next step was to write the iot-kitteh application. I've made the code available on GitHub at:
https://github.com/jeremywall/iot-kitteh
If you clone the repository be sure to call the following command to download the dependencies:
npm install
Once the dependencies are downloaded and ready you can run the application by calling:
node index.js
Now to drive the Node.js code I used the MQTTT.fx application on my laptop to connect to the AWS IoT service to send JSON formatted commands to the Raspberry Pi that instructed it to make phone calls or acquire GPS information. These commands are documented at the project's GitHub page. The MQTT.fx application is available at:
You can use the same x509 certificates to connect MQTT.fx to the AWS IoT service like you do with the Node.js application on the Raspberry Pi. Information about configuring and using MQTT.fx is also covered in the Quick Start Guide I mentioned above for getting started with AWS IoT so there's no need to list all the steps here.
Field TestingAfter getting everything pulled together it was time for a field test. I used some small cardboard boxes to protect the Raspberry Pi and modem hardware from incidental damage and attached everything to a small harness vest I have for Lily the cat.
And then it was time to put the vest on Lily and take it all for a spin.
And here's a video showing that I could request GPS information from my laptop using the MQTT.fx client and also initiate phone calls from Lily the cat to my cell phone.
Sorry for the dusty screen, but the entire project works!!!
I hope you have enjoyed this as much as I did building this little experiment. I've never done a project like this before and this was also my first time soldering anything.


Comments
Please log in or sign up to comment.