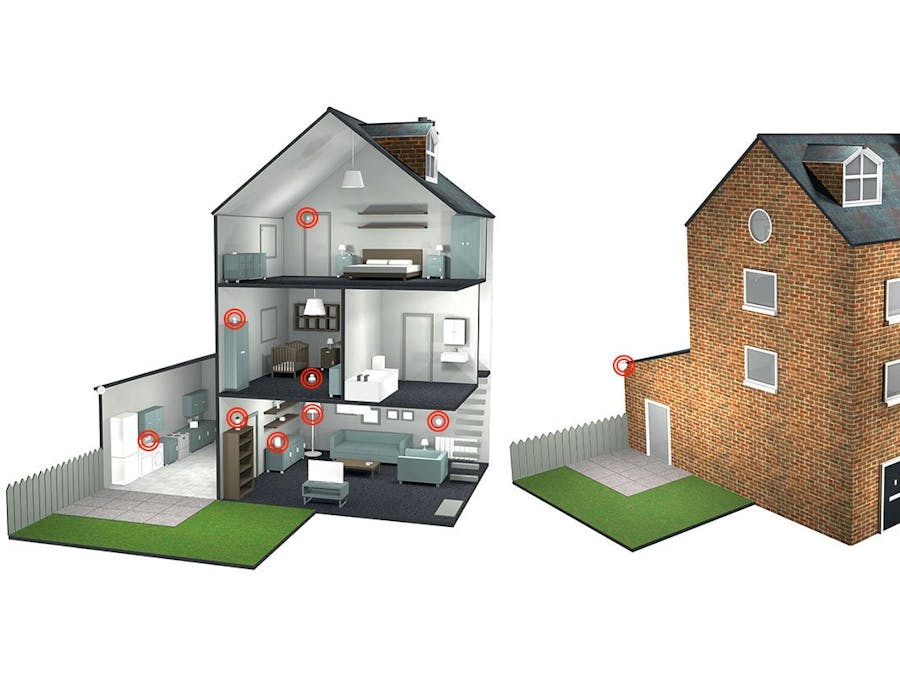
Often as I leave the house I wonder if I had actually turned off the lights in my house, or more importantly locked the door and turned off the stove. As I come home I am unsure about whether someone in my household got the mail from the mailbox (that sits on the other side of the neighborhood). I wanted to find a way to find out all this information without having to go to the mailbox or return home after I was already running late.
SolutionAs many of these things can be checked just using a simple image, I devised a solution to adopt small and relatively inexpensive (yet capable) Raspberry Pis and cameras to upload these images and display them on my phone. On the way, however, I discovered that my WiFi at home can either be unreliable or does not reach the locations I want to check, especially my mailbox. That's where Soracom came in, where a mobile 3G connection allowed me to gather data from anywhere, even where there was no WiFi.
Current commercially available smart home devices have high costs to buy and operate. Cameras can be upwards of $100 with monthly maintenance fees. This devices costs about $20, with relatively low fees with the Soracom SIM. The device and everything on it can be password protected and even encrypted, so it is relatively secure. Producing thousands of devices would use Soracom's dashboard to manage the devices and provide users with their own groups o manage their devices. Scaling with this kind of hardware and software combination should be relatively easy.
Setting Up The HardwareThere are four main components in this project: a Raspberry Pi, a webcam, the Huawei 3G USB Dongle, and a Soracom Air SIM Card. I also needed to use a USB hub and a USB OTG cable to connect the USB dongle and webcam to the Raspberry Pi Zero W that had only one microUSB port for data. With the SIM card installed in the 3G USB dongle (just slide the lid off and insert the SIM), it is relatively easy to configure.
1. Register the SIM card on the Soracom Admin Console. Type in the ICCID and PUK numbers on the back of the SIM.
2. Plug the USB Dongle into the Raspberry Pi (with Raspbian installed) and wait until there is a solid blue light (which means that the dongle has connected to the 3G cell towers). Then type the following into the terminal:
sudo apt-get update && sudo apt-get install network-manager
Substitute your Soracom USERNAME and PASSWORD into the following:
sudo nmcli con add type gsm ifname "*" con-name soracom apn soracom.io user USERNAME password PASSWORD
Then reboot
sudo reboot
Make sure the Dongle is being recognized as a network device (you should see ppp0).
ifconfig
Then make sure that the USB modem will connect every time using these commands:
sudo curl -o /etc/NetworkManager/dispatcher.d/90.set_ppp_route_metric https://soracom-files.s3.amazonaws.com/handson/90.set_ppp_route_metricsudo chmod +x /etc/NetworkManager/dispatcher.d/90.set_ppp_route_metricsudo /etc/NetworkManager/dispatcher.d/90.set_ppp_route_metric ppp0 up
3. Then create an account in the PubNub Admin Console to hold the data sent via the Raspberry Pi. Note the Publish and Subscribe Keys.
4. Go back to the Soracom Dashboard. Add your SIM card to a new Group in the Soracom Dashboard. Make sure you have clicked activate on the SIM card. Then under the settings for the group, click Soracom Beam and create a MQTT Entry Point. The Destination Type should be PubNub and the Credentials Set is the Publish and Subscribe Keys you noted in the previous step.
5. Install the software to publish data from the Raspberry Pi to PubNub.
sudo apt-get update && sudo apt-get install mosquitto-clients
To test this, go to the PubNub Admin Console, find "Debug Console" on the left sidebar, and type "image" under the field "Default Channel" and click "Add Client."
Then run the following:
mosquitto_pub -h beam.soracom.io -p 1883 -t image -m "test message"
You should see "test message" appear under the Client you have created.
Now you're done setting up the hardware!
Using a Python Script to Publish DataI used OpenCV to take the images, then I used the Imgur API to upload the images, then I used MQTT to publish the Imgur URL to Soracom then to PubNub. Before running the script attached, make sure to install OpenCV. Also make sure to sign up for an Imgur account to get a Client ID and API Key to replace the default values in the code.
If there are any questions about the code feel free to message me!
Building the Android App1. Make sure you download the PubNub Android SDK. Then make sure you add this line into the build.gradle file.
implementation group: 'com.pubnub', name: 'pubnub-gson', version: '4.12.0'
2. Make sure the app is allowed to access the internet with these additions to the Manifest Permisssions:
<uses-permission android:name="android.permission.INTERNET" /><uses-permission android:name="android.permission.ACCESS_NETWORK_STATE" />
3. There will be one Activity (MainActivity.java) for this app containing three ImageView UI Elements. One for each of the cameras: front door, mailbox, and stove. You can add more or less ImageView elements depending on your usage.
View the full layout of the main activity in the code below.
4. Instantiate the PubNub instance to make calls to the PubNub API from the app. Make sure to replace the correct values with your subscribe and publish keys.
PNConfiguration pnConfiguration = new PNConfiguration();pnConfiguration.setSubscribeKey("SUBSCRIBE_KEY");pnConfiguration.setPublishKey("ENTER_PUBLISH_KEY_HERE");pnConfiguration.setSecure(true);pubNub = new PubNub(pnConfiguration);
5. Subscribe to the image channel in PubNub where the links to our images are being published.
pubNub.addListener(new SubscribeCallback() { @Override public void status(PubNub pubnub, PNStatus status) {} @Override public void message(PubNub pubnub, PNMessageResult message) {// HANDLE MESSAGE} @Override public void presence(PubNub pubnub, PNPresenceEventResult presence) {}}); pubNub.subscribe() .channels(Arrays.asList("image")) // subscribe to channels .execute();final String link = message.getMessage().getAsJsonObject().get("image")runOnUiThread(new Runnable() { public void run() {// Code to get image from link here.}});
That should be it for the Android App! Now you can check the status of your home from anywhere!


Comments
Please log in or sign up to comment.