


Hardware components | ||||||
 |
| × | 1 | |||
_ztBMuBhMHo.jpg?auto=compress%2Cformat&w=48&h=48&fit=fill&bg=ffffff) |
| × | 1 | |||
Software apps and online services | ||||||
 |
| |||||
 |
| |||||
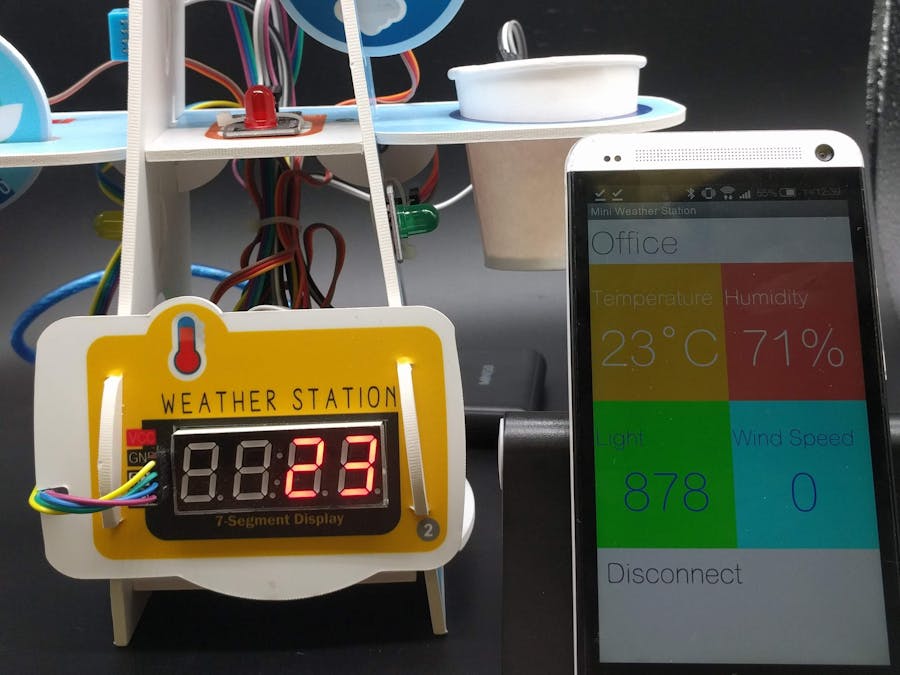
This article is to show how to create an Android App with AI2 that displays the real-time data from Arduino / ObjectBlocks. The App does not have to be on the same network with Arduino - and thus you could indeed monitor the data anytime anywhere.
In this project, we will reuse Mini Weather Station project and design an App that displays the weather data.
HardwareRefer to this article for how to construct the Mini Weather Station.
Channels are cloud storage to store numbers or messages for communications between Arduino / ObjectBlocks and devices. In order for AI2 (or other WiFi devices) to communicate with Arduino, we first need to setup a Channel with Webhook features turned on.
Create 4 new channels "temperature", "humidity", "wind speed" and "light" with Webhook turned on as follows:
If you click at Webhook icon, you will see 2 URLs - one for webhook (starting with http), and another for web socket (starting with wss). In previous article (here), we have used the webhook to send a request from AI2 to control Arduino. In this project, we will use web socket instead to receive data from AI2.
Before we create the app, we need to make sure Arduino is sending the relative data to the corresponding channels. Add "send number channel" commands to the program such that the data will be updated to the cloud channels.
Imagine a web socket as a pipe between 2 devices - and with the pipe connected, the 2 devices can communicate with each others. For technical details, you can refer to Wikipedia.
So in order for Arduino to send the data back to AI2, you need Web Socket.
App Inventor 2The following assumes that you know how to build an interface in App Inventor 2, and will thus focus on how to use Web Socket extension to retrieve the data from Arduino.
Build the app interface as follows:
Once you completed app interface design, you need to import an extension for ObjectBlocks Web Socket (download the extension in the attachment). Click "Import extension" at the bottom left and add the file "coding101.objectblocks_websocket.aix".
Drag ObjectBlocksWebSocket to non-visible component, and rename the component to "temperatureWS". Repeat that twice and rename them to "humidityWS" and "lightWS".
Copy the Web Socket for each channel into WebsocketURL for each WebSocket component property.
Each Websocket consists of the following commands to connect to, disconnect from, send to and receive from web socket.
Press button will toggle between connect and disconnect.
Receive real-time data from Websocket.
Download to your Android mobile, and you should then receive real-time data from mini weather station. Using the same technique you can display any data from any sensors connected to Arduino / ObjectBlocks, and at the same time, you can use web socket to send requests to Arduino to make a fully functional IOT App.


Comments
Please log in or sign up to comment.