STEP FOR CREATING WIFI CONTROLLED BUZZER VIA BOLTIOT
1. You must have all the items to make this project.
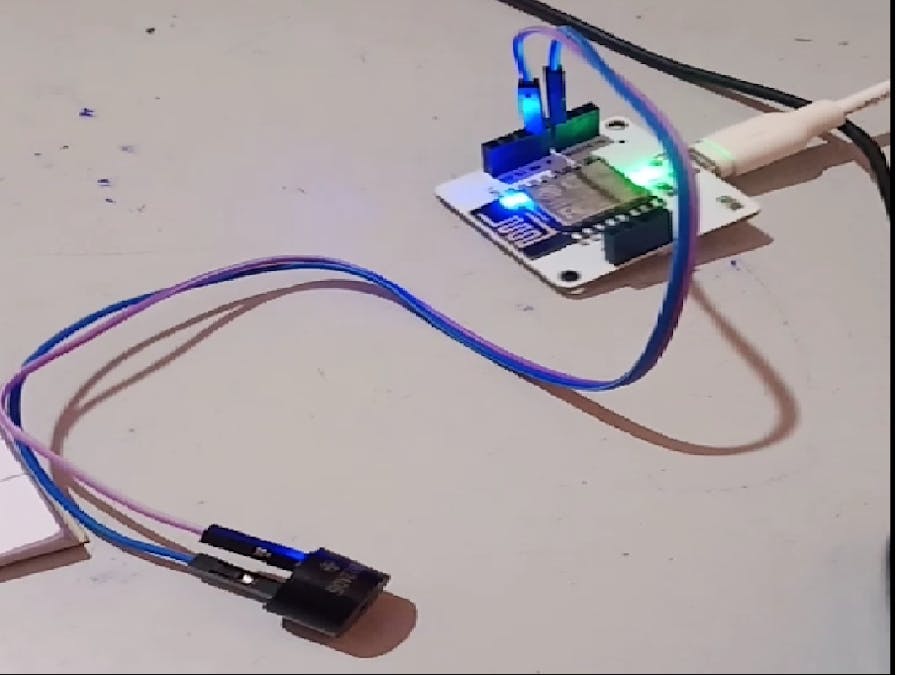
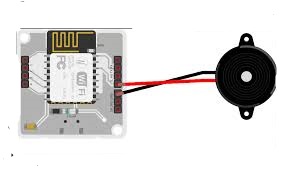
2. Hardware connection-
a) take your bolt wifi module make a connection from small pin of buzzer to GND of bolt module with the use of male female connecting wire.
b) take another wire and longer pin buzzer to A0 of bolt module
c) give power supply while using usb cable.
3. create a new project on your bolt cloud-
4. Then this will pop up-
your have to give your product a name and select output device as buzzer is an output device.
5. click settings to configure your product-
6. code writing section will open after that-
write your code or it from given.
7. save your code by clicking floppy disk icon.
8. click the link project icon-
9. link your product with your bolt wifi module-
10. click on display button-
11. now you have your on off button, go ahead and try it-
Video shoot of the project-
https://drive.google.com/open?id=11opx6zPzgren6z1i01OB3tvoImeIzNA9


Comments
Please log in or sign up to comment.