


Hardware components | ||||||
 |
| × | 1 | |||
 |
| × | 1 | |||
 |
| × | 1 | |||
 |
| × | 1 | |||
 |
| × | 1 | |||
Software apps and online services | ||||||
 |
| |||||
 |
| |||||
- 1x CW01 - Wi-Fi Core (ESP8266/ESP-12F)
- 1x IP02 (or IP01) –Advanced USB Programming Interface (FT232R)
- 1x SI01 - IMU 9DoF (LSM9DS1)
- 1x XC10 - 10-Pack xBus Connectors
- (Recommended) 1 x PB04 - Dual AA Intelligent Battery Power Pack
- (Alternative) 1 x Power Bank
- Arduino IDE
- Ubidots account
- Hardware Setup
- Installing Arduino Libraries
- Ubidots IoT account setup
- Code
- Result
- Summary
- Connect xChipsCW01, SI01 and IP02 (or IP01) together using the XC10 xBus connectors. You may connect it as shown in the diagram below. Please see this guide on how to assemble xChips generally.
- Then connect the IP02(or IP01) to your PC USB port to upload code.
- Select “XinaBox CW01” Board in Arduino IDE for uploading code, after installing required Arduino cores/libraries.
Install these Arduino cores/libraries:
1. ESP8266 Core2. xCore Library3. xOD01 Library4. xSI01 Library5. Ubidots ESP8266 Libary
IMPORTANT NOTE: Please refer to the guide on installing Arduino libraries and cores.
3. Ubidots IoT account setup1. Login to Ubidots:
2. Create a new device, and name it “biketheft”.
3. Create a new variable, and name it “button”.
IMPORTANT NOTE: Make sure that the API labels of device and variable are same.
4. Click on Dashboards and Create Widget by clicking on “+” icon.
5. Select Control>Switch widget and select “button” variable.
6. Create a new variable in the same device(biketheft). Name the variable “alert”:
7. Add Event to your “alert” variable. Choose to trigger when variable “alert” equals “1”:
8. Add Event trigger and enter desired Email address:
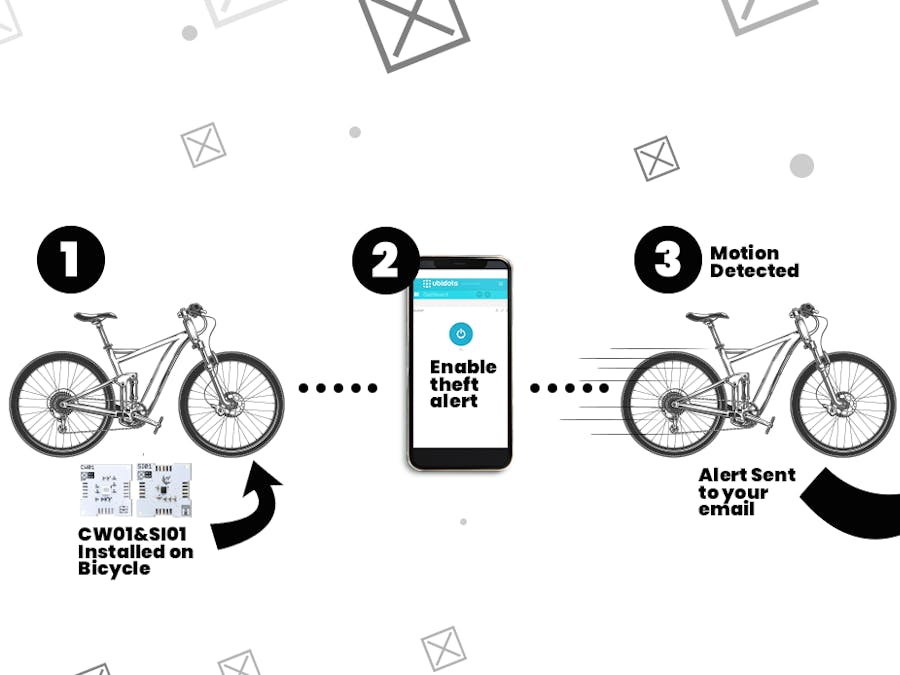
When the bicycle senses motion, the “alert” variable state is changed to “1”, and email is triggered.
The alert can be disabled knowing that the owner needs to disable it when riding.
In this project we have shown how to build bicycle theft detector using XinaBox and Ubidots. The xChip SI01 detects motion of bicycle using its accelerometer, and thus alerts its owner with an Email Notification.


Comments
Please log in or sign up to comment.